Gather the Necessary Tools and Materials
Before you start the installation process, you need to gather a few tools and materials. Don’t worry; you won’t need a full toolbox for this. Here’s what you’ll need:
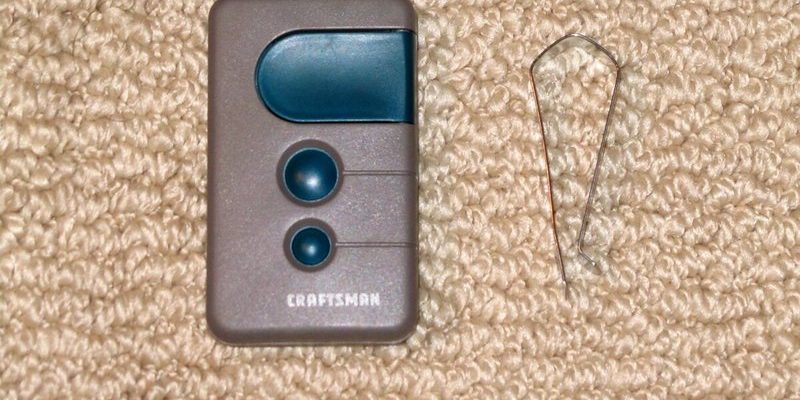
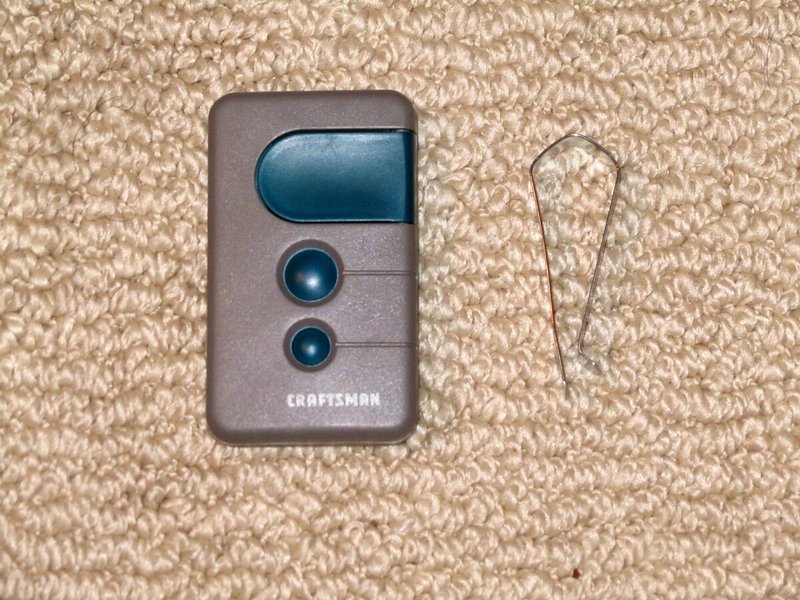
- Craftsman remote (ensure it’s compatible with your opener)
- Step ladder (if your opener is mounted high)
- Owner’s manual (helps if you get stuck)
- Pen and notepad (for jotting down any specific codes you may need)
Having these items handy will make your experience smoother. You might be wondering why the owner’s manual is so important. Well, it contains specific instructions tailored to your model, so having it nearby can save you from feeling lost at any point during the setup.
Understanding Your Craftsman Remote
Here’s the thing: not all Craftsman remotes are created equal. Depending on your garage door opener model, the pairing process can vary a bit. Craftsman remotes often come with a few key features like:
- Single-button operation for easy access
- Multi-button for controlling multiple doors
- LED lights to indicate connection status
Take a moment to familiarize yourself with the buttons and their meanings. This knowledge will make the installation that much easier. For instance, you might see a “Learn” button or a code reset feature, which are vital for syncing up your remote to the opener.
Locate the Learn Button on Your Garage Door Opener
The next step is to locate the *Learn* button on your garage door opener. This button is usually found on the back or side of the unit. Think of it as the “invite” button—without it, your remote won’t be able to connect.
Once you find it, here’s what to do:
1. Make sure your garage door opener is powered on. You don’t want to throw a party where nobody shows up!
2. Press and hold the Learn button. After you release it, a small LED light should blink on the unit.
3. This light indicates the opener is ready to learn your remote. Be quick, though; you typically have about 30 seconds to set it up before it goes back to sleep.
If you struggle to locate the Learn button, refer back to your owner’s manual. It will usually contain a diagram indicating its location.
Syncing Your Craftsman Remote
Now to the exciting part: syncing your Craftsman remote to the opener. Here’s how you do it:
1. After pressing the Learn button, grab your remote.
2. Press and hold the button you want to program. It can be any button on the remote; just choose one that you want to use for opening the garage door.
3. Hold it until the LED light on the opener blinks or changes to a solid light. This indicates that the remote has been successfully paired.
You might be wondering; what if the light doesn’t blink? It could mean the remote isn’t compatible, or perhaps the battery needs replacing. Trying a new battery may save you a trip back to the store.
Testing Your Craftsman Remote
Once synced, it’s essential to test your Craftsman remote. To do this, simply:
1. Stand within range of your garage door.
2. Press the programmed button on the remote.
Watch your garage door in action. If it opens or closes smoothly, congratulations, you’re all set! But if it doesn’t respond, it’s time to troubleshoot. You can try the following steps:
- Double-check the battery in your remote.
- Ensure the remote is within the range of the opener.
- Revisit the Learn button process; a second try may do the trick.
Most issues can be resolved with a little patience. If you’re still running into trouble, look up troubleshooting tips specific to your Craftsman model.
Maintaining Your Craftsman Remote
Now that your Craftsman remote is up and running, you’ll want to keep it in good working order. Here are some simple maintenance tips:
- Check the battery regularly: If it starts to feel a bit sluggish, it might be time for a new one.
- Keep it clean: Dust and dirt can interfere with the operation. Just a quick wipe with a soft cloth can do wonders.
- Store it safely: Make sure to have a designated spot for your remote—losing it can be a real bummer.
Keeping these tips in mind will prolong the life of your remote and prevent future headaches. Plus, taking care of it is easier than you might think.
Dealing with Common Troubleshooting Issues
Even with the best gear, problems can arise. Some common troubleshooting issues you may encounter include:
– Remote not working: This can happen if the battery is dead or if it hasn’t been properly synced. Try replacing the battery and redoing the setup.
– Interference: If your remote works inconsistently, nearby electronics or obstacles could interfere with the signal. Try moving closer to the garage door opener.
– Multiple remotes: If you have more than one remote, make sure you’re trying the right button. It’s easy to forget which button operates what—especially if you have family or roommates sharing the remote!
Most issues can be resolved with a bit of patience and a few basic fixes. However, if you’re stuck, don’t hesitate to reach out to customer service or consult your owner’s manual for further guidance.
Installing a Craftsman remote isn’t as daunting as it seems. With the right approach, you can have it up and running in no time, giving you easy access to your garage. Remember to gather your materials, understand your remote, and follow the syncing process carefully.
Keep your remote maintained for long-lasting performance, and don’t stress too much if the occasional troubleshooting issue pops up. You’ve got this! Soon enough, you’ll be opening your garage door with a simple click—no more struggling with manual locks or getting out of the car in the rain. Enjoy your newfound convenience, and happy clicking!