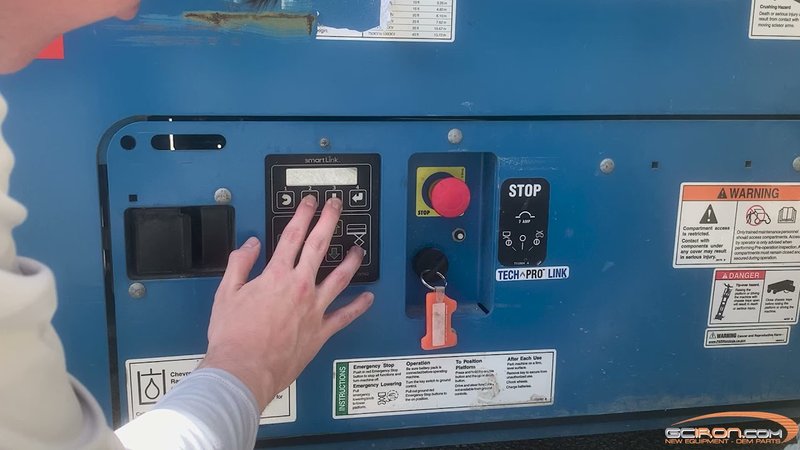
The Genie control panel, specifically designed for Genie garage door openers, integrates all the essential features you need. This includes remote access, safe operation, and troubleshooting tools. While you might be tempted to jump right into the installation, it’s crucial to understand why each step matters and how the system works. So grab your tools, and let’s walk through the process!
Gather Your Tools and Materials
Before your installation journey begins, having everything you need at hand makes the process smoother. Think of it like preparing for a cooking session; if you have all your ingredients ready ahead of time, you can whip up a great dish without breaking a sweat. For your Genie control panel, you’ll need:
- A Genie control panel (of course!)
- A screwdriver (typically a Phillips head)
- Wire strippers
- A drill (if you need to create new holes)
- Safety goggles
- Wire connectors or terminal screws
Having these tools ready not only streamlines your installation but ensures you’re less likely to derail the process looking for supplies. When you start with the right equipment, it boosts your confidence and sets you up for success.
Turn Off Power to Your Garage Door Opener
Here’s the thing: safety first. Before you dive into the installation, it’s essential to cut off power to the garage door opener. Imagine working on a live circuit—it’s not just risky; it could end up being disastrous. You can usually do this by locating the breaker that supplies power to the garage door opener and turning it off.
It’s best practice to double-check that the garage door opener is off by attempting to operate it with the remote or wall switch. If it doesn’t respond, you’re good to go! When power is turned off, you eliminate the risk of electric shock and ensure your peace of mind as you maneuver wiring.
Remove the Old Control Panel
Now that everything is powered down, it’s time to say goodbye to the old control panel—if you have one, that is. This step is pretty straightforward, but it’s important to remember which wires connect where, especially if you’re upgrading or replacing. Here’s how to do it smoothly:
1. Locate the screws on the old control panel and remove them carefully with your screwdriver.
2. Gently pull the panel away from the wall, being cautious not to damage any wires.
3. Disconnect the wires from the old control panel. Make a note of where each wire connects; taking a quick photo can help if you’re a visual learner.
If you run into rusty screws or stubborn wiring, a little finesse can go a long way. Just like peeling an orange—the goal is to keep everything intact while freeing it up.
Installing the New Genie Control Panel
Here’s the exciting part: installing your new Genie control panel! This is where you finally get to see your hard work pay off. Follow these steps to get it hooked up seamlessly:
1. Position the new control panel on the wall where the old one was situated. Ensure it’s at a comfortable height for easy access, typically around five feet off the ground.
2. Attach it with screws to the wall, making sure it’s secure. If needed, use a level to ensure it’s straight. No one wants a crooked panel!
3. Connect the wires to the appropriate terminals on the control panel. Refer to the photo or notes you took earlier; you want to ensure each wire goes to its correct spot.
You might be wondering why the placement is so important. Well, an accessible and organized panel helps avoid installation headaches in the future when you need to troubleshoot.
Connecting to the Garage Door Opener
Now that the control panel is securely on the wall, it’s time to connect it to your garage door opener. This process is like tuning a guitar—you want everything to sync perfectly for smooth operation.
1. Locate the garage door opener unit, usually found on the ceiling of your garage.
2. Identify the terminals for the control panel on the opener. This information should be in your Genie owner’s manual, so keep it handy.
3. Connect the same wires from the control panel to the respective terminals on the opener, ensuring they match as you did with the panel.
Once everything is connected, it’s crucial to double-check your wiring. A loose connection could lead to intermittent issues later. Just like making sure a gift tag is firmly attached, a solid connection ensures smooth operation long-term.
Test the Control Panel
With everything connected, it’s time for a test run! Think of this like the moment you hit “play” on a movie you’ve been looking forward to. So, after triple-checking that everything is connected properly:
1. Turn the power back on to the garage door opener via the breaker.
2. Press the button on your new control panel. If installed correctly, you should hear the garage door motor engage.
3. Observe how the garage door opens and closes. Make sure it responds smoothly to all commands.
If the door doesn’t operate smoothly, check your wiring again, and ensure all connections are snug. There’s no shame in troubleshooting, especially since this often saves time and frustration in the long run.
Troubleshooting Common Issues
Once your Genie control panel is up and running, it’s essential to know how to handle potential hiccups. Let’s face it—every tech device can have its quirks. So, here are some common problems and easy fixes:
– The control panel doesn’t light up: Check that you’ve wired it properly and that the power is indeed on. Also, look out for a blown fuse.
– The door doesn’t respond: This could be due to mismapped wires. Double-check that each wire is connected to the right terminal on both the panel and opener.
– The signal seems weak: If you’re experiencing limited range, you might need new batteries in your remote or to reset the system.
Troubleshooting can feel like detective work: solve the mystery and get everything back on track!
Congratulations! You’ve successfully installed your Genie control panel and now have the convenience of controlling your garage door with ease. Just remember, like any new technology, familiarizing yourself with everything it offers might take some time. But soon enough, you’ll find it becomes second nature.
Maintaining your garage door opener involves regular checks and being aware of any unusual signs, like odd noises or sluggish movement. If you encounter problems, reach out for help or consult the manual. With everything working smoothly, you can sit back and enjoy the comfort that your new control panel brings. Happy opening!
