We’ll explore how to troubleshoot a garage door opener, specifically addressing those moments when the motherboard needs a little *snapping in*. Whether you’re using a LiftMaster, Chamberlain, or Genie opener, the steps outlined here can help you get back on track. So grab your tools, and let’s roll up our sleeves.
Understanding Your Garage Door Opener’s Motherboard
The motherboard of your garage door opener is where all the magic happens. This little circuit board manages signals between your remote and the opener. It’s like the conductor of an orchestra, making sure all instruments play in harmony. If it’s loose or not properly connected, signals get confused, and your garage door might just sit there, looking pretty instead of opening up.
When you press your remote, it sends a signal to the motherboard. If everything is humming along, your garage door will respond. But if the motherboard needs snapping in or has become misaligned, your door will stubbornly refuse to cooperate. It’s frustrating, but with a little patience and some basic tools, you can fix it.
Gathering Your Tools
Before you get started, you’ll want to gather a few essential tools. Here’s a handy list of what you might need:
- Flat-head screwdriver
- Phillips screwdriver
- Safety goggles
- Flashlight (for better visibility)
- Step ladder (if your opener is mounted high)
Having the right tools on hand makes troubleshooting easier and more efficient. You don’t want to run back and forth in search of a screwdriver while grappling with a stubborn motherboard!
Safety First!
Before you dive into any troubleshooting tasks, keep safety at the forefront. Garage doors can be heavy and surprisingly dangerous. Here are some safety tips to keep in mind:
- Disconnect Power: Unplug the garage door opener to avoid any accidents while you’re working.
- Wear Safety Goggles: Protect your eyes from dust and debris.
- Check Your Ladder: Ensure it’s stable before climbing to reach high components.
Taking a moment to ensure you’re safe can go a long way toward preventing accidents.
Locating the Motherboard
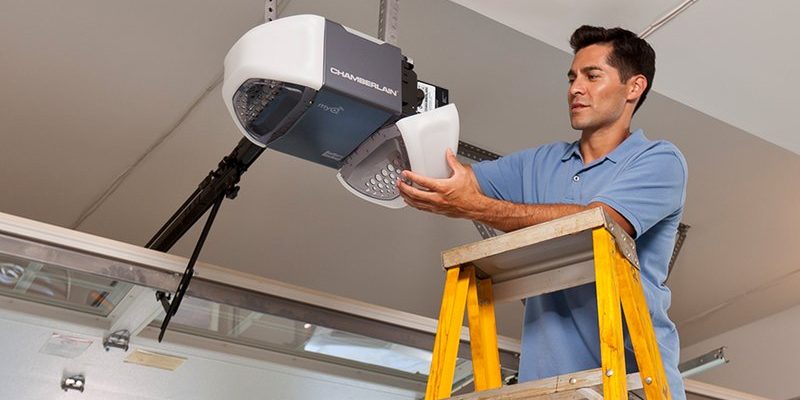
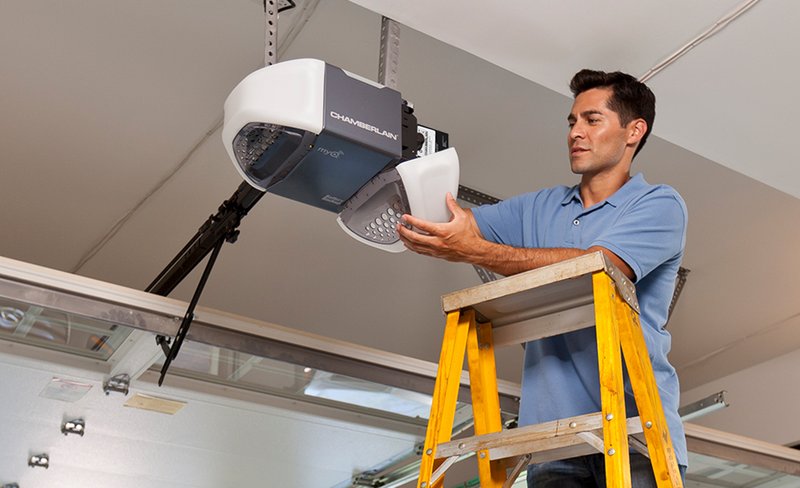
Now, let’s find that elusive motherboard. Typically, it’s located inside the garage door opener unit mounted on your ceiling. Here’s how to locate it:
1. Use Your Flashlight: Shine your flashlight onto the unit.
2. Remove the Cover: Depending on the brand, you may need to unscrew or slide off a cover to access the interior.
3. Identify the Motherboard: Look for a large, green circuit board with various wires and components attached.
If you’re staring at a sea of wires and circuits, don’t panic. Just remember, we’re working together here!
Check for Loose Connections
With the cover removed, it’s time to take a closer look at those connections. A loose connection is like having a band member not show up for practice—things simply won’t sound right.
– Gently tug on the wires connected to the motherboard. If anything feels loose, it might need to be reconnected properly.
– Make sure all plugs and connectors are seated firmly. You should hear or feel a slight click when they’re securely in place.
If you’re not comfortable doing this, it’s okay to call in a professional. Just remember that many issues can be resolved with a simple *snap*.
Snapping It In! What To Do
Once you’ve identified any loose connections, it’s time for the important part: snapping the motherboard in place. Here’s how to do it without causing any damage:
1. Align the Board: Ensure the motherboard is positioned correctly within the housing.
2. Gently Push: Firmly but carefully push the motherboard back into its slot until you hear a click.
3. Reconnect Wires: If necessary, reattach any wires that may have come loose during the inspection.
Just like securing a puzzle piece, make sure everything fits snugly. If something feels forced, stop! You might need to adjust it.
Testing Your Garage Door Opener
With everything back in place, it’s time to test your garage door opener. This is the moment of truth, so let’s see if all your efforts have paid off.
– Plug It In: Reconnect the power supply to your garage door opener.
– Use Your Remote: Stand a few feet away and press the corresponding button.
– Observe: Does the door respond? If it opens smoothly, congratulations—you’ve successfully snapped the motherboard in!
If it doesn’t work, don’t worry too much. It can be a little trial and error.
Common Issues and Solutions
Sometimes, troubleshooting can reveal hidden issues that aren’t as straightforward. Here are a few common problems and their solutions:
- Remote Won’t Sync: If your remote doesn’t work after you snap in the motherboard, try reprogramming it. Each brand has specific instructions for this.
- Frequent Interruptions: If your door starts behaving erratically, it could mean a deeper issue with the wiring or an internal malfunction.
- Door Stuck Midway: This might be due to alignment issues. Make sure your door runs smoothly on its tracks and there’s no obstruction.
Addressing these common troubleshooting issues can save you a lot of time and hassle.
When to Call a Professional
While many issues can be handled with a bit of DIY spirit, there are times when it’s best to call in the experts. If you’re facing persistent problems that go beyond the motherboard, it might be time to reach out to a professional.
Signs it’s time to call for help include:
1. Burnt Smell or Smoke: If you notice unusual odors or smoke, stop everything and unplug the unit.
2. Physical Damage: Cracks in the circuitry or sad wiring call for immediate attention.
3. Multiple Malfunctions: If other components like sensors and lights are also failing, a professional can help diagnose the root cause.
It’s always smarter to be safe than sorry.
Maintenance Tips for Longevity
Once you’ve managed to revive your garage door opener, don’t forget about regular maintenance. Keeping everything in tip-top shape will prevent future issues.
– Regularly Check Connections: Make it a habit to inspect the motherboard and connections twice a year.
– Lubricate Moving Parts: This can help reduce wear and tear on the opener.
– Test the Remote: If your remote is becoming unresponsive, replace the battery immediately and check connections.
Taking a few minutes for regular upkeep can save a lot of heartache down the road.
Troubleshooting a garage door opener with a motherboard that needs snapping in doesn’t have to be a daunting task. Armed with curiosity and a few tools, you can tackle this challenge like a pro. Remember to prioritize safety, check those connections, and don’t hesitate to call in a professional when needed.
With a little patience and practice, you’ll find that working on your garage door opener isn’t just about fixing it. It’s about understanding how it functions and gaining confidence in your DIY skills. So next time your opener refuses to budge, you’ll be ready to dive right in!