
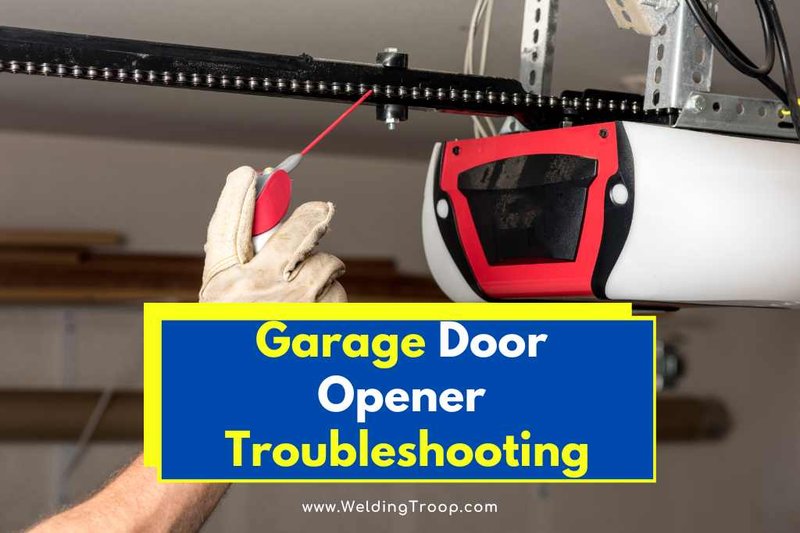
Setting up a garage door opener seems straightforward—they’re designed to be user-friendly, after all. Yet, sometimes even the simplest tasks can throw us for a loop, especially if you’re dealing with different remote types or brands. Whether you’re using a Chamberlain or a Liftmaster remote, knowing how to troubleshoot effectively can save you a lot of time and headaches. Let’s dive into the basics and figure out what’s going wrong with your opener.
1. Check Your Power Source
The first step in troubleshooting a garage door opener that couldn’t set up is to examine the power source. If your opener isn’t receiving power, it won’t budge. Picture this: your opener is like a phone; if the battery runs out, it simply won’t work.
– Inspect the Plug: Make sure the opener is plugged into a working outlet. Sometimes, we accidentally bump the cord, tripping the plug.
– Check the Circuit Breaker: If it’s plugged in but still won’t work, check your home’s circuit breaker. A tripped breaker can easily disrupt power to the garage door opener.
– Power Surges: Consider if there was a recent storm. Power surges can cause outlets to fail temporarily. If your opener has a battery backup, ensure it’s charged.
If everything checks out here, it might be time to move on to other troubleshooting steps.
2. Inspect the Safety Sensors
Most modern garage door openers come with safety sensors. They’re like your trusty sidekick—always watching out for things in the way. If these sensors are misaligned or blocked, your door simply won’t open.
– Alignment: Check that the sensors on either side of the door are facing each other. Sometimes, they get knocked out of line just a bit, which means they can’t communicate.
– Dirt and Debris: Wipe the lenses of the sensors with a clean cloth. Dust and grime can block signals, just like a foggy windshield reduces visibility.
– Obstructions: Ensure there’s nothing obstructing the sensors. Sometimes small objects or even garden tools can block the sensors, causing the door to remain stationary.
If the sensors seem okay but the opener still won’t set up, let’s explore other solutions.
3. Test the Remote Control
Your remote is like a magic wand—it controls when the garage door opens or closes. If it’s not working, the garage door opener can’t respond. Here are some steps to test the remote:
– Change the Batteries: First things first: try replacing the batteries. It’s a straightforward fix and often the root cause of a malfunctioning remote.
– Check for Damage: Look for any visible signs of wear or damage. If the remote has suffered a fall, the internal components might be misaligned.
– Press the Button: Stand closer to the opener or try a different angle. Sometimes, just repositioning yourself helps the signal reach.
If none of these steps work, you might want to consider reprogramming your remote.
4. Reprogramming the Remote
Reprogramming your remote can solve overlooked syncing issues. Think of it like resetting your Wi-Fi when your internet is acting up. Depending on your model, the steps may vary, but here’s a general process to reprogram your garage door remote:
1. Locate the “Learn” button on your garage door opener (it’s usually on the back).
2. Press and hold the learn button until the indicator light blinks. This might take about 6 seconds.
3. Press the button on the remote you’d like to program within 30 seconds.
4. Wait for the light on the opener to blink or make a click sound, indicating it’s successfully synced.
If you’ve followed these steps accurately, your remote should be back in business, but let’s check a few more things just to be thorough.
5. Resetting the Garage Door Opener
Sometimes, a full reset can breathe new life into your garage door opener. It’s like giving your opener a fresh start. Here’s how to do it:
1. Disconnect Power: Unplug the opener or switch off the circuit breaker that controls it.
2. Wait: Leave it unplugged for about 10–15 minutes. This allows all systems to reset entirely.
3. Replug: Once you plug it back in, wait for the lights to stop blinking.
4. Re-setup: Refer to your manual for any initial setup steps or reprogramming necessary after a reset.
This process helps clear out any error states your opener may have gotten stuck in.
6. Check the Garage Door Tracks
Imagine loading your car into a driveway with tracks filled with obstacles; it’s not going to end well. Similarly, your garage door needs clear tracks to function smoothly. Here’s how to check that:
– Inspect for Debris: Make sure there aren’t any leaves, dirt, or other debris clogging the tracks.
– Look for Dents or Bends: Check the tracks visually for any signs of damage. If they’re bent or dented, they can prevent the door from moving correctly.
– Clean the Tracks: A good cleaning can do wonders. Use a damp cloth or sponge to wipe down the tracks and free them from blockages.
Once the tracks are clear and in good condition, it can make a significant difference.
7. Evaluate the Garage Door Itself
It’s time to turn our attention to the door itself. If the door is sticking or not closing properly, it can lead to setup issues, making it feel like you’re trying to maneuver a stubborn door.
– Weight Distribution: Ensure that the garage door isn’t too heavy or unbalanced. A door that’s off-balance can strain the opener and cause erratic behavior.
– Check the Springs: Look at the garage door springs—if they look worn or broken, it’s best to seek a professional. This can affect the overall performance and safety of the door.
– Lubrication: Apply lubricant to the hinges and rollers. A bit of lubrication can go a long way in helping your door operate smoothly.
When the door itself is in good shape, it can resolve many issues over time.
8. Seek Professional Help
If you’ve tried all the troubleshooting steps and your garage door opener still won’t set up, it might be time to call in the experts. Let’s be honest—sometimes, DIY fixes just don’t cut it.
– Warranty Coverage: If your opener is still under warranty, check with the manufacturer. They may provide free repairs or replacement.
– Professional Assessment: A trained technician can pinpoint deeper issues you might not see—like electrical problems or component failures.
– Safety First: Remember that garage doors are heavy, and dealing with springs and electrical components can be dangerous. If you’re unsure, it’s always best to consult with someone who knows.
With the right help, you’ll have your garage door opener up and running smoothly before you know it!
Troubleshooting a garage door opener that couldn’t set up might seem daunting at first, but it’s often about ruling out common issues. With a little patience and these simple steps, you can typically get to the bottom of what’s causing the problem. Remember to check the power source, inspect your remote, align those safety sensors, and keep an eye on the garage door itself.
Honor the troubleshooting journey—it’s a learning process! And if you feel like you’ve hit a dead end, reaching out for professional help could be the best next step. With a bit of effort, you’ll soon enjoy the ease of pulling your car into the garage without a hitch!