Decorative hardware includes items like handles, hinges, and decorative brackets. Just like picking the right accessories for your outfit, choosing the right decorative pieces for your garage door can elevate its overall appearance. Honestly, tackling this home improvement project can be easier than you might think, especially when you have clear steps to follow. Whether you’re using a traditional garage door opener brand like Chamberlain or a smart model like LiftMaster, adding that bit of flair is within your reach.
Understanding Decorative Hardware
Decorative hardware comes in various styles and materials. This includes options like wrought iron, stainless steel, or even plastic. These elements serve both function and form, securing your door while enhancing its design. The first step is to think about the style of your home. If you have a rustic or traditional home, wrought iron might be the way to go. For something more modern, sleek stainless steel might catch your eye.
You might be wondering, “what exactly can I add to my garage door?” Here are a few popular choices:
- Handles: These give your door the look of a carriage house door, adding elegance.
- Hinges: Decorative hinges can make a flat surface pop and add an element of surprise.
- Straps: Long, decorative straps can be affixed to create a rustic, farmhouse feel.
Choosing hardware that complements your home’s architecture is key. You wouldn’t wear a beach outfit to a formal dinner, right? Apply the same principle to your home’s exterior design.
Gathering Your Tools and Materials
Before you dive in, let’s ensure you’re well-prepared. Having everything you need on hand makes the installation process smoother. Here’s what you’ll typically require:
- Decorative hardware: Handles, hinges, or straps.
- Power drill: For making holes if necessary.
- Screws: Most hardware comes with screws, but extra ones might be needed based on the material of your garage door.
- Measuring tape: To get everything lined up correctly.
- Pencil: For marking installation spots.
Having a plan makes all the difference. You wouldn’t go on a road trip without a map, would you? Similarly, knowing what tools and materials you need will save you time and frustration when it’s time to start.
Preparing Your Garage Door
Now that you have your materials ready, it’s time to prepare your garage door. This step is crucial to ensure the decorative hardware adheres properly and looks good. First, clean the area where you plan to install the hardware. Dust, dirt, or grease can affect the adhesive and screw grip.
You can use a mild soap and water mixture to wipe down the installation spots. If you’re using metal pieces, make sure to dry them completely to prevent rust. Once everything looks pristine, you can start measuring. Measure the desired locations for handles and hinges, and don’t forget to double-check your measurements. A slight miscalculation here could lead to an uneven look later.
Choosing the Right Location for Your Hardware
Deciding where to place your decorative hardware is essential. Mark the spots carefully with your pencil. Generally, handles are placed at about one-third the height of the door for balance, while hinges can be positioned a few inches in from the edges.
Consider the overall look you’re going for. If you’re aiming for a symmetrical design, make sure both sides of the door match. It’s like styling your hair — balance makes all the difference.
Remember to step back and evaluate your marked spots. You might even find it helpful to use painter’s tape to visualize how everything will look before drilling any holes.
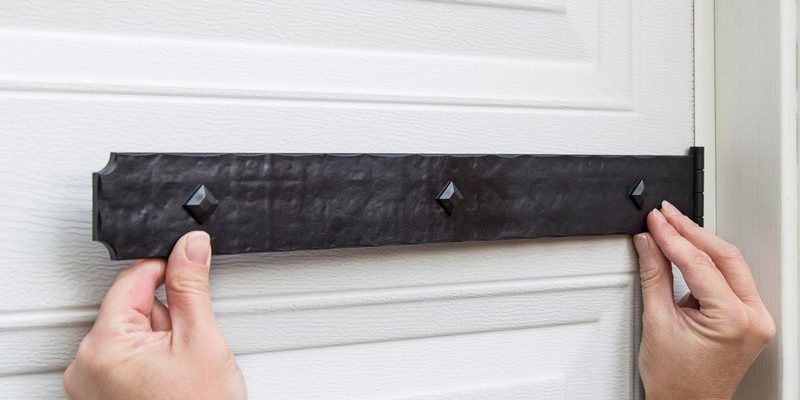
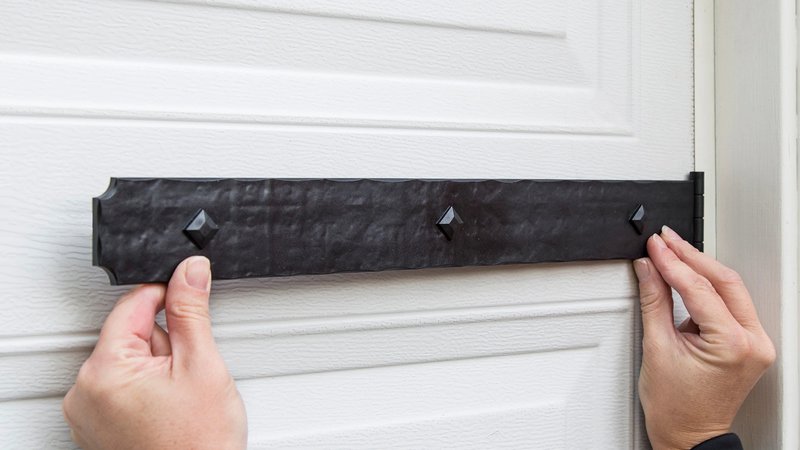
Installing the Decorative Hardware
Once you’re satisfied with the placement, it’s time for installation. Start with the handles. Using your power drill, create pilot holes where you marked for the screws. This helps prevent the wood from splitting. Secure the screws for your handles, but avoid over-tightening to protect both your hardware and the garage door.
Next, install the hinges. Some decorative hinges simply mount over existing ones, while others might need their installation holes drilled. Again, take your time. You want everything to sit flat for a polished look.
Let me explain: think of this as putting together a puzzle. Each piece has to fit just right to create a stunning image.
Painting and Finishing Touches
With the hardware installed, the last step is to assess the overall finish. If your hardware seems slightly off from your existing door color, consider painting it. Using a spray or brush-on paint designed for metal can give your hardware a polished and cohesive look.
Before you paint, cleaning the surface is crucial! Make sure there’s no dust or grease that will compromise the finish. Apply the paint evenly and allow it to dry fully before handling. This ensures a long-lasting finish that won’t chip easily.
It’s like putting a cherry on top of a sundae — the right detail can elevate your project from ordinary to wow!
Maintenance for Your New Decorative Hardware
Now that your decorative hardware is installed and looking fabulous, you want to keep it in top condition. Regular maintenance is crucial. Check the screws periodically to ensure they’re tight and the hardware hasn’t shifted. A visual inspection helps catch any wear before it becomes a problem.
For metal hardware, keep an eye out for rust. If you see it starting to form, clean it off and consider applying a protective coating to prevent future rust. And if you ever need to remove your decorative fixtures, make sure to keep all the screws and pieces in a safe place.
A little attention goes a long way in maintaining that fresh, stylish look.
Enhancing Your Home’s Curb Appeal
Installing decorative hardware on your garage door is not just a project; it’s a chance to inject some personality into your home. As you stand back and admire your work, think about how much this small change can affect your home’s overall curb appeal.
Remember, potential buyers often consider the look of the garage door an expression of the home. By making an easy upgrade, you can create a striking first impression without a hefty investment or extensive remodel.
So, whether you plan to enjoy your garage for years to come or put it on the market someday, decorative hardware offers both beauty and value. It’s a bit like sprucing up your wardrobe — everyone appreciates a well-tailored look!
Final Thoughts
Transforming your garage door with decorative hardware isn’t as daunting as it might seem. With just a handful of tools, some creativity, and careful planning, anyone can achieve stunning results. Now that you know the steps, I hope you feel more empowered to give your garage door that stylish upgrade it deserves.
Go ahead and enjoy the journey of enhancing your home’s exterior. Your newly adorned garage door will not only beautify your property but also add a personal touch that reflects your unique style. So why wait? Grab your tools, and let’s get decorating!