Whether you’re using a LiftMaster or a Chamberlain, the core principle of how these sensors work remains the same. Think of them like a safety net; they’re designed to keep your garage door from closing on anyone or anything in its path. When they’re tripped, the door won’t budge, which is a good thing for safety, but it’s annoying when you want it to operate smoothly. Let’s dive into the steps to troubleshoot this issue.
Understanding Garage Door Opener Sensors
Before we dig into the troubleshooting steps, it’s essential to understand how these sensors operate. Garage door openers typically rely on two sensors positioned at the base of the door tracks. One is transmitting a signal, while the other receives it. When the beam of light between them is interrupted, the opener reacts by stopping the door from closing.
These sensors are a vital safety feature, so it’s not surprising they can sometimes misbehave. If they get blocked or misaligned, it can lead to your garage door unexpectedly reversing or refusing to close altogether. Picture an invisible laser beam—when it’s clear, everything runs smoothly. But even a small obstruction, like dirt or an errant leaf, can trip it.
Common Causes of Sensor Issues
There are several reasons your garage door opener’s sensors might trip. Keeping an eye on these can save you time and headaches during troubleshooting. Here are some of the usual suspects:
- Dirty Sensors: Dust, spider webs, or even rain can obstruct the sensors’ signals.
- Misalignment: Sometimes, the sensors just need a little nudge to get back into the right position.
- Cable Damage: Frayed wires or damaged cable connections can interrupt the signal flow.
- Obstruction: Large objects or debris blocking the path can trigger the safety feature.
Identifying these issues is the first step. If you can check off any of these boxes, you’re already on your way to restoring smooth operation to your garage door.
Step 1: Inspect the Sensors for Obstructions
The first troubleshooting step is to give both the sensors a good visual inspection. Is there something blocking the path? Things like sticks, leaves, or even your kid’s bike could be causing mischief.
Here’s what to do:
– Clear any debris from around the sensors carefully.
– Make sure nothing is near the door that might interfere when it closes.
– A quick wipe with a cloth won’t hurt, especially if dust has settled.
If you can’t spot anything, move on to the next step.
Step 2: Check Sensor Alignment
After ensuring everything is clear, it’s time to check if the sensors are aligned properly. One sensor shouldn’t be looking up into the sky while the other is directed straight at it! This misalignment is often what causes tripping issues.
To check alignment:
1. Stand back and see if the sensors are pointing directly at each other.
2. If they look off, adjust the brackets that hold them until they align perfectly.
3. Secure them tightly once you have them lined up.
You can also tell they’re aligned correctly when the indicator lights on each sensor are solid rather than blinking.
Step 3: Test the Connection Wires
If your sensors are clean and aligned but still causing issues, it might be worthwhile to inspect the wiring. Over time, the cables can become damaged or frayed, disrupting the signal. Here’s how to examine them:
- Look for any visible signs of wear or damage.
- Use a multimeter to check for continuity in the wires.
- If you find any breakage, consider replacing the cables altogether.
In some cases, this may require professional help, particularly if the wires are not easily accessible.
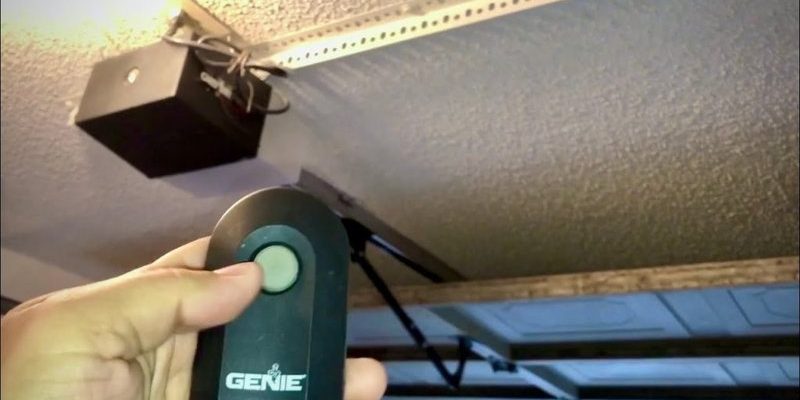
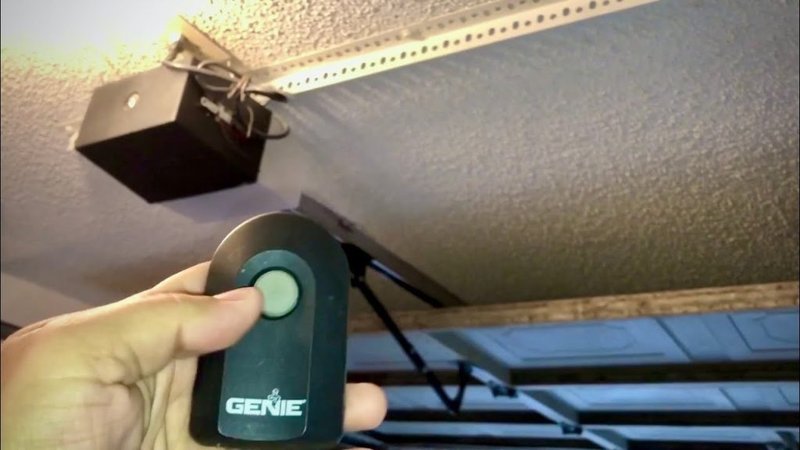
Step 4: Examine the Remote Control
Is your garage door remote also acting funky? Sometimes, the issue isn’t with the sensors but with the remote itself. If your garage door opener seems to misinterpret the signals, it might be time to check your remote.
Here’s what you can do:
– Replace the remote batteries. This simple act often resolves the issue.
– Make sure you’re in range of the sensors when pressing the button.
– If you have a universal remote programmed, ensure it’s still correctly synced to your opener.
If your remote is still not working after these steps, it may need to be reprogrammed—something that varies by brand, so be sure to consult your manual.
Step 5: Resetting the Garage Door Opener
Things still aren’t working? It’s time for a reset. This can often clear any electronic glitches that might be causing the sensors to act up. The reset procedure can differ between models, but here’s a general approach:
1. Locate the reset button on your garage door opener unit—often found on the back or side.
2. Press and hold the button for about 10 seconds until the lights on the unit flash.
3. Release the button and wait a moment.
4. Test the system again to see if the sensors are functioning properly.
Resetting can breathe new life into a struggling system!
Step 6: Seek Professional Help
If you’ve diligently followed these troubleshooting steps and the issue persists, it might be time to call in a professional. Recognizing that some problems require expert insight can save you time in the long run.
Professionals can diagnose issues that might not be visible to the untrained eye, such as internal faults in the opener or more significant wiring issues. Don’t hesitate to reach out; sometimes a little extra help is all you need.
Why Proper Maintenance Matters
Once you’ve solved the immediate sensor issues, maintaining your garage door opener will help prevent future problems. Regular checks, such as cleaning the sensors and inspecting the tracks, are vital to keeping everything running smoothly. Routine maintenance can save you not only headaches but also time and money.
Try to perform the following tasks every few months:
– Inspect and clean sensors
– Tighten loose screws and tracks
– Lubricate moving parts to keep them functioning well
Taking these simple steps can keep your garage door opener in top shape for many years.
Troubleshooting a garage door opener that trips its sensors can seem daunting at first, but breaking it down into manageable steps makes it far more approachable. From cleaning the sensors to verifying alignment, there’s a path to restoring your opener to its full glory.
Remember, always address the basics first. If you’ve made it through the troubleshooting checklist and the problem persists, don’t hesitate to call for professional support. Keeping your garage door opener healthy and functional is essential for your convenience and safety—trust me, you’ll appreciate not having to deal with those annoying trips again!