There are many types of garage door openers out there, from LiftMaster to Chamberlain to Genie. Each brand may have its nuances, but the basic steps for resetting them remain quite similar. Think of this guide as your blueprint for reestablishing contact between your remote and the opener after the lights have come back on. Ready to dive in? Let’s get started!
Understanding Your Garage Door Opener
Before we jump into the reset process, let’s get familiar with the players involved. A typical garage door opener includes a motor unit mounted on the ceiling, the garage door itself, and the remote control that you use.
You may also have a keypad installed outside your garage, allowing you to access it without a remote. Each of these parts has a unique function, and when you lose power, they might need a few minutes to align again. Think of your garage door opener system as a team that needs to regroup after a timeout.
Here’s a fabulous fact: many garage door openers come with a battery backup, which ensures you can still operate your door during an outage. However, once the power returns, sometimes these backups can throw the system out of sync, which is where resetting comes into play.
Why You Might Need to Reset Your Garage Door Opener
You might be wondering, “Why do I even need to reset my garage door opener?” Well, when the power goes out, your opener and remote might lose their “dance” connection. This can lead to several issues, such as:
- The remote not working at all.
- The garage door opens or closes partially.
- Unresponsiveness despite hitting the remote button multiple times.
In simple terms, resetting allows your remote and opener to reestablish communication. Think of it like when you’re trying to connect to Wi-Fi: sometimes, you just need to refresh your device to get that perfect connection back.
Preparing for the Reset Process
Before diving into the reset process, take a moment to gather what you need. It’s like preparing going on a small adventure; the better prepared you are, the smoother the journey! Here’s what you need to check:
1. Remote Control: Make sure the batteries are fresh. A weak battery can cause connection issues.
2. Clear Path: Ensure nothing is blocking the door’s track. Safety comes first!
3. Access to the Motor Unit: Be ready to reach your garage door opener motor, which is usually mounted on the ceiling.
Once you’ve checked these items off your list, you’re all set to reset your garage door opener. Trust me, it’ll feel great to know that you’re prepared.
Steps to Reset Your Garage Door Opener
Resetting your garage door opener is pretty straightforward. Follow these steps closely, and you’ll be back in action:
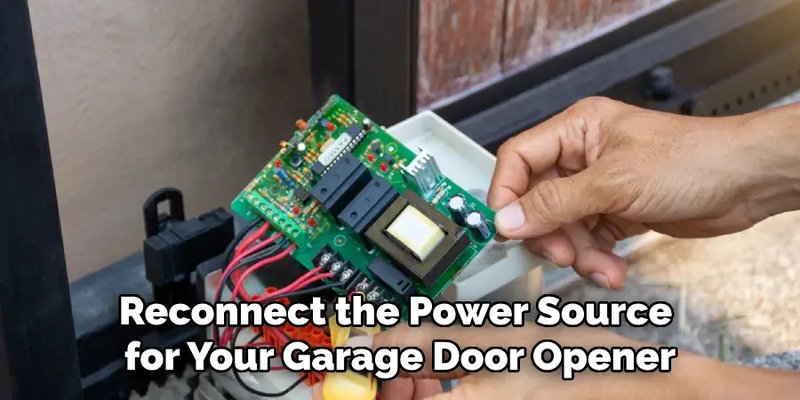
1. Disconnect Power: Start by unplugging the motor unit from the power outlet. Wait about 30 seconds. This pause ensures that the system fully resets.
2. Replug the Unit: After the 30 seconds, plug the motor unit back into the power outlet.
3. Locate the Learn Button: Check your motor unit for a button typically labeled “Learn”, “Program”, or something similar. The button may be colored (often green or red).
4. Press the Learn Button: Press this button once. If your engine lights blink or you hear a click, that means it’s ready to be synced with a remote.
5. Reprogram the Remote: Grab your remote and press the button you want to sync with the opener. Hold it down until you see the motor unit light blink again or hear another click.
6. Test the Remote: Try to operate your garage door with the remote. It should work like new!
Remember, if at any point your settings don’t seem to clear, you may need to consult your user manual or visit the manufacturer’s website for specific guidance based on your model.
What to Do If Your Remote Still Doesn’t Work
Sometimes despite following the steps, your remote may still give you the silent treatment. Don’t panic. Here are troubleshooting tips you can try:
– Check the Batteries Again: Even new batteries can occasionally be faulty. Try another set if need be.
– Inspect the Remote for Damage: Look for cracks or water damage; if your remote has seen better days, it might be time for a replacement.
– Check the Wiring: Look at the wiring connected to the motor unit. Loose or damaged wires can often cause issues.
If these tips still don’t resolve your issue, the problem may lie with the garage door opener itself, and you might need professional help.
Using a Universal Remote
Maybe you’ve thought about getting a universal remote? This option can be a lifesaver in case your remote is lost or broken. Universal remotes can be programmed to work with various brands, making them versatile.
Here’s a quick comparison:
– Brand-specific Remotes: Usually pre-programmed to sync perfectly with your opener.
– Universal Remotes: Can work with multiple models but might require a bit more effort to set up.
Deciding which to use ultimately comes down to your needs—whether you want that brand-specific accuracy or the flexibility of a universal option.
Preventive Measures for Future Power Outages
To keep your garage door from giving you trouble in future outages, consider these preventive measures:
– Battery Backup Systems: Some garage door openers come with robust battery backup. If your area frequently experiences outages, investing in one can save you headaches.
– Regular Maintenance: Test your system regularly. If you’ve had power fluctuations, it’s a good time to ensure everything’s running smoothly.
– Surge Protectors: Use surge protectors for your garage door opener. This can help protect it from sudden power spikes.
Implementing these steps can help ensure you don’t find yourself struggling to reset your opener again.
Resetting your garage door opener after a power outage can feel daunting, but now that you’ve got the steps down, it should be a breeze. Remember to check your remote batteries, follow the reset process, and if all else fails, troubleshoot gently.
Your garage door is an important part of your home, and taking care of it means you can access it without a hitch when you need to. And hey, the next time those lights flicker, you’ll know exactly what to do!