Chamberlain wall buttons come in various models, and they work seamlessly with Chamberlain garage door openers. Whether you’re just moving in, upgrading an old system, or simply want a more convenient way to operate your garage door, this installation guide has got you covered. So, grab your tools, put on your favorite playlist, and let’s get started.
What You’ll Need for Installation
Before diving into the installation process, it’s important to gather the right tools and materials. Having everything on hand will make the job smoother, kind of like preparing all your ingredients before cooking a recipe. Here’s a quick rundown:
- Chamberlain wall button – Make sure it’s the model compatible with your opener.
- Screwdriver – A standard or Phillips, depending on your wall button design.
- Drill (if necessary) – For making holes in the wall.
- Level – To ensure the button is straight.
- Wire stripper – To prepare your wires for connection.
- Electrical tape – For securing any connections.
Having these tools ready allows you to focus on what matters most: getting that wall button in place and functioning properly.
Choosing the Right Location
Next up, let’s talk about where to put that wall button. It might seem like a simple decision, but there are a few key factors to consider. First, you’ll want it to be within easy reach. Ideally, it should be positioned about 5 feet off the ground, so it’s accessible for most family members without being too easy for little hands to reach.
Also, think about the visibility. You wouldn’t want it tucked away in a corner where it’s hard to find. Instead, aim for a spot near the entrance of your garage, visible from inside and outside. Finally, consider any obstructions—like shelves or other fixtures—that could block it. Finding the right place makes a big difference in usage, similar to finding the perfect spot for a light switch.
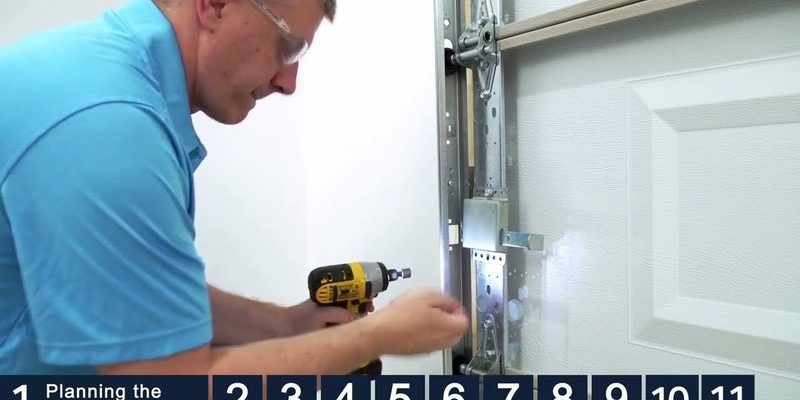
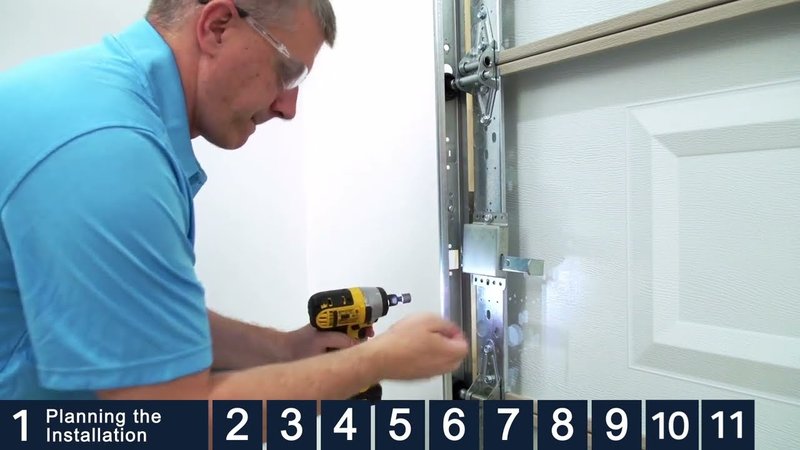
Wiring the Wall Button
Now we get into the meat of the installation: wiring the wall button. Start by turning off the power to your garage door opener. It’s the safest route—nobody wants to accidentally get a shock while working! Once the power is off, you can access the back of the wall button.
You’ll see two or three terminal screws, typically labeled for easy identification. If your button has two wires, connect one wire to the “Up” terminal and the other to the “Common” terminal. If there’s a third wire, it usually goes to a “Light” terminal. Strip about half an inch of insulation off each wire to ensure a solid connection. Remember, securing these connections properly is key to avoid malfunctions later.
Mounting the Wall Button
With the wiring set, it’s time to mount the wall button to the wall. First, hold the wall button against the wall at your chosen location. Use a level to check it’s straight; no one wants a crooked button! Mark the spots where the screws will go.
Drill holes where you’ve marked if necessary. Then, align the wall button over the holes and insert the screws, tightening them with your screwdriver. It should be firmly anchored against the wall, able to withstand frequent use without coming loose. Just like hanging a picture frame, the goal is to make it both functional and aesthetically pleasing.
Testing the Wall Button
Once the wall button is securely mounted, it’s time for the moment of truth: testing it out! Before turning the power back on, double-check all your connections to ensure everything is tight and in place. Accidents happen, right?
Now, restore the power to the garage door opener. Stand clear and press the button. If all goes well, the door should respond immediately. If it doesn’t, don’t panic! Check all your connections again, and make sure power is flowing to the garage door opener. Sometimes, it’s just a matter of resetting or re-syncing. If after a couple of tries it still isn’t working, consult the manual or reach out to customer support.
Troubleshooting Common Issues
Even with careful installation, issues can arise. Here are some common problems and how to tackle them.
No Response When Pressed:
If the button does nothing when you press it, first check if the garage door opener is powered. If it is, look again at your wiring connections. It’s easy to overlook a loose wire or misconnect.
Intermittent Operation:
When the wall button works sporadically, it may indicate a weak connection or a problem with the wall button itself. Make sure the screws are tight, and if everything looks good, consider replacing the wall button or checking the remote sensor.
Button is Too Sensitive or Not Sensitive Enough:
If your button seems too touchy or not responsive enough, adjusting the sensitivity on your garage door opener might help. This will vary by model, so refer to your manual for specific steps.
By addressing issues as they come, you can keep your system running smoothly.
Installing a Chamberlain wall button isn’t just about convenience; it’s also about making life a little easier. With a few tools, a little time, and patience, you can be on your way to effortlessly opening and closing your garage door at will. Remember, the key is in the details—whether it’s the wiring, the mounting, or troubleshooting issues.
So, tackle the installation with confidence and enjoy the newfound ease of accessing your garage. Now, every time you press that button, you’ll feel a little glow of accomplishment—it’s like having a magic wand for your garage! If you run into any hiccups, just refer back to this guide, and you’ll be back on track in no time. Happy installing!