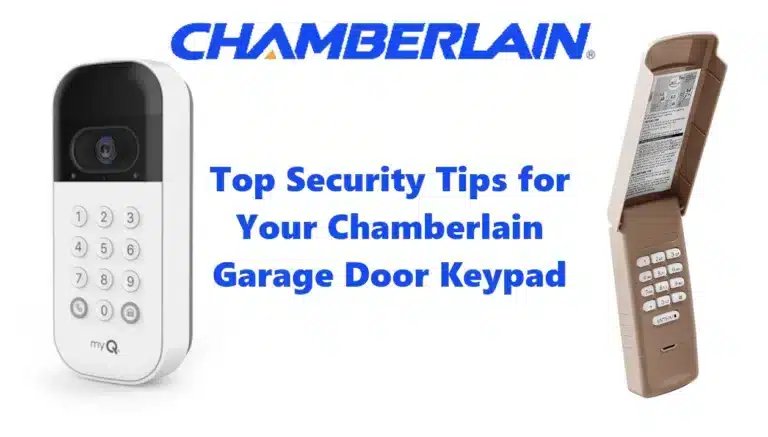
Now, whether you’ve just bought your Chamberlain keypad or you’re looking to replace an old one, knowing how to install it is crucial. Once set up, this handy little device gives you easy access to your garage, enabling family and friends to come in without fumbling around for keys or remotes. Think of it as a bouncer with a secret code that only you and your loved ones know. So, let’s get started!
Gather Your Tools and Materials
Before you rush into installation, let’s make sure you have everything you need at your fingertips. Here’s a quick list of tools and materials to gather:
- Chamberlain Keypad
- Screwdriver (flathead or Phillips, depending on the screws you’ll encounter)
- Drill (if your wall requires it)
- Level (to ensure your keypad is straight)
- Batteries (make sure they’re new and compatible)
- Tape measure (to know exactly where you’re mounting)
With these tools lined up, you’re all set to start the installation process. Having everything in one place makes you feel like a contractor ready to build something great—except it’s just a keypad!
Choose the Right Location
Choosing the perfect spot for your keypad is crucial. This isn’t just about slapping it on the wall; it’s about functionality and accessibility. You want to find a place that’s close enough to your garage door but also visible and easy to reach.
Think about where you typically park your car. You don’t want to jump through hoops to enter your access code. Ideally, you should mount it about 5 feet off the ground—this height is user-friendly for both adults and kids. Plus, make sure it’s illuminated enough during the night; you might need to enter your code while your hands are full or it’s dark outside.
Remember, it’s all about convenience! Picture yourself arriving home late at night—you don’t want to be fumbling about in the dark. If you need a visual, imagine the alignment: the keypad should almost be in line with where you pull up in your driveway.
Mounting the Chamberlain Keypad
Now that you’ve selected the ideal location, it’s time to mount the keypad. Here’s how you do it step by step:
1. Position the Keypad: Place the keypad on the wall where you want to mount it. Ensure it’s level, because no one wants a crooked keypad sending the wrong signals (literally and metaphorically).
2. Mark Drill Holes: Once it’s straight, use your pencil to mark where you’ll need to drill the holes.
3. Drill: If you’re drilling into drywall or concrete, grab your drill and make those holes. Use the right drill bit size according to the anchors you’re using.
4. Install Anchors: If your installation requires it, insert wall anchors to make sure your keypad is secure and can withstand the elements.
5. Secure the Keypad: Finally, attach the keypad to the wall using the screws provided. Ensure it’s snug but not overly tight; you don’t want to crack the casing.
This process might seem tedious, but honestly, once you see it up on the wall, you’ll feel like you’ve just completed a mini home renovation.
Insert Batteries and Program the Keypad
Now that your keypad is mounted like a piece of art, it’s time to load it with life—batteries! Open the compartment usually found at the back or bottom of the keypad, and insert the batteries according to the diagram inside.
Next, here comes the fun part: programming the keypad! This will enable you to set a personalized code that only you and your family will use. Follow these steps:
1. Activate Programming Mode: Press and hold the ‘*’ and ‘
2. Enter Your Code: Choose a code that’s easy for you to remember but hard for strangers to guess. Enter the numbers you want—ideally, stick to 4-8 digits.
3. Confirm the Code: Hit the ‘Enter’ button, and you should see the light blink again, confirming that your code has been set!
Congratulations! You’ve just made your garage far more accessible.
Syncing Your Keypad with the Garage Door Opener
Now for the most important part: syncing your keypad with your Chamberlain garage door opener. Here’s how you do it:
1. Locate the Learn Button: Go to your garage door opener unit and find the ‘Learn’ button (usually it’s colored green, orange, or purple).
2. Press the Learn Button: Press and release this button. A light will usually blink, indicating that it’s now ready to accept a new device.
3. Enter Your Code: Quickly return to your keypad and enter the code you just set up, followed by pressing the ‘Enter’ button.
4. Test It Out: Wait a few seconds, and then try entering your code again to see if your garage door opens or closes. If it works, you got it right on the first try!
This part can cause a bit of frustration sometimes, especially if your door doesn’t respond. If that happens, don’t panic! Sometimes it takes a few tries. Just give it another shot, and make sure you’re doing it within 30 seconds after pressing the learn button.
Troubleshooting Common Issues
Even the best-laid plans can go awry, so let’s talk about a few common issues you might run into and how to solve them.
1. Keypad Not Responding: First, check the batteries. If those are fine, make sure it’s connected properly to power. If problems persist, try resetting the keypad. This typically involves holding the ‘*’ and ‘
2. Code Not Working: If your code fails, it might be because you accidentally set a different one. Go back through the programming steps and try entering a new code.
3. Garage Door Not Opening: If the door still won’t budge, ensure the keypad is within range. It should be close enough to communicate with the opener. Also, check for any obstacles in the line of sight.
When troubleshooting, patience is key. Often, it’s just a matter of double-checking everything to make sure you’ve done it right.
Maintain Your Keypad for Longevity
Once everything is set up and working, you want to ensure your Chamberlain keypad lasts long. Here are a few tips for keeping it in good shape:
– Regular Battery Checks: Check the battery level every few months. If you notice it’s dying quickly, it could be an indication that you need a replacement keypad.
– Wipe it Down: Keep it clean from dirt and grime. Just a simple wipe with a cloth every now and then will keep it functioning well.
– Monitor Performance: If you start experiencing issues, don’t ignore them. A quick troubleshooting session can save you more significant headaches down the line.
By caring for your keypad, you’re ensuring that it continues to serve you well for years to come. Remember, something as simple as a battery change can make all the difference.
Final Thoughts
Installing a Chamberlain keypad isn’t as daunting as it first seems. With just a bit of preparation and following some straightforward steps, you’ll find yourself enjoying the convenience of keyless entry. It’s like having a secret door to your garage that opens with a tap of your fingers.
Whether you’re ensuring your family can access the garage without hassle or just making your life a little easier, this installation is a tiny home upgrade that brings big benefits. So grab that screwdriver and get started—you’ve got this!
