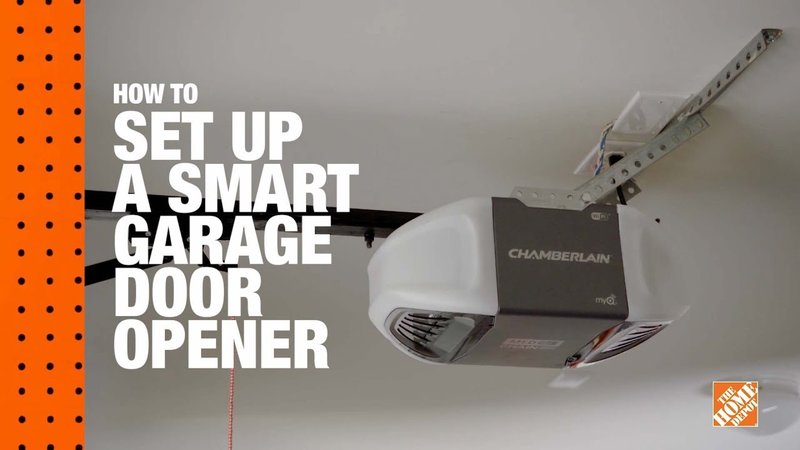
Garage door openers come in different varieties, from chain-driven models to the quieter belt-driven systems. Whether you have a LiftMaster, Chamberlain, or Genie, understanding how to maintain it is crucial. Think of it like giving your opener a little “spa treatment” — a few simple steps can keep it happy and healthy. So, let’s dive into some basic maintenance tips that can help ensure your garage door opener runs smoothly for years to come.
Understanding Your Garage Door Opener
Before jumping into maintenance, it’s essential to grasp how your garage door opener works. At its core, it’s a simple mechanism that lifts and lowers your garage door using either chains, belts, or screw drives. Each type has its own pros and cons, but they all rely on a motor that powers the movement.
Knowing the parts of your opener is helpful too. These typically include:
- The motor unit, which contains the power supply and controls.
- Tracks and rollers, which guide the door as it opens and closes.
- Remote controls or wall switches that send the open and close signals.
By familiarizing yourself with these components, you’ll be better prepared for maintenance and troubleshooting. It’s kind of like knowing where the engine is under the hood of your car. It helps in understanding what might go wrong.
Regular Visual Inspections
The first step in maintaining your garage door opener is performing regular visual inspections. Seriously, a little eyes-on check can reveal so much. Make it a routine practice—maybe do it during seasonal changes or even monthly.
Start by inspecting the motor unit for any signs of wear or loose wiring. Look closely at the lift mechanism and tracks. Are there any visible wear points or dirt buildup? Dust and debris can cause issues over time, so keep an eye out for that.
Also, don’t forget to check for rust or corrosion. If you notice any spots, consider applying some lubricant. Regularly checking these elements keeps minor issues from growing into major headaches. A well-cared-for opener will not only function better but last longer too!
Testing the Safety Features
Modern garage door openers come equipped with essential safety features, and you should test these regularly. For instance, all garage doors need to have a safety reverse mechanism, which ensures that the door will reverse if it encounters an obstacle while closing.
To test this, follow these steps:
1. Place a small object, like a block of wood, in the door’s path.
2. Close the garage door using the remote or wall switch.
3. If the door doesn’t reverse after hitting the object, there’s a problem that needs fixing.
This safety feature is crucial, especially if you have kids or pets at home. Think of it like checking the brakes on your car—necessary for safety!
Cleaning the Garage Door Opener
Dust, dirt, and other grime can build up on your garage door opener, affecting its performance. Cleaning it regularly can improve the life of the motor and the overall function. Here’s how to do it effectively:
1. Unplug the motor unit: Safety first!
2. Wipe the surfaces: Use a damp cloth to clean dust and dirt off the motor and housing. Avoid using harsh chemicals; they can corrode the plastic casing.
3. Clean the tracks and rollers: Use a soft brush to remove any residual debris. In case you see rust or grime on the rollers, a bit of lubrication is helpful.
Keeping it clean not only enhances the performance but also helps in spotting issues sooner. You wouldn’t drive a dirty car, right? Maintain that cleanliness for your opener!
Lubricating Moving Parts
Lubrication is key in ensuring your garage door opener operates smoothly. Think of it like giving your car’s engine oil a change—it keeps everything running without the dreaded grind and squeak!
To lubricate your opener, focus on the following components:
- Chains or belts: Depending on your type of opener, a few drops of specialized lubricant can help keep things smooth.
- Rollers: Even if you’ve cleaned them, a touch of lubricant helps them move more freely.
- Hinges and springs: A little lubrication goes a long way in preventing rust and ensuring they function properly.
Be sure to avoid over-lubricating, as that can invite dirt and grime. A light application is usually sufficient, and you’ll notice a big difference in the quietness and efficiency of your opener.
Checking Remote Control Batteries
Have you ever pressed the remote button only to start wondering if it’s the opener malfunctioning or just a dead battery? It’s often a small oversight that leads to big frustrations. Make it a habit to check the remote batteries regularly.
When your garage door remote is working perfectly, it should respond without delay. If it doesn’t, here’s how to troubleshoot:
1. Replace the batteries: Often, all it takes is fresh batteries to get it back to life.
2. Ensure proper sync: If you’ve replaced the batteries and it still doesn’t work, try re-syncing it with the opener.
3. Test the remote: Stand within a reasonable range and press the button. If the door opens consistently, you’re in the clear. If not, you may need to take a closer look.
Considering everything, a remote battery check can save you from unnecessary adjustments and worrying if your opener is going kaput.
Adjusting the Garage Door Opener Settings
Garage door openers come with adjustable settings that let you control how they operate. For instance, the force settings determine how much pressure the opener uses to push the door. If you hear a loud noise when the door closes, this might need adjusting.
Remember that these adjustments are typically located on the opener unit itself—consult your manual for specifics. Here’s a quick start to adjusting the settings:
1. Find the adjusting screws: Typically, they’re marked for easy identification.
2. Turn them slowly: Make small adjustments and test the opener’s response. Too much pressure or too little can lead to problems down the line.
3. Test the door: After making adjustments, open and close the door a few times to ensure it operates smoothly. This will help you dial in the ideal setting.
Getting this right can prevent damage to your garage door and opener, not to mention making for a quieter operation!
Identifying and Fixing Common Problems
Even with regular maintenance, issues can arise. Knowing the common problems can help you troubleshoot effectively. Some common issues include:
- Unresponsive opener: Often linked to dead batteries, or possibly issues with the motor.
- Door won’t close: Check the safety sensors—if they are misaligned or blocked, the door won’t close.
- Strange noises: Squeaking or grinding could indicate a lack of lubrication or wear and tear on parts.
For each issue, remember that simple fixes can sometimes save you a trip to the repair shop. Being able to identify these problems early can reduce repair costs and keep your garage functioning optimally.
When to Call a Professional
While DIY maintenance is a great way to handle many issues, there are times when calling a professional is your best bet. If your garage door opener is making unusual noises that just won’t quit, or if it stops working entirely, it’s time to bring in an expert.
Professionals have the tools and expertise to diagnose issues you might not even be aware of. They can address complex wiring problems or replace parts that require special handling. If it feels overwhelming, don’t hesitate to reach out for help. Sometimes a small investment can save you from a much bigger hassle later.
Optimize Your Garage Door Opener for Longevity
Proper maintenance can enhance the longevity of your garage door opener. Think of it as a preventative strategy—just like regular health check-ups keep us feeling good longer. Make it a family project if you can. Get everyone involved in checking and maintaining your opener—it’s a great way to teach kids responsibility and ensure everyone’s on the same page about safety.
Taking the time for routine checks, routine cleanings, and maintaining alignment ensures that your opener will serve you well for years. A well-maintained opener isn’t just convenience; it’s about home safety too.
With some simple steps and a little time on your hands, you can keep your garage door opener in top shape. Consider this article your starter kit for diy garage door opener maintenance. It’s all about giving it the proper care so you can avoid future headaches. The investment is worth it—so roll up those sleeves and give your garage door opener the love it deserves!
