Many modern garage door openers have sensors designed to keep you and your family safe. These sensors help prevent the door from closing on someone or something—kind of like having a smart friend doing traffic control. But what happens when those sensors don’t communicate properly with your garage door opener? You might find yourself in a bit of a pickle! Let’s dive into how to troubleshoot that wiring issue step by step.
Understanding Garage Door Sensor Wiring
Garage door sensors are essential components that help keep your door operation safe. They usually come in pairs, located at the bottom of the garage door frame, aiming at each other. The basic idea is that when something interrupts the beam between these sensors, your garage door won’t close. If you’re experiencing issues, the wiring can be the culprit.
The wiring connects each sensor to the garage door opener, delivering signals that allow the garage door to function properly. If there’s a short in the wiring, the signals can be disrupted, causing the door to malfunction. Trust me; understanding your wiring can make a world of difference.
Why Short Door Sensor Wiring Happens
Shorts in wiring can happen for a variety of reasons. Over time, wiring can degrade due to moisture, wear, or even pesky rodents nibbling away. It could be as simple as poor installation or an accidental snag while using your garage. Each scenario can cause either a complete failure of the system or intermittent connectivity issues.
Think of it like a phone charger that works only sometimes because of a frayed wire. You plug it in, and sometimes it charges, while other times, you might as well be playing with a toy charger. Understanding what causes these shorts helps you troubleshoot better.
Signs of Short Wiring Issues
Knowing what to look for can save you time and frustration. Here are some of the most common signs that your garage door opener might be facing short wiring issues:
- Inconsistent behavior: The garage door opens sometimes but not others.
- Continuous closing: The door closes even when there’s something in its path.
- Intermittent beeping: Your wall control or remote might beep continuously when trying to operate the door.
- Sensor lights: The indicator lights on your sensors flash or are turned off.
Knowing these signs can help you troubleshoot appropriately. Remember, the goal is to spot issues before they escalate.
Tools You’ll Need for Troubleshooting
Before you dive into troubleshooting, gather some necessary tools and supplies. You don’t want to be running back and forth looking for things mid-task! Here’s a handy list to get you started:
- A multimeter to check for continuity in the wiring.
- Wire strippers for fixing broken wires.
- Electrical tape for insulation and securing connections.
- Replacement wire, if needed.
- A ladder for access to high places.
Having everything close by will make the process smoother and less frustrating.
Step 1: Locating the Wires
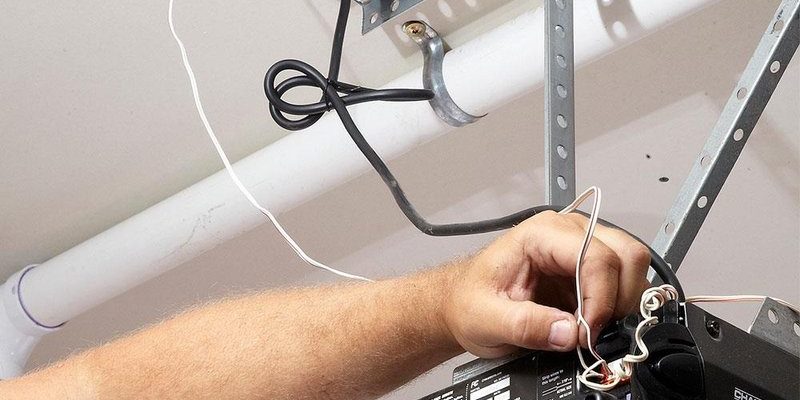
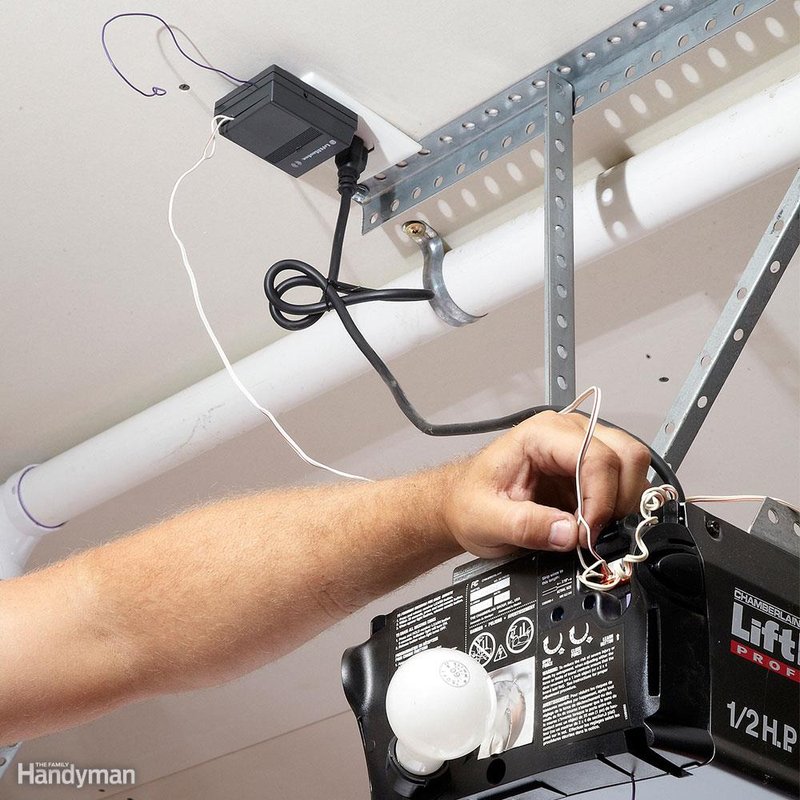
First, you need to find the wires and the sensors. Typically, you’ll see them running along the garage door tracks or the edges of the door frame. Make sure your garage door opener is unplugged before you start working on it to avoid any accidents.
With any luck, you’ll see the sensor wires just waiting to be inspected. Keep an eye out for any visible damage or wear. Look for cuts, abrasions, or signs of corrosion.
Step 2: Testing for Continuity
Once you’ve located the sensors and wires, it’s time to check for continuity. This step helps you figure out if the wires are intact and operating as they should.
Using a multimeter, you can test if electricity is flowing through the wires. Here’s how:
1. Set your multimeter to the continuity setting.
2. Touch the probes to either end of the wire.
3. If you hear a beep, the wire is intact. If not, you have a short or broken wire.
This step tells you exactly where the problem lies, making repairs more straightforward.
Step 3: Inspecting Sensor Alignment
Sometimes, the issue might not be with the wiring but rather how the sensors are positioned. Misalignment can cause the sensors to fail to communicate properly. Here’s how to check:
1. Look to see if the sensor lights are on. If one is off, it means there’s an obstruction or misalignment.
2. Adjust the sensors carefully until the lights glow steadily.
3. Test the garage door opener to see if the issue resolves.
Just like when you align a photo frame for that perfect look, sometimes, small adjustments can make all the difference!
Step 4: Repairing or Replacing Wires
If you’ve identified any damaged or short wires, it’s time to make those repairs. If the damage is minor, you might be able to splice the wire using wire strippers and electrical tape.
For more significant damage or if you find that the wire is frayed throughout, consider replacing the entire section of wiring. Here’s how:
1. Cut the damaged wire completely from both ends.
2. Strip about half an inch of insulation from the ends of the new wire.
3. Connect the new wire using wire connectors or soldering.
4. Secure everything with electrical tape.
This part requires attention to detail, so take your time!
Step 5: Testing the Garage Door Opener
After making repairs, it’s time for the moment of truth: Will it work? Reconnect your garage door opener and test it. Ensure you’re mindful and ready to catch anything that might get in the way during the operation.
If the door works without hiccups, congratulations! You’ve tackled a common issue. If not, don’t be discouraged. Double-check the connections as well as sensor alignments.
When to Call a Professional
Troubleshooting can be rewarding, but there are times when you might need to throw in the towel. If you’ve tried everything and your garage door still won’t open or close, it might be time to consult a professional.
Experiencing persistent issues that don’t seem to have a clear cause? A licensed technician has the expertise and tools to diagnose deeper issues with your garage opener system. Remember, it’s okay to ask for help!
Preventing Future Issues
Prevention is always better than cure for garage door issues. To keep those sensors in optimal condition, consider these tips:
- Regular Inspections: Check the wiring and sensors every few months.
- Keep the Area Clean: Remove any dirt or debris around the sensors.
- Use Weather Resistant Materials: If you live in a wet area, consider using wiring that withstands moisture.
Taking these small steps can go a long way in preserving your garage door system.
In the world of garage door openers, understanding how to troubleshoot issues—especially those pesky short door sensor wiring problems—can save you time, money, and major headaches. Whether you’re getting your hands dirty or simply enjoying a bit of DIY, having the right knowledge empowers you to tackle these tasks with confidence.
Originally posted 2025-02-08 15:39:19.