
Installing a battery backup for your LiftMaster opener can seem like a daunting task, especially if you’re not the “handy” type. But hold on—it’s actually more like putting together a puzzle than assembling IKEA furniture. With just a few tools and by following a few straightforward steps, you’ll have your battery backup set up in no time. Let’s dive into this process together.
Why a Battery Backup is a Gamechanger
Battery backups aren’t just a nice-to-have; they’re essential for anyone who wants uninterrupted access to their home. If you think about it, your garage door opener is one of those conveniences we often take for granted until it fails us. Having a battery backup means you can always open your garage, whether you’re facing a storm, a power outage, or even an electrical issue.
When power goes out, your LiftMaster opener won’t function unless it’s connected to a backup battery. The last thing you want is to be stuck outside in the rain or snow, waiting for the lights to come back on. Plus, it adds an extra layer of security—no need to worry about leaving your garage door unlocked when the lights go out!
What You’ll Need for the Installation
Before you get started with your LiftMaster battery backup installation, it’s crucial to gather everything you’ll need. Here’s a handy list:
- LiftMaster Battery Backup Kit: Ensure you have the compatible battery for your model. You’ll usually find these in hardware stores or online.
- Standard Tools: A screwdriver (usually a Phillips-head) and possibly some pliers.
- Safety Gear: Safety glasses to keep your eyes protected, just in case.
- Manual: Keep the installation manual handy for reference during the process.
Honestly, having the right tools ready makes this much smoother. You wouldn’t want to scramble for a screwdriver halfway through your project, would you?
Preparing for Installation
Once you’ve got your supplies, it’s time to prepare for the installation. Start by unplugging your LiftMaster garage door opener from the electrical outlet. This is a crucial step to ensure safety while you work. You wouldn’t want an accidental power surge to spoil your day.
Next, make sure you have enough space to work comfortably. Clear away items around the opener so you can move freely. If it helps, take a few moments to read through the installation manual that comes with your battery backup kit. Familiarizing yourself with the parts will make everything smoother when it’s time to piece things together.
Additionally, consider testing your garage door opener to ensure it works well before you start your installation. It’s like checking your car before a road trip—better safe than sorry!
Installing the Battery Backup
Now, the fun part—actually installing the battery backup! Here’s how to do it step-by-step:
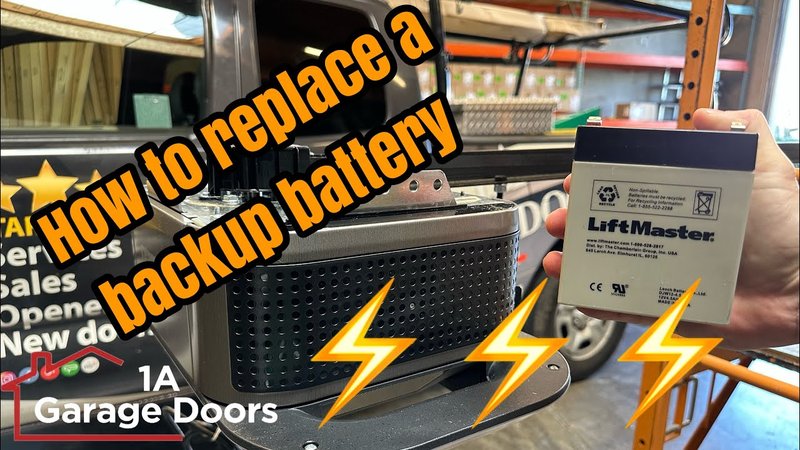
1. Locate the Battery Compartment: Open the front cover of your LiftMaster opener. You’ll typically find a battery compartment located on the side.
2. Insert the Battery: Remove any existing battery if applicable. After that, place the new battery in the compartment. Make sure the terminals line up correctly—red to red and black to black.
3. Secure the Battery: Snap or screw the battery cover back into place, ensuring it’s snug. You wouldn’t want it rattling around when the opener is in action.
4. Connect the Wires: As you put everything back together, look for connections leading to the battery. If your backup kit comes with new connectors, use them as indicated in the instructions.
Testing Your Setup
After everything’s securely in place, it’s time to put your installation to the test. First, plug your LiftMaster garage door opener back into the outlet. Next, find your remote—make sure it’s the right type; most likely, it’s either a LiftMaster or a compatible universal remote.
Press the remote button while observing the garage door opener. If it operates normally and smoothly, congratulations! You’ve installed your battery backup successfully. But, if it doesn’t seem to work, fear not.
You might be wondering what to do next. Double-check the battery connections and ensure that everything is plugged in properly. If you’re still having trouble, consult the troubleshooting section of your manual—don’t skip this, as it’s there to guide you!
Maintaining Your Battery Backup
Just like a car requires oil changes, your battery backup needs a bit of love, too. Regular maintenance ensures it works perfectly when needed. Here are some quick tips:
– Check Battery Health: Every few months, check if the battery is holding a charge. If it’s losing power quickly, it might be time for a replacement.
– Keep Connections Clean: Dust and dirt can interfere with connections. Wipe them clean occasionally to ensure a good link.
– Replace Batteries on Schedule: Depending on the usage, you may need to change the battery every few years. Keep track of when you installed it and plan accordingly.
Regular maintenance can prevent inconvenient surprises down the line and keep your opener running when you need it most.
Common Issues and Troubleshooting
Even with a straightforward installation process, hiccups can occur. Here are a few common problems and how to address them:
– Garage Door Won’t Open: Double-check connections again. Sometimes, a loose cable can cause the opener to stop functioning.
– Battery Not Holding Charge: If your battery doesn’t seem to stay charged, it might be old or defective. Ensure you’ve installed the correct model.
– Remote Not Pairing: Ensure you’re using the correct remote and that it’s been synced properly with your opener. Sometimes a simple reset can do the trick.
If you face any persistent issues, refer back to the manual or contact customer service for specialized assistance.
Installing a LiftMaster battery backup is an investment in convenience and peace of mind. You’ve learned how to prepare for the installation, execute the steps involved, and keep this backup in good condition. When you take a little time to install this feature, you could potentially save yourself from frustrating situations in the future.
So, next time the lights flicker, you can confidently stroll through your garage without a worry in the world. And let’s face it—there’s nothing quite like knowing you can drive in or out of your garage, regardless of what Mother Nature throws your way. Happy installing, and may your garage door always open smoothly!
Originally posted 2025-01-30 21:27:12.