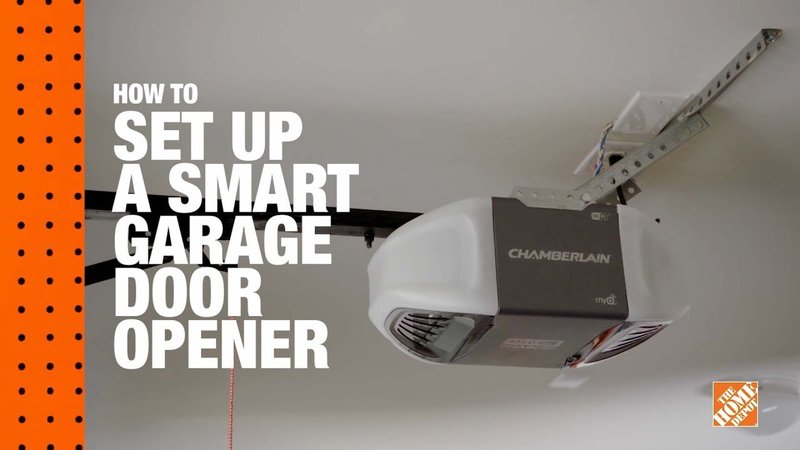
A garage door opener typically comes with its own remote, but you might have an older model sitting around, or you could be looking at those sleek universal remotes. No worries! Whether you’re working with a Craftsman, Chamberlain, or LiftMaster opener, the steps for DIY programming are usually similar. Let’s dive into how you can get your remotes synced up with your garage door opener, along with tips for using HomeLink effectively.
Understanding Garage Door Opener Basics
Before we jump into programming, it’s helpful to get a grasp on how garage door openers operate. At the core, these devices function using a series of codes. Each remote has a unique code that communicates with the opener, much like how you dial a specific number to connect with a friend. When you press the button on your remote, your garage door opener recognizes the code and follows the instruction—be it to open or close.
Typically, these systems operate on radio frequencies, ranging from 300 MHz to 900 MHz. Different brands use different frequencies, which is why it’s important to ensure compatibility if you’re mixing and matching remotes. You’ve got a variety of options out there—from basic remotes to more sophisticated ones with feature sets that can include battery indicators and LED lights.
When programming the remote, you’ll often have to access a learn button on your opener. This button tells the opener to listen for a new code, much like how a concert venue might open its doors to welcome new fans after hours.
Types of Garage Door Remotes
Not all remotes are created equal. Understanding the differences can help you decide which one fits your needs best.
- Brand-Specific Remotes: These are designed to work with a specific brand of garage door opener. If you have a Chamberlain opener, for instance, it’s best to use a Chamberlain remote. This ensures full compatibility and reliability.
- Universal Remotes: If you’re looking to simplify things, universal remotes can pair with various garage doors across different brands. They often have a more generic approach but may require a little extra setup to sync correctly.
- Smart Remotes: With technology at our fingertips, some remotes allow smartphone connectivity, enabling you to control your garage door from an app. It’s convenient if you forget your remote at home!
Think about what you actually need and choose wisely. If you’re looking to replace a lost remote, a brand-specific option is often the most straightforward choice. But if you have multiple garage openers or want a multi-functional unit, a universal remote might save time and hassle.
Linking Your Garage Door Remote
Here’s where the magic happens! The first step in the programming process is ensuring you have a fresh battery in the remote. Think of it as fueling a car; without gas, the vehicle won’t go. Once you have a fresh battery, you’re ready to program.
1. Locate the Learn Button: Find the Learn button on your garage door opener motor. This is typically on the back or side of the unit. It’s often a small, colored button that may be labeled.
2. Press the Learn Button: Once you press this button, you’ll usually have about 30 seconds to code your remote. Press and hold the button on your garage door remote that you want to program.
3. Wait for Confirmation: You should see a light blink or hear a click from the opener, indicating that the remote is synchronized. Release the button—congratulations, you’re almost done!
It’s crucial to remember that if you already have remote codes programmed, linking a new remote might overwrite them. So make sure to program each remote in the order you want them prioritized.
Syncing HomeLink with Your Garage Door Opener
If you’ve decided to use HomeLink, which is built into many car models, you’re probably wondering how to connect it to your garage door opener. It offers a seamless way to control your garage door without needing to fumble for a remote.
1. Prepare Your Car: Drive your car close enough to the garage door opener. Make sure you have your remote handy.
2. Enter the Programming Mode: In your car, hold down both the outer HomeLink buttons (two buttons on the left and right) until the indicator light begins to blink rapidly. This usually takes around 20 seconds.
3. Press and Hold the Garage Remote Button: While holding down the HomeLink button, press the button on your garage door remote that you want to program. Keep holding until the HomeLink indicator light changes from a slow blink to a solid light. This indicates a successful connection.
4. Test the System: Finally, press the HomeLink button so you can check if the garage door opens or closes as intended.
Often, adjusting the range or sensitivity is also helpful. You might need to fine-tune the process a couple of times, but once connected, the convenience is unmatched!
Troubleshooting Common Programming Issues
Even with clear instructions, things can sometimes go awry. So let’s address some common problems you might face during the programming process.
- No Response from Remote: If pressing the button produces no results, first check the battery. You wouldn’t believe how often a stale battery is the simple culprit. If the battery is fresh, you may need to repeat the programming steps.
- Light Blinking But No Movement: If the remote seems active but the door isn’t moving, ensure the opener is plugged in properly and that the mechanism isn’t blocked. Also, check if you’ve exceeded the maximum number of remotes programmed.
- Interference Issues: Sometimes interference from other wireless devices can disrupt the signal. Try unplugging other electronic devices nearby and see if that makes a difference.
If all else fails, refer to your user manual for specific troubleshooting steps or contact customer support for assistance. Sometimes a fresh start—like resetting the opener—can solve the problem.
Maintaining Your Garage Door Opener
Once you’ve got everything programmed, you’ll want to keep your garage door opener in top condition. Regular maintenance will help prolong its life and prevent problems.
– Check the Sensors: Ensure the safety sensors are clear from debris. If they’re blocked, the door won’t activate.
– Lubricate Moving Parts: Just like a well-oiled machine, keeping the moving parts lubricated prevents squeaking and ensures efficient operation.
– Test the Remote Batteries: Regularly check the batteries in your remote. Making this a habit can save you the frustration of being stuck outside your garage without access.
A little care goes a long way. By staying on top of maintenance, you’ll help ensure your garage door opens and closes effortlessly for years to come.
When to Seek Professional Help
Sometimes, DIY isn’t enough, and that’s perfectly okay! If you find yourself stuck despite trying all the above steps, or if your garage door opener fails to respond entirely, it may be a sign of a larger issue—such as a malfunctioning motor or wiring issues.
– Frequent Malfunctions: If your opener keeps acting up, it may need replacing or servicing.
– Unusual Noises: Grinding or rattling noises that weren’t there before can indicate mechanical issues.
– Power Problems: If the opener isn’t receiving power, it could be an electrical issue that requires a qualified technician.
In these cases, reaching out to a professional can save you time and stress. Better to get it fixed right the first time than to wrestle with unexpected issues down the line.
Programming your garage door opener, whether it’s a remote or integrated into your car via HomeLink, is totally manageable once you break it down into simple steps. With a little patience and the right information, you can sync your devices quickly and efficiently.
Being familiar with your remote types, knowing how to troubleshoot problems, and understanding the importance of regular maintenance will go a long way. Now that you have the knowledge to conquer your garage door opener setup, there’s no need to worry about getting stuck outside your home. Happy programming!
