In this guide, we’re going to walk through everything you need to know about installing a wireless keypad for your garage door opener. Whether you’re using a Chamberlain, LiftMaster, or another brand, the steps are generally similar. This DIY project can save you time, give you a sense of accomplishment, and even enhance your home security. So, grab your tools, and let’s get started!
What is a Wireless Keypad?
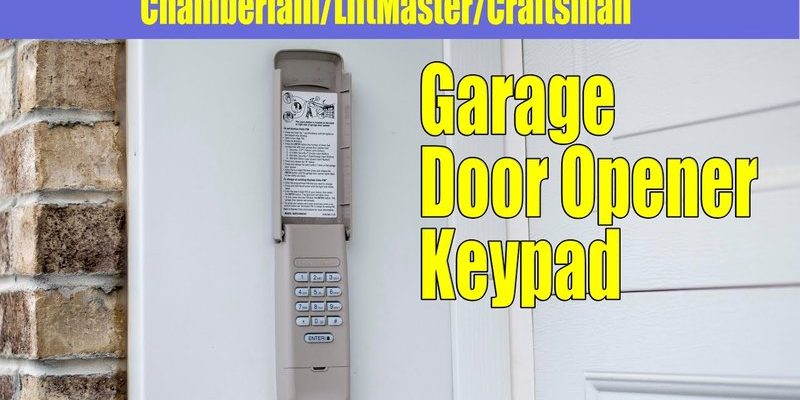
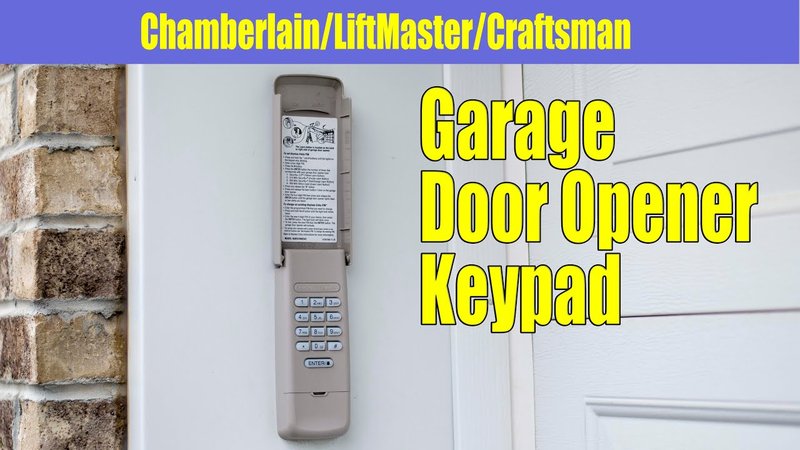
A wireless keypad is a small device that allows you to open and close your garage door with a simple touch of a few buttons. Think of it like a key that you don’t need to carry around. Instead of needing a physical key or remote, you just enter your unique code on the keypad.
Many people opt for wireless keypads because they’re convenient and allow for easy access. They offer a little extra peace of mind, especially if you have kids or guests coming over. Plus, with a keypad, you won’t have to worry about losing your remote or changing batteries frequently.
Benefits of a Wireless Keypad
Investing in a wireless keypad comes with numerous benefits that make it an attractive choice for garage door access:
- Convenience: No more searching for that tiny remote in your car or bag. Just enter your code and go!
- Security: You can easily change the code whenever needed, adding an extra layer of safety.
- Accessibility: Perfect for kids or guests who might forget to bring the remote.
- Weather-Proof: Most wireless keypads are designed to withstand the elements, making them durable.
When you think about it, having a keypad truly simplifies life. Imagine hosting a friend’s birthday party with a backyard barbecue. Instead of fumbling with remote access, you can just tell everyone your code. Super straightforward, right?
Gather Your Tools and Materials
Before diving into the installation process, being well-prepared can save you time and headaches. Here’s a simple checklist of what you’ll need:
- Wireless keypad (make sure it’s compatible with your garage door opener)
- Drill with various bits
- Level
- Screwdriver
- Measuring tape
- Battery (if required, check your keypad’s manual)
Once you have everything, you’ll be ready to hit the ground running. Don’t worry too much if you don’t have some tools; many of these can be borrowed from friends or neighbors.
Finding the Right Location for Installation
Choosing the right spot for your keypad is crucial. You want it to be easily accessible but also out of the way of prying eyes. Here are some tips on picking the perfect location:
– Height Matters: The keypad should be installed about 4 to 5 feet from the ground. This makes it accessible to both adults and kids while also keeping it out of reach of small children.
– Away from Obstruction: Ensure nothing blocks your keypad, like hanging plants or decorations.
– Close to the Garage Door: Ideally, you want it within a few feet of the garage door for smooth access.
Taking the time to think about placement can save you from troubles down the line. You wouldn’t want to have to reach awkwardly for your keypad, especially if your hands are full.
Installing the Keypad: Step by Step
Now that you’ve chosen a location, it’s time to start the installation! Follow these steps:
1. Mark the Drill Holes: Hold the keypad against the wall and use a level to ensure it’s straight. Mark where you’ll drill the holes.
2. Drill the Holes: Using your drill and a suitable bit, create holes in the wall where you’ve marked.
3. Insert Wall Anchors: If you’re drilling into drywall, use wall anchors to provide extra support.
4. Mount the Keypad: Align the keypad with the holes and use screws to attach it securely to the wall.
5. Attach the Battery: If your keypad requires a battery, open the compartment and install it according to the instructions.
6. Test the Installation: Before closing everything up, test the keypad to ensure it works. Punch in your code and see if the garage door opens.
By following these steps, you’ll have your keypad installed in no time! Just remember to double-check each step to avoid any mistakes.
Programming Your Keypad
Once the keypad is securely attached, it’s time to program it. Here’s how to do that:
1. Enter the Programming Mode: Refer to your keypad’s manual. Most models have a dedicated button or a combination of buttons to enter the programming mode.
2. Input the Code: Follow the prompts to input your desired access code. Choose something easy for you to remember but hard for others to guess.
3. Save the Code: Confirm the code as directed in the manual.
4. Test the Keypad Again: After programming, try entering your code to ensure it works perfectly.
You might be wondering—”How do I change or reset it later?” That’s easy! Simply follow the same steps to enter the programming mode and input a new code.
Troubleshooting Common Issues
Sometimes, things don’t go as smoothly as planned. Here are some common issues and fixes:
– Keypad Not Responding: First, check the battery. Is it in properly? If it’s drained, replace it with a new one.
– The Code Doesn’t Work: Ensure you entered the code correctly. Sometimes it helps to re-enter programming mode and reset the code.
– Physical Damage: Inspect the keypad for any obvious signs of damage. If it’s broken, you might need to replace it.
Having a friendly troubleshooting guide makes the process a lot less stressful.
Maintenance Tips for Your Wireless Keypad
Keeping your wireless keypad in good shape is key for longevity and functionality. Here are a few maintenance tips:
– Regularly Check the Battery: Change the battery every 6 to 12 months to ensure consistent performance.
– Clean it Gently: Occasionally wipe the keypad with a soft cloth to remove any dirt or grime.
– Store Your Code Safely: Make sure you remember your code or write it down in a secure place.
By taking these simple steps, you can prolong the life of your keypad and ensure it works when you need it most.
Installing a wireless keypad for your garage door opener might seem daunting at first, but once you break it down into manageable steps, it’s quite straightforward. Remember, it adds both convenience and security to your home.
Now that you know how to install, program, and maintain your keypad, you’re all set to enjoy hassle-free garage access. Get ready to impress your friends with your DIY skills! You might even find it’s one of the best home improvements you’ve made. Happy DIY-ing!
Originally posted 2025-02-17 18:20:30.