You might be wondering how to get started with troubleshooting. It’s not just about tightening screws; it’s about understanding how everything fits together. Loose hardware can lead to poor performance, and taking the time to address it can save you from bigger headaches down the line. Let’s dive in and make your garage door opener work like new again!
Recognizing the Signs of Loose Hardware
Understanding the symptoms of loose hardware is your first step toward solving the problem. Some indicators are pretty obvious, while others require a closer look. Common signs to watch for include:
- Unusual Noises: If your garage door makes grinding or rattling noises while opening or closing, it could mean something’s loose.
- Inconsistent Operation: Sometimes the door opens fine, while other times it struggles. This inconsistency can be a sign of loose connections.
- Visible Gaps or Misalignment: Check if your garage door looks misaligned. This could be from hardware that has come loose over time.
These signs might point toward loose hardware, but they can also be symptoms of other issues. So take a moment to observe your door’s behavior.
Gathering Your Tools
Before you dive into troubleshooting, make sure you have the right tools on hand. A simple toolkit can go a long way in making the process easier. Here’s a basic rundown of what you’ll need:
- Screwdriver: A Phillips or flathead screwdriver to tighten the screws.
- Socket Wrench: Useful for nuts and bolts that may be harder to reach.
- Level: To make sure everything is aligned perfectly.
- Lubricant: To keep the moving parts running smoothly once you’re done.
Having these tools handy will save you from running back and forth, allowing you to focus on getting your garage door back in working order.
Inspecting the Hardware
Now that you’ve gathered your tools, it’s time to inspect the hardware. Here’s an organized approach to tackle this step:
1. Disconnect the Opener: For safety, unplug the garage door opener before you start inspecting any parts.
2. Check Rail and Track: Look along the rail where the door moves. If you notice any loose bolts or brackets, that’s your first fix.
3. Examine Hinges and Spring: Hinges can sometimes loosen over time. Check if they need tightening and make sure the springs are in good condition.
Once you’ve thoroughly checked all these components, you’ll have a clearer understanding of what’s need to be fixed.
Tightening Loose Connections
Tightening loose hardware is relatively straightforward, but you want to make sure each connection is secure without being overtightened. Here’s how to do it right:
– Screws and Bolts: Use your screwdriver or socket wrench as needed. Don’t overdo it; just ensure everything is snug.
– Tracks and Rails: These components should be firmly in place, as they guide the door’s movement. Make sure to check if they’re bolted down correctly.
– Hinges: Ensure all the screws holding the hinges are tight with minimal slack.
As you go along, remember: a little effort can prevent much bigger problems later.
Realigning Misaligned Parts
If your garage door looks like it’s leaning a bit off-kilter, it’s time for a realignment. Keeping everything squared away is key to smooth operation. Here’s a quick guide:
1. Check Door Level: Use your level to assess whether the door is balanced.
2. Adjust the Brackets: If the door is indeed misaligned, you may need to loosen the brackets on the rail and correctly reposition the door.
3. Retighten Everything: Once the alignment looks good, go back and retighten your hardware.
Misaligned parts often lead to premature wear and tear, reducing the overall lifespan of your garage door opener.
Lubricating Moving Parts
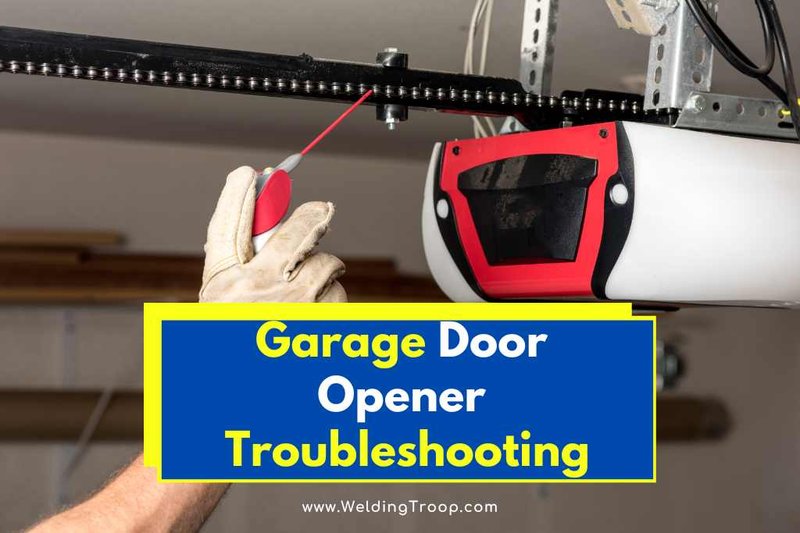
After tightening and realigning everything, it’s time to lubricate the metal moving parts. This step helps prevent future issues and keeps everything running smoothly. Here’s what to do:
– Choose the Right Lubricant: Use a silicone-based lubricant or white lithium grease for the best results. Avoid WD-40 as it can attract dirt over time.
– Apply Sparingly: Lightly coat the hinges, tracks, and springs, but don’t drown them. You want to reduce friction, not create sludge.
– Wipe Away Excess: Use a rag to ensure no excess lubricant drips, which can create a mess.
Regular lubrication maintenance can extend the life of your garage door opener and improve its performance.
When to Call a Professional
Not every issue is a DIY fix. If you’ve tried everything—tightening, realigning, and lubricating—but your garage door still isn’t operating correctly, it may be time to call in a pro. Here are some scenarios that warrant professional help:
– Severe Damage: If any parts appear damaged beyond repair.
– Complex Mechanical Issues: If you’re unsure about dealing with electronics or complex machinery, it’s safest to leave it to experts.
– Door Spring Problems: Garage door springs can be dangerous to replace, so getting a professional’s help is usually best.
Remember, it’s okay to ask for help! Safety should always be a priority.
Maintaining Your Garage Door Opener
Prevention is the best medicine. By keeping an eye on your garage door and its components, you can catch any issues before they become big problems. Here are some easy maintenance tips to keep everything running smoothly:
- Regularly Inspect Hardware: Schedule a monthly check to ensure everything is secure.
- Lubricate Periodically: A quick spray of lubricant a few times a year can go a long way.
- Watch for Noise: Don’t ignore unusual sounds; address them promptly!
Setting a maintenance routine will help you avoid those surprise repairs when you least expect them.
Troubleshooting a garage door opener with loose hardware may seem daunting, but taking it step by step makes it manageable. By recognizing the signs, gathering your tools, and carefully inspecting and tightening everything, you can ensure your garage door opener operates smoothly. Remember, like any well-loved appliance, taking care of your garage door opener today will save you time—and possibly money—down the road. Keep everything in check, and enjoy the convenience of that reliable portal to your home!
