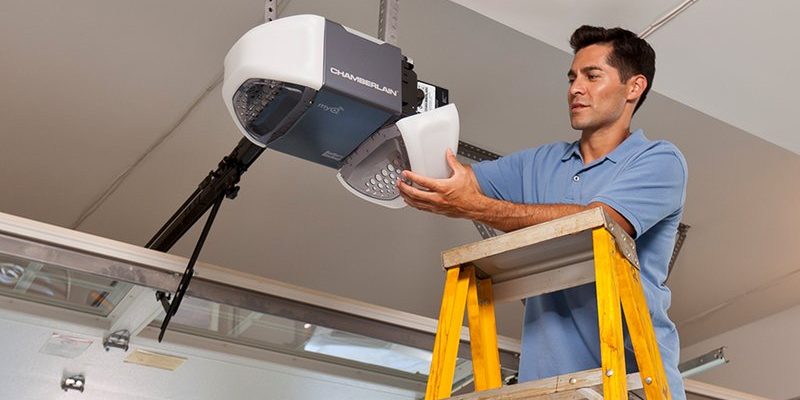
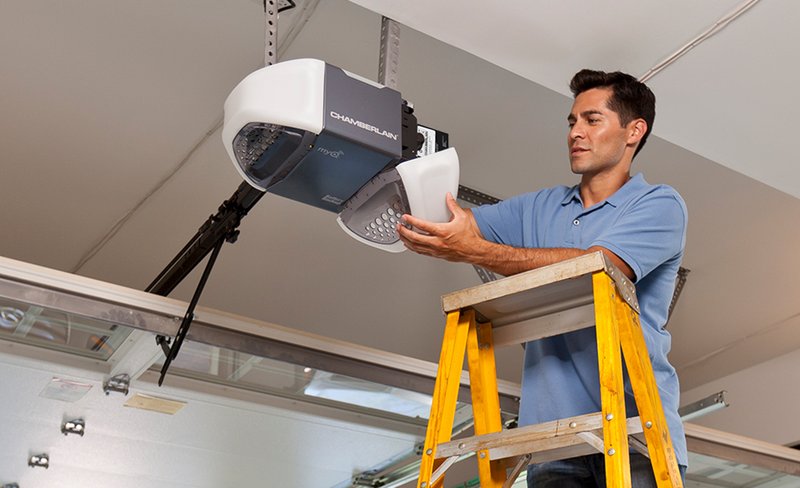
Popular brands like LiftMaster and Chamberlain make reliable garage door openers, but even the best can run into problems. Sometimes, it’s a simple fix, and other times, it’s more complex. Don’t worry; we’ll break it down step-by-step so you can get that door moving again.
Recognizing the Symptoms of Gear Damage
Before we dive into troubleshooting, it’s essential to identify the symptoms of damaged internal gears. Understanding what to look for can save you time and frustration. Here are some common signs:
- Unusual Sounds: If your garage door opener is making grinding or whining noises, it could mean the gears are wearing out.
- Slow Movement: Is the garage door opening or closing slower than usual? This could indicate resistance in the motor due to damaged gears.
- Door Stops Mid-Cycle: If the door stops unexpectedly or refuses to fully open or close, it may be related to gear issues.
It’s like your car making strange noises; you wouldn’t ignore that, right? Trust your instincts and take action when these symptoms arise.
Understanding the Internal Gears of Your Opener
You might be wondering, what exactly are these internal gears? Think of them like the gears in a bicycle. They work together to help your opener function smoothly. Inside the motor housing, there are several gears that help convert motor rotation into the movement required to lift or lower your garage door.
These gears are usually made from plastic or metal, and over time, they can wear out or break. It’s their job to handle the load, but like any other mechanical part, they have a lifespan. If you’re not maintaining your garage door opener, these gears might fail faster than expected.
Safety First: Disconnecting Power
Before poking around inside your garage door opener, you need to ensure safety. Always start by disconnecting the power. Here’s a simple step-by-step:
1. Unplug the Opener: Locate the power cord and disconnect it from the outlet.
2. Cut Power at the Circuit Breaker: For added safety, turn off the circuit breaker that powers your garage door opener.
3. Verify the Power is Off: Press the remote button to ensure your opener isn’t responsive.
This process is like putting on safety goggles when working on a project. You want your eyes safe, and you want to protect yourself from any unexpected electrical surprises.
Inspecting the Opener for Visible Damage
Now that you have safely disconnected the power, it’s time to inspect the opener. Remove the outer cover by unscrewing the screws that hold it in place. Here’s what to look for:
– Check the Gears: Look for cracks, chips, or excessive wear in the gears. Any significant damage could mean it’s time for a replacement.
– Inspect the Motor: Make sure the motor looks clean and intact. Look for any signs of wear that could indicate trouble.
– Lubrication Levels: If the gears seem dry, they might need lubrication. Always use a lubricant designed for garage door systems.
Think of this step as an automotive check-up. You wouldn’t drive a car with a flat tire, and you shouldn’t operate an opener with damaged components.
Replacing Damaged Gears
If you’ve determined that the gears are damaged, it’s time to replace them. Here’s how to do it:
1. Order Replacement Parts: Find the correct gear assembly for your specific brand—LiftMaster or Genie, for example.
2. Remove the Old Gears: Carefully take out the damaged gears from their housing.
3. Install the New Gears: Fit the new gears in and ensure they’re lined up correctly.
4. Reassemble the Opener: Replace the outer cover and screw it tightly.
Replacing gears is a little like changing a tire. It requires patience and care, but it’s definitely doable with some guidance.
Testing the Garage Door Opener
Once you’ve replaced the gears, it’s essential to test your garage door opener to ensure everything is functioning correctly. Here’s how to do that:
– Reconnect Power: Plug the opener back in and turn on the circuit breaker.
– Test the Remote: Try the remote again to see if the door responds smoothly.
– Observe Movement: Watch the door as it opens and closes to ensure there are no strange noises or slowdowns.
If everything sounds right and the door operates smoothly, you’ve done a great job! But if it’s still not working, you might need to check other components.
Looking at Other Possible Issues
If replacing the gears didn’t solve the problem, you may need to consider other potential issues. Here are a few to keep in mind:
– Remote Control Problems: Sometimes the issue lies in the remote. Replace its battery or try resyncing it with the opener.
– Faulty Electrical Connections: Make sure all wires are securely connected. A loose wire can cause intermittent problems.
– Limit Settings: Check the limit settings on your opener to ensure they are appropriately adjusted. This may impact how far the door moves.
Think of troubleshooting your garage opener like solving a puzzle. Each piece is connected, and removing the wrong piece could lead to further problems.
Regular Maintenance Tips for Longevity
To keep your garage door opener in top shape, regular maintenance is crucial. Here are some simple tips to help you maintain it:
– Lubricate the Gears Regularly: Using a lithium-based grease can help keep your gears running smoothly.
– Inspect the Opener Monthly: A quick monthly check can help identify issues before they escalate.
– Test the Safety Features: Regularly test auto-reverse and other safety features to ensure they function correctly.
These measures will help extend the lifespan of your garage door opener, preventing costly repairs down the road. After all, an ounce of prevention is worth a pound of cure!
When to Call a Professional
Sometimes, despite your best efforts, a problem may be beyond your skill level. If you’ve tried troubleshooting and your garage door opener still isn’t functioning, it might be time to call in a professional. Here’s how to know:
– If you’re uncomfortable working with electrical components.
– If the damage is extensive, like the motor needing replacement.
– If troubleshooting doesn’t identify the issue.
Remember, it’s always okay to ask for help. Professionals have the tools and experience to tackle issues that might leave an amateur feeling baffled.
Troubleshooting a garage door opener with damaged internal gears can seem daunting, but it doesn’t have to be. By understanding the symptoms and following these steps, you can get back on track before you know it. You’re now equipped to handle the basics, from spotting gear damage to performing a replacement. With a little patience and practice, you’ll soon feel like a garage door expert!
Remember, taking the time to maintain your opener pays off in the long run. So, keep an eye (and ear) out for any issues, and don’t hesitate to give yourself some grace when things go wrong. You’ve got this!