Imagine your garage door opener as a dancer. If the rhythm is off, the routine gets messed up. Factors like misaligned sensors or old programming can throw it all off. Whether you own a Chamberlain, LiftMaster, or Genie opener, this guide will walk you through the steps to get everything back in sync. So, grab a cup of coffee, put on your favorite playlist, and let’s get to work!
Understanding Your Garage Door Opener
First things first, let’s break down how your garage door opener works. At its core, it’s made up of several key parts, including the motor, rail, and the sensing mechanisms. When you press the remote button, it sends a signal to the motor to lift or lower the door.
Most models use either a chain, belt, or screw drive system. Think of these as the different dance styles of garage doors. Each has its own smoothness and quirks. When everything’s working in harmony, your door opens and closes seamlessly. But when there’s a misstep? That’s when troubleshooting becomes essential.
Common Reasons for Changing Close Points
You might be wondering, “Why is my garage door suddenly acting up?” There are a few common culprits behind a garage door opener that changes its close point:
- Misaligned Safety Sensors: These are the eyes of your garage door. If they’re not lined up properly, the door won’t know where to stop.
- Obstructions: Anything in the way of the door can cause it to malfunction. This could be small items that block the sensors or larger ones that impede its movement.
- Old Programming: Sometimes the opener just needs a refresher to remember its routine. Resetting the close points can solve many issues.
- Wear and Tear: Parts of your opener can get worn down over time, leading to erratic behavior.
Understanding these factors can help you figure out where to start your troubleshooting journey.
Step 1: Check the Safety Sensors
Before diving deep into troubleshooting, start with the safety sensors. These are typically found at the bottom of the garage door tracks. They work by emitting an invisible beam; if something crosses that beam, the door stops closing.
Here’s how to check if they’re working properly:
1. Visual Inspection: Look for any dirt or spider webs on the sensors. A simple wipe can sometimes solve the problem.
2. Alignment: Make sure the sensors are facing each other directly. If they’re misaligned, slightly adjust them until they’re parallel.
3. Indicator Lights: Most sensors have indicator lights. If one light is off or blinking, it may indicate a malfunction.
If everything looks good, yet the problem persists, it’s time to move forward.
Step 2: Clear Any Obstructions
Obstructions can throw off your garage door opener’s groove. Check the tracks and the area around your door for anything that might be in the way. Even something small, like a toy or a bike, can disrupt the closing cycle.
Here’s how to check:
– Physical Inspection: Walk through the entire area, checking meticulously for any blockage.
– Track Cleanliness: Ensure the tracks are free of debris and dirt. A clean track helps the door move more smoothly.
Once you’ve removed potential obstructions, try closing the door again. If it still isn’t closing right, let’s try a different approach.
Step 3: Reprogramming the Close Points
Sometimes, your opener just needs a little reminder of where to stop. Reprogramming the close points can fix the issue. Here’s how you can do this, but keep in mind the exact steps might differ based on the brand of your opener.
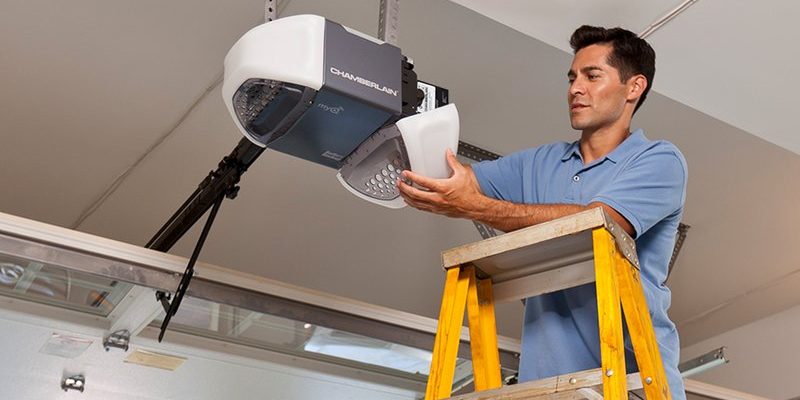
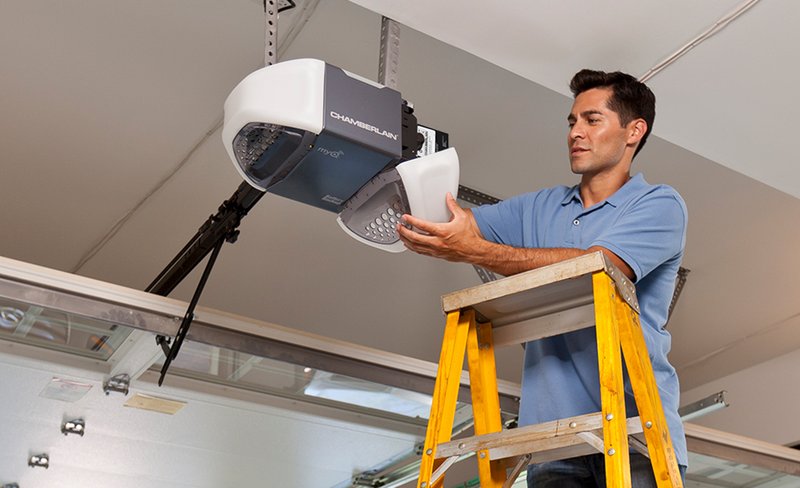
1. Locate the Learn Button: On the back of the motor unit, you’ll find a button typically labeled “Learn” or “Program.”
2. Press and Hold: Press and hold the button until the light blinks or goes out, signaling it’s ready to reset.
3. Set New Close Points: Manually close the door to the desired point and press the “Close” button on the remote. Hold it until the door reverses just slightly, indicating it has learned the new point.
4. Test It: Hit the remote button to close the door and see if it stops in the right place.
Reprogramming can often bring back the functionality you need.
Step 4: Inspect for Wear and Tear
Over time, components of your garage door opener will experience wear and tear. This can lead to inconsistent closing points. Here’s how to check for wear:
– Visual Inspection: Look for frayed cables, rusted parts, or anything that looks damaged.
– Listen: When the door operates, listen for unusual sounds like grinding or squealing. This might indicate that components are not working well together.
If you spot any worn parts, it might be time to replace them to restore your garage door opener’s functionality.
Step 5: Check the Springs and Cables
The springs and cables are critical parts of your garage door system. They work together to lift and lower the door. If they’re not functioning properly, your door may behave erratically.
Here’s a simple way to check:
– Inspect Springs for Damage: Look for any gaps or signs of wear. If you notice any broken springs, it’s crucial to contact a professional for replacement.
– Cable Inspection: Gently tug on the cables to ensure they’re taut. If they’re not, you might need to adjust them or replace them entirely.
Taking care of these parts can often resolve the problem.
Step 6: Consider the Remote Control
Your remote control might also be playing tricks if it’s malfunctioning. If the garage door opener changes close points randomly, the remote could be inadvertently sending mixed signals. Here’s what to do:
1. Battery Check: Start by replacing the batteries in your remote. A low battery can cause intermittent signals.
2. Re-sync the Remote: Some remotes need re-synchronization with the opener. Refer to your manual for steps specific to your model.
3. Test with Wall Switch: If you have a wall switch for the garage door opener, try using it. If it works fine, you may need to replace the remote.
Taking a closer look here might save you time and headaches.
Step 7: Consult the Manual
Sometimes the best advice comes straight from the source. Your owner’s manual contains specifics about your garage door opener, including troubleshooting tips that may be unique to your model.
Here’s how to use it effectively:
– Find the Troubleshooting Section: Most manuals have a dedicated section for troubleshooting common issues.
– Follow Detailed Instructions: Often, there are model-specific steps for resetting or reprogramming the opener that can guide you through the process successfully.
Being well-informed can make all the difference in addressing a malfunctioning garage door opener.
Step 8: When to Call a Professional
If you’ve tried everything above and the garage door opener still changes its close point, it might be time to call in a pro. Some issues require specialized knowledge and tools that go beyond simple troubleshooting.
Consider reaching out to a professional if:
- You notice significant wear or damage to components.
- Reprogramming hasn’t helped at all.
- You’re uncomfortable performing the troubleshooting steps on your own.
It’s always better to be safe than sorry when it comes to garage door systems.
Troubleshooting a garage door opener that changes its close point can feel overwhelming, but with a little patience and persistence, it’s manageable. By checking safety sensors, clearing obstructions, reprogramming close points, and inspecting for wear, you can often find the root of the issue.
Remember, every opener is different, so keep your owner’s manual close as you work through these steps. And if all else fails, there’s no shame in reaching out for professional help! Your garage door deserves to operate smoothly, and you deserve the convenience that comes with it. Happy troubleshooting!