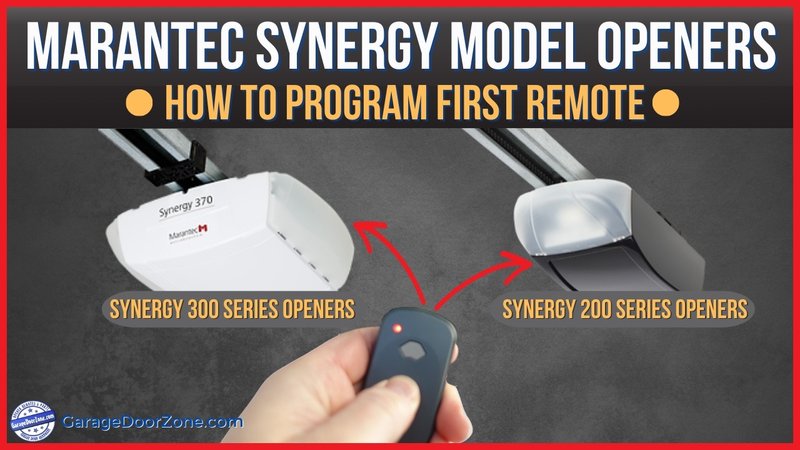
Understanding how to reset your Marantec Smart Hub isn’t just about fixing problems; it’s about empowering you to regain control of your home automation. If you’ve ever found yourself staring at a blinking light or hear an awkward silence instead of your garage door opening, you might be wondering what went wrong. It’s easier than you think to troubleshoot and reset your smart hub, and I’ll guide you through it step by step.
So, pull up a chair, grab your favorite drink, and let’s tackle how to reset your Marantec Smart Hub together.
Why You Might Need to Reset Your Marantec Smart Hub
Before we dive into the nitty-gritty of resetting, let’s chat about why this might be necessary. There are several scenarios where a reset can be beneficial. Perhaps your smart hub isn’t responding to the remote command, or it’s acting a bit erratically—like opening the garage door without you asking. This can be due to signal interference, glitches, or even quick software updates.
Another reason you might find yourself needing to reset your Marantec Smart Hub is if you’ve recently changed the remote batteries or the code for your garage door opener. Sometimes, when you make adjustments to one part of the system, it can throw everything else out of whack. Don’t fret! This is quite common, and a simple reset can usually bring everything back into harmony.
Also, let’s not overlook the occasional need for a reset during troubleshooting. If you’ve attempted various fixes without success, it may be time to take a step back, reset, and start fresh.
Gathering What You Need Before the Reset
Before we roll up our sleeves, it’s essential to gather everything we need. You might stay organized, and having the right tools can make the process smoother. First and foremost, you’ll need the reset button on your Marantec Smart Hub. If you’re not sure what that looks like, just check your user manual; it’s often a small button located on the back or bottom of the device.
You’ll also want your garage door remote handy. This is crucial for pairing after the reset. Lastly, ensure that you have fresh batteries in your remote. A weak battery can lead to more confusion than clarity after the reset, so let’s eliminate any possible culprits.
Now that you have everything ready, let’s make sure we’re prepared for what comes next!
Step-by-Step Guide to Reset Your Marantec Smart Hub
This is where the fun begins! Resetting your Marantec Smart Hub is a straightforward process. Let’s break it down into easy-to-follow steps:
1. Locate the Reset Button: Find the reset button on your Smart Hub. It’s usually tucked away, so check your manual if you have to.
2. Press and Hold: Press and hold the reset button for about 10-15 seconds. You should see a light indicator on the hub start blinking, which means it’s in the process of resetting.
3. Release the Button: After you see those blinking lights, release the button. Your hub is now in reset mode and is clearing previous settings.
4. Wait for Confirmation: Allow it a moment—typically a few minutes—for the hub to reset. Once complete, the lights should stabilize to indicate that the system is ready to be reprogrammed.
5. Reprogram Your Devices: Once the hub resets, follow the standard instructions to set up your garage door remote again.
Remember, you might have to refer back to your manual for specific instructions on reprogramming depending on your system model.
Common Issues When Resetting the Marantec Smart Hub
Even with the best planning, sometimes things don’t go as smoothly as we’d like. Here are a few common hiccups you might encounter during the reset process:
– Indicator Lights Not Responding: If your hub’s lights aren’t blinking as they should, double-check that you held the reset button long enough. Sometimes, it takes a little longer than expected.
– Remote Not Syncing: If you reset the hub but your garage door remote isn’t syncing, check the battery. A low battery can prevent a successful connection.
– Faulty Remote: If you’re still having issues after replacing the batteries, your remote might be faulty. Consider testing another remote if you have access to one.
This troubleshooting phase can feel like a puzzle, but with patience, you’ll get it solved!
Maintaining Your Marantec Smart Hub Post-Reset
Once you’ve successfully reset your Marantec Smart Hub, it’s all about keeping it in tip-top shape. One of the best practices is to regularly check your remote batteries. Having fresh batteries can prevent future disruptions and maintain smooth communication between the remote and the hub.
Also, correct and safe placement of your hub can create a more robust connection. Place it in an area where there are fewer obstructions—like walls or large metal objects. Just think of your smart hub as a radio; it needs a clear signal to operate effectively.
Lastly, consider keeping a log of any changes you make during troubleshooting. This way, if you encounter issues in the future, you’ll have a reference point. It’s like having notes on a recipe that you’re perfecting over time.
So there you have it! Learning how to reset your Marantec Smart Hub doesn’t just solve immediate tech issues; it’s a valuable skill that gives you a deeper understanding of your home’s smart technology. Whether it’s syncing, programming, or basic maintenance, every bit of knowledge helps you regain control in those frustrating moments.
Just remember, every tech hiccup is just part of the journey. With a little patience and the right steps, you can confidently tackle any issue that comes your way. Now, whenever that stubborn garage door gives you trouble, you’ll be ready to face it head-on!
