When you’re ready to dive into a garage door opener installation, the decision hinges on your comfort level with tools and your understanding of the mechanics behind it. On one hand, you could grab your toolbox and embark on the project solo, saving capital while potentially learning something along the way. On the other, a professional installation brings expertise and efficiency but might come with a higher price tag. So, which option wins? It’s time to compare!
Understanding Garage Door Opener Installation
Before we dive into the head-to-head comparisons, let’s cover the basics of what garage door opener installation actually entails. It generally involves these main steps:
- Removing the old opener (if applicable)
- Assembling the new opener
- Mounting it to the garage structure
- Connecting the power source
- Programing the remotes and safety features
Sounds simple, right? Well, it isn’t as straightforward as it seems for everyone. Different brands like LiftMaster, Craftsman, and Stanley may have their quirks during installation. Understanding these differences will help set your expectations for installation times.
Factors Influencing Installation Time
Several factors will significantly influence how long it takes to install a garage door opener, whether you do it yourself or hire a professional.
1. Experience Level: If you’ve done similar installations before, you might breeze through the process. However, if you’re new to home improvement, it could take much longer.
2. Type of Opener: A belt drive opener is generally quieter and requires a bit more assembly than a chain drive opener. The more complex the system, the longer the installation will take.
3. Location and Condition of Your Garage: Is your garage old and falling apart, or is it pristine? The working conditions will greatly influence your installation time.
With these in mind, you can start to see how DIY and professional installations compare.
The DIY Installation Process
Tackling a garage door opener installation on your own requires careful preparation. Here’s how a typical DIY installation goes:
1. Time Investment: On average, a DIY installation may take about 4 to 6 hours. If you’re someone who’s all thumbs with DIY projects, set aside a weekend just in case.
2. Skill Level: If you’re comfortable handling tools like drills and wrenches, you’ll likely progress faster. Reading the manual carefully and watching a few tutorial videos can save you time.
3. Tools Required: You’ll need standard tools—like screwdrivers and wrenches—as well as potentially a few extra items, like a level or ladder for the taller pieces of equipment.
The satisfaction that comes with completing a DIY project can be monumental. However, be mindful that most warranties require professional installation to remain valid.
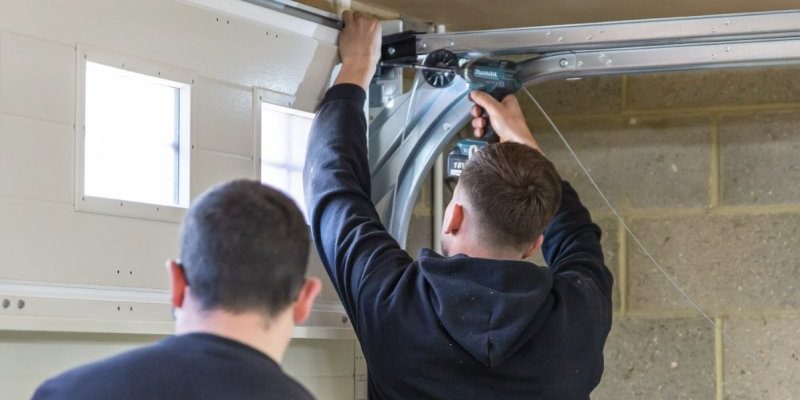
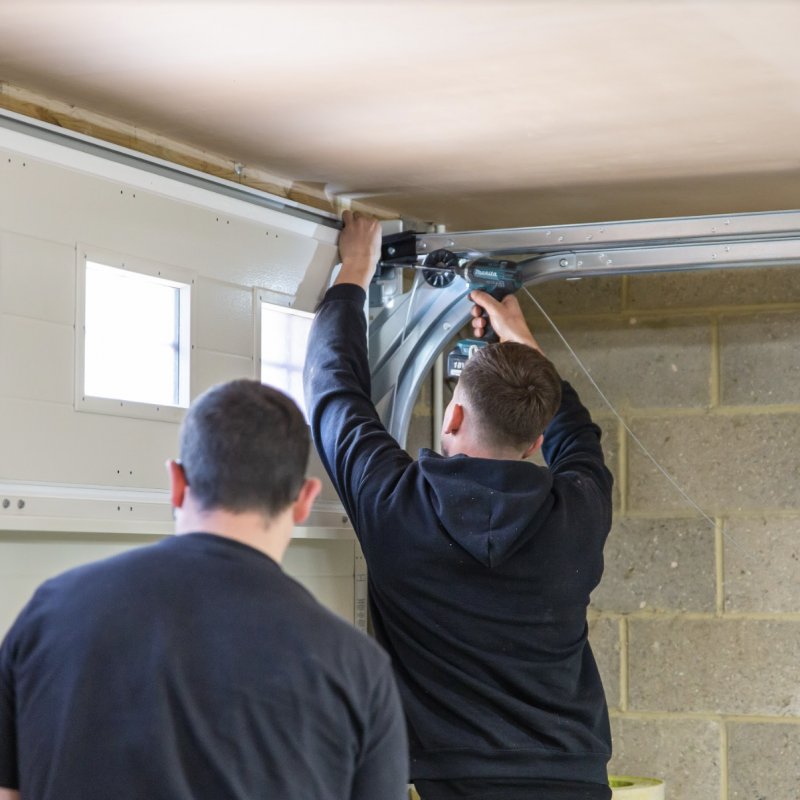
The Professional Installation Process
When you choose to hire someone to handle the installation, you trade control for convenience. Here’s what to expect:
1. Time Efficiency: Professionals typically take around 1 to 2 hours to install a garage door opener. They come equipped with the right tools and know precisely what to do.
2. Expertise and Precision: Professionals have experience with different brands and models, which minimizes the risk of error during installation.
3. Warranty Considerations: Many garage door opener manufacturers prefer or require professional installations for warranty coverage, ensuring your opener remains protected.
While the upfront cost of professional help is higher, the peace of mind that comes with expertise can make it worthwhile.
Cost Considerations
When weighing DIY versus hiring a professional, consider the associated costs carefully:
| Option | Estimated Cost |
| DIY Installation | $200 – $300 (including tools, if necessary) |
| Professional Installation | $150 – $300 (labor only) |
Material costs can vary depending on the opener brand and model you choose, but make sure to factor this into your budget.
The Learning Curve
One of the biggest factors that sets DIY apart from professional installation is the learning experience. Here’s the thing:
– Skill Development: Completing a DIY installation will teach you valuable lessons about home maintenance that can be applied to future projects.
– Problem-Solving Skills: You might face unexpected challenges like misaligned tracks or faulty wiring. Figuring these out can bolster your confidence.
– Sense of Accomplishment: There’s nothing quite like the feeling of hitting that remote and watching your garage door lift after doing the work yourself.
However, if you find the learning process overwhelming or time-consuming, a professional can save you the headache.
Risks of DIY Installation
While DIY sounds appealing, there are risks to consider. The most glaring concerns include:
– Safety Hazards: Garage door openers can be heavy and, if not properly installed, might cause injuries or damage.
– Incorrect Installation: This can result in operational issues or safety failures. You certainly don’t want the garage door to malfunction or close unexpectedly.
– Warranty Voidance: Many manufacturers will void the warranty if the opener isn’t professionally installed. So, choose wisely.
If you’re uncertain about any aspect of the installation, it might be wise to steer clear of the DIY path.
When to Choose Professional Installation
Sometimes, opting for a pro just makes sense. Situations where hiring a professional is advantageous include:
– Complexity of the Opener: If you’re working with high-end models packed with smart technology, it’s often better left to the experts.
– Existing Equipment: If your garage door system is older or requires additional modifications, professionals can address those needs efficiently.
– Time Constraints: If you’re busy with work or family commitments, hiring a professional can save you valuable time.
Let’s face it—sometimes paying for convenience is worth it!
What Do Others Say? User Experiences
Real-life stories provide insight that no guide can offer. Many users share their experiences:
– A homeowner installed a Chamberlain opener only to face troubleshooting a faulty sync. After several frustrating hours, they hired a pro to finish the job. The contractor took less than two hours to fix all the hiccups!
– Another person decided to tackle the installation of a Genie model but misread the manual. It turned into a two-day ordeal instead of the anticipated six hours.
These experiences highlight common problems, but they also reveal potential learning moments.
Final Thoughts: Choosing What’s Right For You
Ultimately, whether you choose to install your garage door opener yourself or hire a professional boils down to your preferences, skills, and comfort level. DIY can be rewarding, but it requires time and patience. On the flip side, professional installation is usually faster and safer, but it comes at a cost.
If you’re unsure, weigh the pros and cons. Listen to your gut—sometimes, it’s just better to get that expert help. Whatever path you choose, the goal is the same: a smoothly operating garage door that enhances your day’s routine.
Now you’re armed with the information to make the best choice for your situation. Happy lifting!