A garage door opener, whether it’s a Chamberlain, LiftMaster, or Genie, plays a huge role in the convenience of your daily life. For most of us, it’s just a click away from opening up our world—no more hopping out of the car in the rain or snow. So let’s treat it well. In this guide, I’ll walk you through how to give your garage door opener the love it deserves.
Why Seasonal Checkups Matter
You might be wondering why a quick check of your garage door opener can make a difference. Think of it this way: regular maintenance can help extend the life of your opener, much like a well-kept car runs smoothly. These checkups can also enhance safety. Did you know that improperly functioning garage door openers can be dangerous, especially if they don’t stop when a person or object gets in the way? Taking time for this sort of prevention can save you headaches later.
Severe weather conditions can take a toll on your equipment. Changes in temperature can impact your opener and door sensitivity. Regular checkups allow you to spot problems before they escalate. Consider it a small investment—both of time and effort—to avoid larger repair bills or mishaps later.
Tools You’ll Need for the Checkup
Before diving into the checkup process, let’s gather the tools you’ll need. This isn’t a complicated chore; it’s more like a garage door pampering session.
- Screwdriver: You’ll use this to check screws and fittings.
- Level: It helps to determine if your door and tracks are aligned.
- Ladder: If your opener is mounted on the ceiling, a ladder will make things easier.
- Lubricant: A good lubricant is essential to keep things moving smoothly.
- Cleaning Cloths: You’ll want to keep everything clean.
With these tools on hand, we can jump into the nitty-gritty of the seasonal checkup.
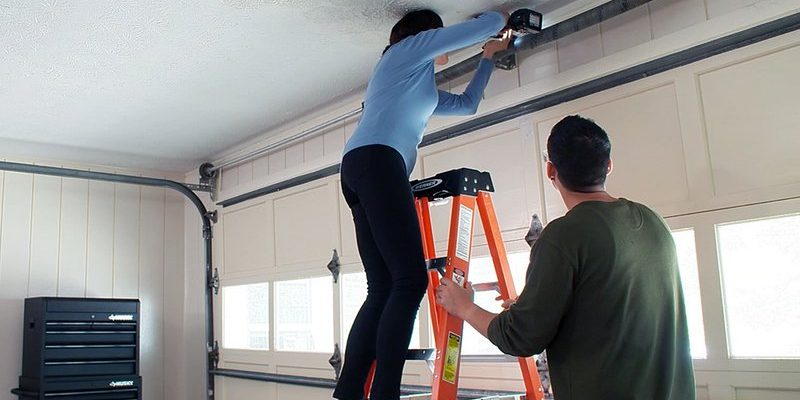
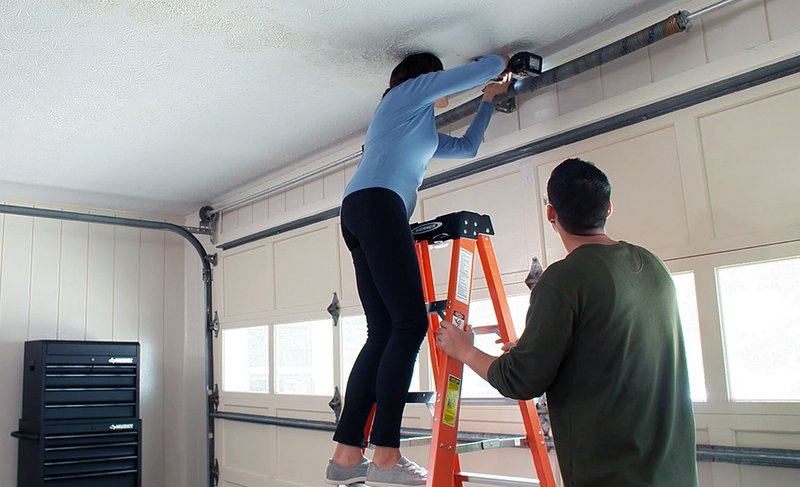
Step 1: Inspect the Garage Door Opener Mechanism
First things first, let’s start with a visual inspection of your garage door opener. Look for loose parts, rust, or signs of wear and tear. You might see things like frayed wires or components that are starting to look rusty. If any parts seem out of place, it might be time for a replacement.
Check the motor too. It should be free of dust and debris. A clean motor runs better—think of it as dusting off your desk for improved productivity. And while you’re at it, make sure all your screws are tightened. A loose screw can lead to more significant problems down the line.
Check Wiring and Connections
Next, check the wires connected to the motor. Make sure none are frayed or disconnected. Inspect the safety sensors, located at the garage door’s bottom. They ensure that the door doesn’t close onto an unsuspecting object or person. Dust and debris can block these sensors, so give them a quick wipe. Just remember—safety first!
Step 2: Test the Safety Features
Your garage door opener is equipped with safety features for a reason. They’re designed to protect you and your family. Set the door to manual mode, then slowly close it while keeping your foot underneath. If the door doesn’t reverse automatically, it’s time to recalibrate it. Think of it like a lifeguard making sure the diving board is safe for use—critical for everyone’s safety!
You can also test the auto-reverse feature. Close the door and place an object in its path, like a rolled-up towel. The opener should stop and reverse if it detects the obstruction. If not, it’s time to consult the user manual or call in a professional.
Step 3: Check the Remote Control
Ah, the remote control. This tiny gadget can sometimes be the source of frustration. Check the batteries first—old batteries can lead to poor performance. If your garage door opener is a few years old, consider replacing the batteries, even if it seems to work.
Most remote controls also have a way to reset the connection to the door opener. Look in your manual for specific instructions. Syncing it with your opener is usually a simple procedure involving a reset button.
Step 4: Lubricate Moving Parts
Lubrication is key to your garage door opener’s longevity. Without it, moving parts may wear down faster, leading to costly repairs. Use a silicone-based lubricant—avoid heavy oils as they can attract dust and dirt.
Apply the lubricant to the door’s rollers, hinges, and tracks. When these parts are in good condition, the door will operate more smoothly. Think of this step as giving your garage door a little spa day. It’ll be feeling refreshed and ready to roll in no time!
Don’t Forget the Gears
While you’re at it, give attention to the gears of the opener itself. To do this, you’ll need to take off the cover. Apply a small amount of lubricant to them as well. This prevents grinding noises and ensures smooth operation.
Step 5: Check the Door Balance
Next on the list is checking the balance of your garage door. An unbalanced door puts unnecessary strain on the opener. To check this, release the door from the opener. Manually lift it halfway. It should stay in place without any issues. If it doesn’t, you’ll need to adjust the springs.
Misalignment can also cause premature wear on the opener and its parts. If you find yourself in this situation, consider calling a professional unless you feel confident handling springs on your own.
Step 6: Clean the Garage Door
You can’t clean the opener without addressing the door itself! A well-maintained door not only looks good but can also improve performance. Grab some soap and water, and give the door a good scrub. Don’t forget to wipe the windows if you have glass panels.
As you’re cleaning, look for any signs of damage, like cracks or dents. These can affect both appearance and performance. If the damage is severe, you might need a professional to assess your options.
Step 7: Perform a Complete Function Test
Now, it’s time for the fun part: testing everything! Reconnect your opener and your remote, then press the button. Watch how smoothly the door opens and closes. Listen for any unusual sounds—grinding, squeaking, or clunking noises aren’t a good sign. If everything seems off, a deeper inspection should be in your future.
Also, check the lights. If they flicker or don’t come on at all, it could mean a burnt-out bulb or an electrical issue.
Why This Routine Matters
Caring for your garage door opener isn’t just about maintenance; it’s about making your life easier and safer. Regular checkups can help avoid unexpected costs or dangerous situations. It’s like regularly checking your smoke detectors or getting an oil change—they’re the little things that keep everything running smoothly.
By investing a little time into seasonal checkups, you’re standing guard over your home. Plus, you’ll gain peace of mind knowing that everything is running smoothly.
Closing Thoughts
So there you have it! Performing a seasonal checkup on your garage door opener doesn’t have to be overwhelming. With a bit of effort, you can keep everything running smoothly. As we discussed, inspecting, cleaning, and lubricating your opener can really enhance its lifespan.
Remember, a little TLC for your opener goes a long way, letting you avoid unexpected repairs and keeping your opener in top shape. Now, grab those tools and treat that garage door opener to its seasonal checkup! You’ll be glad you did.