Garage doors usually have two main kinds of springs: torsion springs that sit above the door and extension springs that run along the sides. Each type has its own role in lifting that heavy door, and understanding them can make troubleshooting a whole lot easier. So, grab your coffee, and let’s dive into the world of garage door repair.
What Does a Broken Spring Look Like?
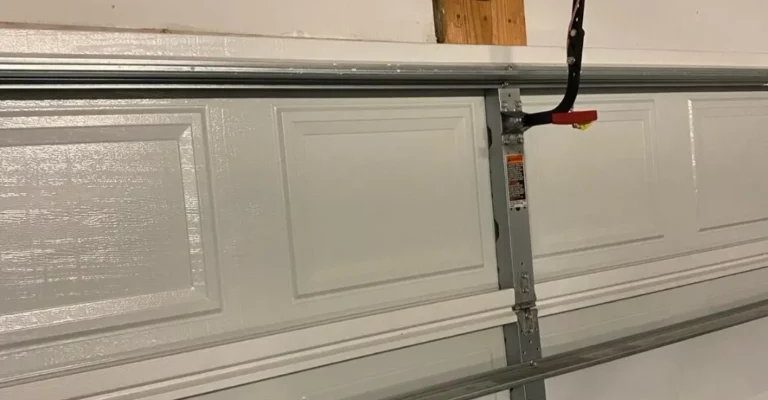
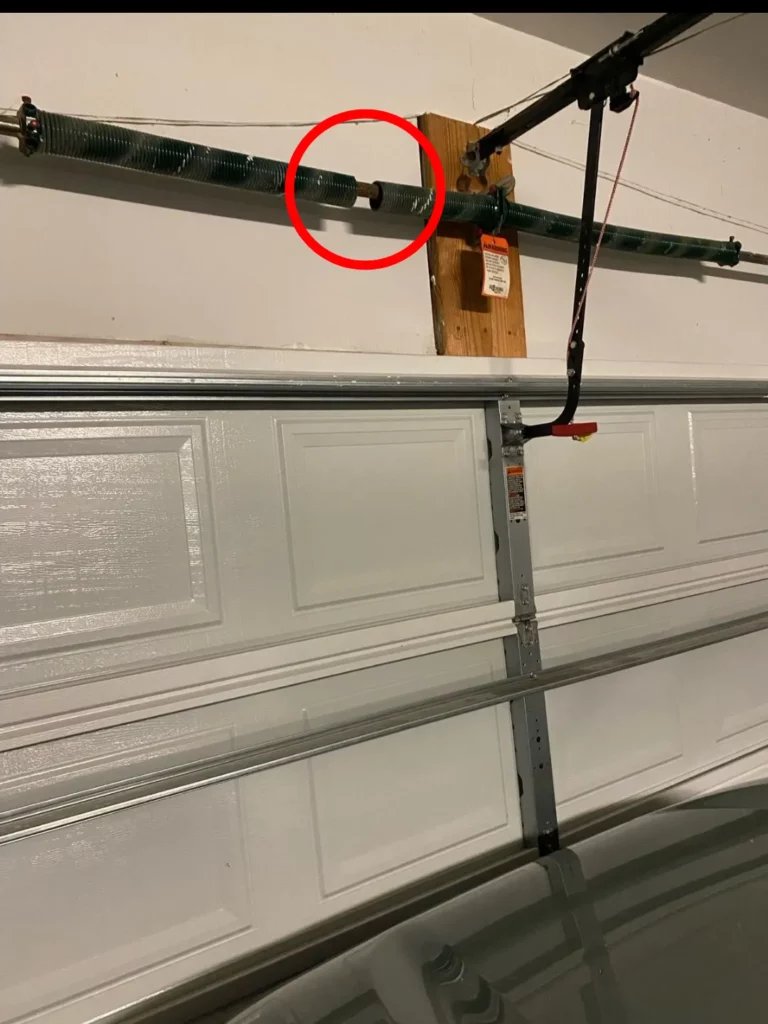
You might be asking yourself, “How can I tell if my spring is broken?” A broken spring often displays a few telltale signs. First, inspect the spring itself. If you see any gaps in the coils or if they’re stretched and loose, that’s a clear indication that it’s time for a replacement. Torsion springs are tightly wound, while extension springs look like long, stretched-out coils. If either of them is damaged or broken, the door will struggle or refuse to open altogether.
Sometimes, you might notice that one side of the garage door hangs lower than the other. This asymmetry often points to a broken spring, throwing the balance off. Here’s the thing: never attempt to lift or manually operate the door with a broken spring. This can put extra stress on the opener and could lead to more serious damage. So, let’s ensure a safe approach to fixing this issue.
Step 1: Check Your Garage Door Opener
Before diving into spring repairs, check your garage door opener settings and functionality. Pressing the remote and hearing a click but not seeing movement could indicate that the opener is working, but the spring is the problem.
Here’s how to confirm:
- Ensure the opener is plugged in and has power.
- Look for any blinking lights on the control panel—these often indicate errors.
- Try using the emergency release cord to disconnect the door from the opener.
If the door doesn’t move manually, that’s a strong sign the spring has failed. If it does move but the opener still doesn’t work, you may have more issues, possibly needing to reset or reprogram the remote.
Step 2: Inspect the Springs
Once you’ve confirmed that your opener is in good shape, it’s time to take a closer look at those springs. Stand back and visually inspect both the torsion and extension springs for any signs of wear or rust. If your springs are rusty, they could be compromised.
You might be wondering how to tell if they’re actually broken. Gaps in the coils or a completely split spring mean it’s time for a replacement. Use a flashlight to get a better view; working in the dark can lead to missing crucial signs of damage. Safety is key here, so keep your distance and avoid touching any components until you’re sure what you’re dealing with.
Step 3: Listen for Unusual Noises
The noises coming from your garage door can also give you clues about what’s wrong. When your garage door opener is functioning normally, you’ll hear a smooth sound as the door opens and closes. However, if the opener struggles or emits grinding or banging noises, you could have a broken spring.
This is a good time to grab a pen and jot down any unusual sounds you’ve heard during operation. Here’s the thing: having a detailed description will make it easier if you decide to call a pro later. They can diagnose the issue quicker with your observations in hand.
Step 4: Adjust the Limits and Sensitivity
In the case of a broken spring, your limits or sensitivity settings could have also been thrown off. Adjusting them may help your garage door opener operate smoother while you plan for a spring replacement.
To adjust these settings:
- Locate the adjustment screws on the garage door opener motor (usually found on the back).
- Change the up and down limits using a flathead screwdriver—typically a quarter turn will make a noticeable impact.
- Test the door after making any adjustments to see if it opens more easily.
Sometimes, this simple step can buy you a bit of time before needing a professional fix, but remember it’s not a substitute for replacing a broken spring.
When to Call a Professional
Some garage door issues are minor and manageable, but a broken spring doesn’t fall into that category. If you’re uncomfortable with repairs or unsure if you’re dealing with a broken spring, calling a professional is the best course of action.
Consider these questions:
– Do you have the right tools and safety gear?
– Are you familiar with the process of spring replacement?
– Is your garage door system an older model with unique parts?
If you answered “no” to any of these, it’s time to pick up that phone. Pros have the expertise and tools to change springs safely—something that’s not only tricky but dangerous for the DIY enthusiast.
The Risks of DIY Spring Replacement
Trying to replace a broken spring yourself can pose several risks. Springs are under intense tension, and if mishandled, they can snap back and cause serious injury. Additionally, incorrect installation can lead to further complications, paving the way for a failing garage door system down the line.
Here’s a thought: picture trying to sharpen a knife without knowing how to do it safely. It could easily lead to cutting yourself or ruining the knife. Similarly, without the proper knowledge and experience, working with garage door springs can lead to far worse outcomes.
Choosing the Right Replacement Spring
If you consider calling a professional, they will likely replace the broken spring with one that matches your garage door type and opener settings. But if you want to get a head start and research on your own, here’s how to choose the right spring:
- Identify the type of spring (torsion or extension).
- Measure the length and diameter of your existing spring.
- Understand the weight of your garage door, as springs are rated based on the door’s weight.
Having these details ready will not only speed up the replacement process but also ensure you get the best match for your garage door setup.
Final Thoughts
Troubleshooting a garage door opener with a broken spring can initially feel overwhelming, but breaking it down into manageable steps makes things easier. Whether you decide to tackle minor adjustments yourself or bring in a professional for spring replacement, being informed will empower you. Always prioritize safety first, and don’t hesitate to ask for help when you need it. After all, your garage door provides valuable access and security, and ensuring it operates smoothly keeps your home safe.