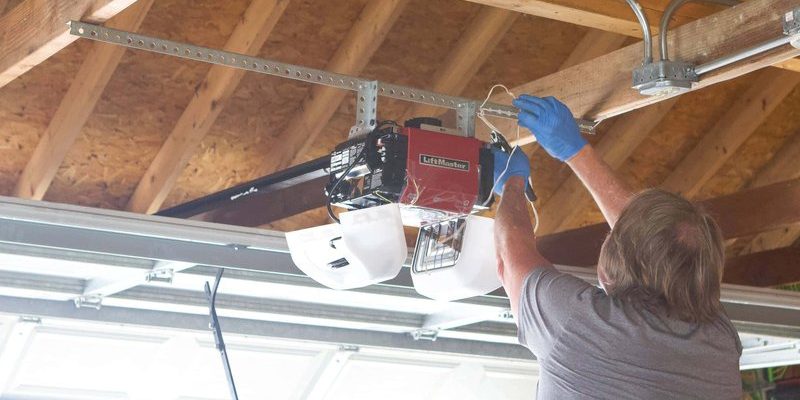
Whether you’re using a Chamberlain, Genie, or LiftMaster opener, it often comes down to a few key checks that you can perform on your own. Before thinking about calling a technician, let’s explore how to ensure your garage door opener is getting the power it needs to do its job.
Why Checking the Power Source Matters
If you think about it, your garage door opener is just like any other electronic device—it needs power to run. Without a reliable power source, it’s basically a glorified doorstop! When your garage door won’t budge, a dead battery or a power failure might be the culprit.
The importance of checking your power source can’t be overstated. Doing so saves you time and money by ruling out other potential problems. So, before diving into more complicated troubleshooting steps, let’s start with something as simple as a power check.
Identifying Your Garage Door Opener Type
Before you can check the power source, you need to identify which type of garage door opener you own. The most common types include chain drive, belt drive, and screw drive. Each type has a slightly different setup regarding power sources.
– Chain Drive: Typically the loudest and most affordable; these openers use a metal chain to lift the door.
– Belt Drive: Quieter and often more expensive, these use a belt to lift the door smoothly.
– Screw Drive: These are simpler in design, using a threaded steel rod to move the door.
Knowing your opener type will help you locate the power source faster, making your troubleshooting more efficient.
Checking the Power Outlet
The first place to check is the power outlet where your garage door opener is plugged in. Here are the steps to do that:
1. Unplug the Opener: Start by unplugging your garage door opener from the outlet.
2. Test the Outlet: Use a lamp or another electronic device to see if the outlet is functioning. If the lamp works, the outlet is fine.
3. Inspect the Cord: Look for any visible signs of damage or fraying on the power cord. If it’s compromised, replacement is necessary.
If the outlet isn’t working, make sure to check your home’s circuit breaker. Sometimes, a tripped breaker is all that’s holding up your garage door from functioning.
Examining the Circuit Breaker
If you find the outlet isn’t working, the next step is to dive into your circuit breaker. Here’s how to check for issues:
1. Locate Your Breaker Box: This is usually in a utility area or basement. Open it up.
2. Look for Trip Switches: Check if any switches are in the “off” position. If one is, that’s likely the culprit.
3. Reset the Breaker: Flip the switch back to the “on” position and test the garage door opener again.
Sometimes, tripped breakers can indicate a larger electrical issue, so don’t hesitate to reach out to an electrician if you repeatedly face this problem.
Checking the Remote Control Batteries
Your remote control is the linchpin to your garage door’s functionality. If it’s not working, it might not be the opener that’s the problem—it could simply be the remote control. Here’s what you can do to check:
1. Remove the Battery Cover: Use a screwdriver or simply slide off the cover, depending on your remote.
2. Replace the Batteries: Use fresh batteries that match your remote’s requirements (usually AA or 9V).
3. Test the Remote: After replacing, try using it to see if it syncs properly with the garage door opener.
If the remote is still unresponsive, try resetting it or consult the manual for instructions on reprogramming it.
Hardwired Models and Power Supply Issues
Some garage door openers might be hardwired instead of being plugged into an outlet. If that’s the case, the steps vary slightly:
1. Find the Transformer: Check where your garage door opener connects to the electrical system to locate the transformer.
2. Test the Transformer: Use a multimeter to check if there’s power coming through. If it’s not functioning, you may need a replacement.
3. Inspecting Wiring Connections: Tighten any loose connections to ensure you have a solid link.
Hardwired systems can be more complex, but with these checks, you can identify whether it’s a power issue.
Reset the Garage Door Opener
You might not believe it, but resetting the opener can solve many problems, including power-related ones. Here’s a quick guide on how to reset your garage door opener:
1. Locate the Reset Button: This button is usually somewhere on the motor unit itself. Consult your manual if you can’t find it.
2. Press and Hold: Press and hold the button for about 10 seconds until the LED lights start to blink.
3. Reconnect: Try using the remote once more after the reset.
Think of the reset like a computer reboot. Sometimes, a simple reset can clear up any glitches.
Common Troubleshooting Steps
If you’ve checked the power sources and everything seems fine, but your garage door opener still won’t work, here are some common troubleshooting steps to consider:
– Check for Obstructions: Make sure nothing is blocking the photo-eye sensors. Even a small toy can cause issues.
– Inspect the Garage Door Track: Look for any dents or misalignments that could prevent smooth operation.
– Listen for Sounds: An opener that’s trying to work but failing may sound different than one that’s completely unresponsive.
Doing these checks can clarify whether the problem is related to power or something else entirely.
Final Thoughts
When your garage door opener acts up, checking the power source can often lead to a simple solution. From examining the outlet and circuit breaker to inspecting remote batteries, these basic steps can save you time and hassle. Remember, just like any electronic device, your garage door opener needs a reliable power supply to function properly.
If you’ve gone through these steps and still face issues, it might be time to call in a technician for a deeper inspection. But don’t let simple problems trip you up! In ahome where convenience is key, having a functioning garage door opener makes life just a little bit easier.