Now, you might be sitting there wondering, “How exactly do I reset this thing?” Let’s break it down step by step, just like you would if you were assembling that flat-pack furniture—I’ll guide you through it, piece by piece. You’ll see that working with your Craftsman garage door opener isn’t as daunting as it first appears!
Understanding Your Craftsman Garage Door Opener
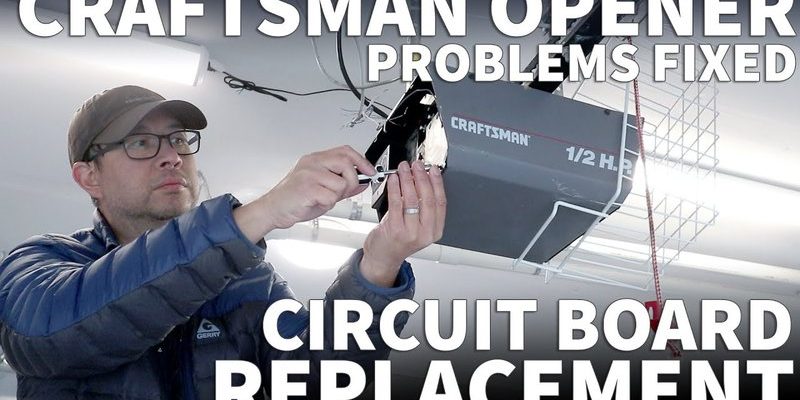
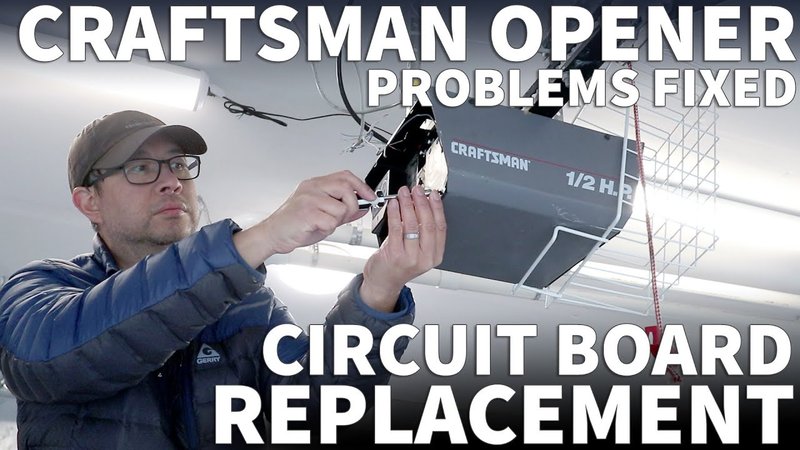
Before we jump into the reset process, it’s essential to understand what parts are involved. Most Craftsman openers come with either a remote control or wall switch, both designed to communicate with that all-important circuit board nestled inside the unit.
1. Types of Craftsman Openers: You may have a chain drive, belt drive, or screw drive model, and the reset process might slightly differ depending on the model you own. Here’s a quick breakdown:
– Chain Drive: Known for durability and affordability.
– Belt Drive: Quieter than chain drives, perfect if noise is a concern.
– Screw Drive: Offers fewer moving parts and minimal maintenance.
2. Wiring and Connections: The circuit board connects to various components, such as the motor and sensors. If your garage door isn’t responding, it could be a hiccup in one of these connections, which resetting the board might help clear up.
3. Common Issues: Think about whether there’s a beeping sound or blinking lights indicating something’s off. These are clues that tell you a reset might be needed to realign everything.
Preparation: Before You Reset
Resetting the circuit board isn’t your everyday task, but it’s pretty straightforward. Here’s what you’ll need:
– Safety First! Make sure to disconnect your garage door opener from the power source. A sudden surge during your reset could cause more issues.
– Wearable Gear: Grab some gloves to protect your hands, and have a flashlight handy since you’ll be working around the unit.
– Note the Code: If you’ve programmed your remote or keypad, jot down the settings, as you may need to re-enter them after the reset.
Having everything lined up before getting started makes the process smoother—like preparing ingredients before you start cooking!
Step 1: Disconnecting Power
Here’s the first step in the reset process: disconnecting the power. This may seem simple, but it’s crucial to ensure your safety and the integrity of the circuit board during the reset.
1. Unplug the Unit: Go to the outlet where your garage door opener is connected, and unplug it. If you can’t reach it easily, look for the circuit breaker that powers it and turn it off.
2. Wait a Moment: Leave it unplugged for about 30 seconds. This is important—it allows the components to dissipate any lingering power and resets internal processes.
3. Revisit Connections: While you’re at it, check the wiring connections. Ensure everything is snug and there are no disconnections that could affect performance.
By following these simple steps, you’re doing the groundwork to ensure the reset is effective.
Step 2: Performing the Reset
Now it’s the moment of truth: performing the actual reset of your Craftsman circuit board. Let’s dive into the how-to.
1. Power the Unit Back On: Plug it back in or flip the circuit breaker on. You should hear a gentle whir as the unit powers up.
2. Find the Reset Button: Most Craftsman garage door openers have a reset button, often located on the back or side of the unit where the motor is. It’s typically a small, recessed button.
3. Press and Hold: Use a pen or a tool to press and hold the reset button for about 10-15 seconds. Watch closely for indicator lights; they may blink or change patterns, indicating the reset is in process.
This step is where the magic happens! You’re giving your opener a clean slate.
Step 3: Reprogramming Remotes and Keypads
Once the reset is complete, you might find that your remote and keypad settings have also reset. No worries—reprogramming is easy!
1. Locate the Learn Button: On the back of your opener unit, you’ll often find a “Learn” button (sometimes labeled “Program”). This is what you’ll use to sync your remote.
2. Press the Button: Press the learn button until you see a light blink, often indicating that the unit is ready to receive signals.
3. Sync Your Remote: Immediately take your garage door remote and press the button you use to open the door. The unit should respond with lights blinking again or a chirping sound, confirming the remote is now paired.
You’re not just resetting; you’re reconnecting your world!
Troubleshooting Common Issues
Sometimes, even after a reset, things might still feel off. Here are some common issues to consider and how to troubleshoot them.
1. Garage Door Won’t Open/Close: If your garage door remains inactive, double-check the safety sensors located at the door’s base. Ensure there’s no obstruction and that they’re aligned.
2. Remote Not Syncing: If your remote fails to sync, try replacing the battery and repeating the syncing process. Sometimes, a fresh battery is all it needs.
3. Unusual Noises: Strange sounds coming from the unit might indicate mechanical issues rather than electrical. Listen closely to diagnose if you hear grinding, clicking, or any other odd sounds.
Identifying the specific problem can save you time and frustration.
Resetting your Craftsman garage door opener’s circuit board can be a simple yet effective solution to many common issues. Just remember, it’s all about taking it step by step—like putting together that complex puzzle.
From disconnecting power to reprogramming your remote, following each step carefully ensures your garage door will work smoothly again. And if problems persist, consulting the manual or a professional can provide peace of mind.
So the next time you find yourself stuck with a stubborn garage door opener, keep this guide handy, and don’t hesitate to give your Craftsman a reset! Happy resetting!