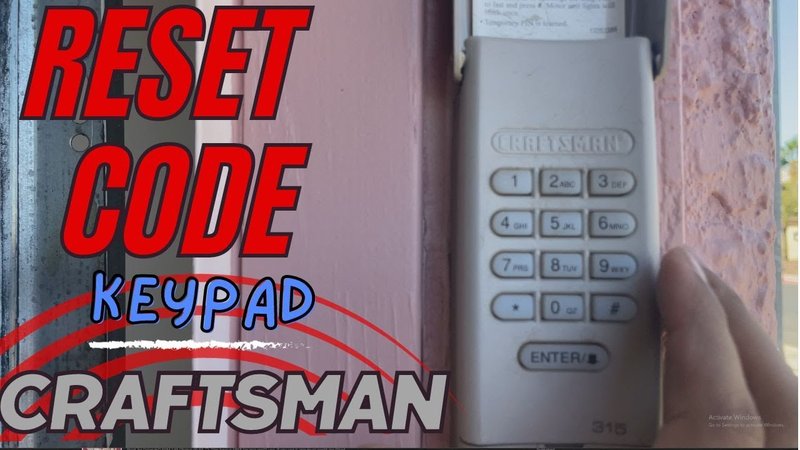
Now, Craftsman is a brand you might associate with reliability and strength. Their keypads are designed to make our lives easier but can sometimes act up. If you’re facing issues like the keypad being unresponsive or accepting an incorrect code, don’t worry—resetting it isn’t as complicated as it sounds. Let’s break it down into simple steps.
What You Need Before You Start
Before diving into the reset process, there are a few essential things to gather. You’ll want to have:
- Your Craftsman garage door opener
- The existing keypad (this guide focuses on wireless models)
- A ladder, if your keypad is mounted high
- Fresh batteries, just in case
- The current access code, if you can remember it
It’s like preparing your workspace before a project. Having everything ready can save you time and potential frustration. It’s also a good idea to ensure that the garage door opener itself is functioning correctly. If the opener is acting weird, it might be good to troubleshoot it first.
Finding the Reset Button
Now, let’s get into the nitty-gritty. The first step is to locate the reset button on your Craftsman keypad. Typically, it’s a small, dedicated button that’s easy to overlook. Here’s what to keep in mind:
1. Look closely: On many models, the reset button can be found inside the battery compartment or on the back of the keypad.
2. Check the manual: If you don’t have it on hand, Craftsman’s website can help you find the model specifics.
3. Don’t panic: If you can’t find the button right away, it’s pretty standard. Sometimes it’s just hidden behind the battery panel or might be labeled “Learn” or “Program.”
When you find it, you’re one step closer to restoring functionality to your keypad!
Resetting Your Craftsman Keypad
Once you’ve located the reset button, you can begin the reset process. Here’s a step-by-step guide that’s as easy as pie:
1. Remove the cover: If necessary, take off the front panel or battery cover of the keypad.
2. Press and hold the reset button: Use a pen or small tool to press and hold the button for about 10 seconds. You want to feel a click or see a light blink.
3. Release the button: Let it go, and you should hear a beep or see the lights flash, indicating the keypad has been reset.
After following those steps, your keypad is set to its default settings. It’s like starting fresh with a blank slate; you’ll be able to program a new code without any hiccups.
Reprogramming the Keypad
Now that you’ve reset the keypad, it’s time to reprogram it. Think of this as getting to know an old friend again—only now you have a new code. Here’s what you need to do:
1. Enter the programming mode: Locate the “Learn” button on your garage door opener. Press it until the light starts blinking.
2. Input your new code: On the keypad, press the desired 4-digit access code you want. The light on the garage door opener should blink again to confirm.
3. Test the code: Close the garage door and then try your new code. If it works, you’re all set!
By taking the time to reprogram the keypad, you create a new way to access your garage. It’s like getting a new key but way cooler.
Common Issues and Troubleshooting
So, what if you’ve followed all the steps and the keypad still isn’t working? Don’t sweat it; troubleshooting is part of the process. Here are some common issues you might encounter:
– Keypad unresponsive: Ensure the keypad has fresh batteries. A dead battery can be sneaky.
– Code not accepted: Double-check your new code. Sometimes, a mistyped digit can cause confusion.
– Distance problems: Make sure you’re within range of the garage door opener. If you’re more than 20 feet away, the signal might not be strong enough.
If you’ve gone through these troubleshooting steps and the keypad is still acting up, it might be time to consult your manual or consider calling customer support. Sometimes, a quick chat can clear up confusion!
When to Consider Replacement
You might be wondering, “Should I just replace the keypad instead of resetting it?” That’s a valid question. Here are a few signs it might be time to upgrade:
- The keypad is visibly damaged.
- It frequently malfunctions, even after multiple resets.
- Your keypad is more than a few years old.
- You want to upgrade to a model with more features.
Replacing the keypad might seem like a hassle, but today’s models offer enhanced security features and convenience, making them a worthwhile investment.
Preventing Future Issues
After successfully resetting your Craftsman keypad, it’s a good idea to think about how to prevent future issues. Here are some tips to keep in mind:
– Regular maintenance: Check the batteries every few months to ensure they are functioning properly.
– Keep it clean: Dust and debris can clog the keypad and reduce its responsiveness.
– Educate family members: Make sure everyone who uses the keypad knows the code and how to reset it if necessary.
By following these simple steps, you can keep your Craftsman keypad in good working condition and enjoy hassle-free access to your garage.
Final Thoughts
Resetting your Craftsman keypad may seem daunting at first, but as you’ve seen, it’s really a straightforward process. With a bit of patience and the steps outlined above, you’ll be back to accessing your garage quickly and easily. Remember, every little hiccup can often be solved with a good ol’ reset.
Next time you run into trouble, whether it’s a stubborn code or an unresponsive keypad, just recall these steps: find the reset button, program a new code, and keep your keypad in tip-top shape. Now you’re equipped with the knowledge to tackle any keypad issues that come your way. Happy resetting!
