Chamberlain is a reputable brand known for its reliable garage door systems. The wife of a colleague once told me how they had a stubborn door that simply refused to cooperate. After a simple reset, it was like magic—everything started working again. So, if you’re in the same boat, let’s walk through how to reset your Chamberlain control panel step by step, ensuring you don’t get stranded outside your garage again.
Why You Might Need to Reset Your Control Panel
You might be wondering why your Chamberlain control panel needs a reset in the first place. Over time, various factors can cause connectivity issues or programming errors. Here are a few common reasons you might find yourself needing to hit that reset button:
- Remote Sync Issues: Sometimes, the remote loses its connection with the opener.
- New Remote Addition: If you’ve recently added a new remote, your system may need a reset to recognize it.
- Software Glitches: Just like any smartphone or computer, garage door openers can experience glitches.
Understanding these factors can help you troubleshoot effectively. And don’t worry; resetting the control panel is simpler than it sounds.
Gathering Your Tools: What You’ll Need
Before digging into the reset process, it’s wise to gather what you need. You won’t require much; just some basic items to make the process smooth:
- Your Chamberlain remote: Make sure it’s ready to go with fresh batteries.
- Step ladder: If your control panel isn’t easily accessible, a step ladder will come in handy.
- Patience: It’s an essential tool in any DIY project.
Putting everything in one spot makes it much easier to reset your control panel without interruptions. Keep in mind, having a friend help can also make the process smoother—and maybe more fun!
Steps to Reset Your Chamberlain Control Panel
Now, let’s dive into the actual reset process! Follow these steps carefully:
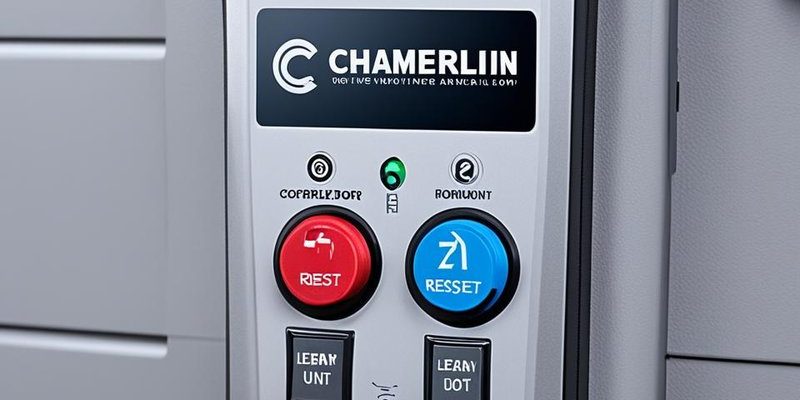
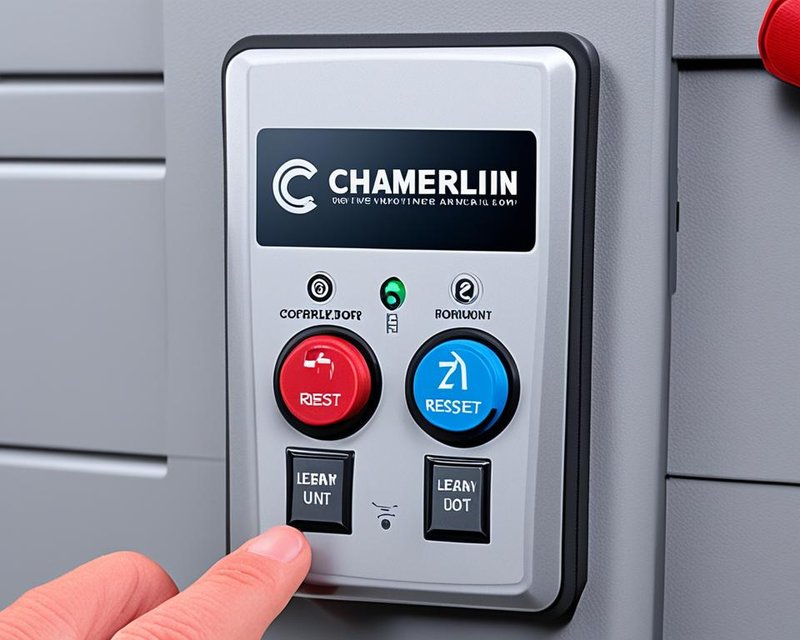
1. Locate the Learn Button: You’ll find the Learn button on your Chamberlain control panel. It’s usually located near the antenna, where the wires connect to the motor unit.
2. Press and Hold the Learn Button: Press and hold this button for about 6 seconds. You should see the LED light on the opener blink off. This indicates that the control panel has been reset.
3. Reprogram Your Remote: After resetting, you’ll need to re-sync your remote. Press the Learn button once again—this time only for a quick second. The LED should light up again.
4. Press the Remote Button: Within 30 seconds of pressing the Learn button, hit a button on your remote. If everything went well, your garage door opener should respond by moving slightly.
There you go! You’ve just reset your Chamberlain control panel.
Troubleshooting Common Problems
Sometimes, things don’t go as planned. If your control panel is still acting up after resetting, here are a few troubleshooting tips to keep in your back pocket:
- Check the Batteries: Ensure your remote has fresh batteries. Weak batteries like to mess with connectivity.
- Inspect the Antenna: If your garage door opener has an antenna, ensure it’s not damaged and is positioned correctly.
- Observe Interference: Other wireless devices nearby can mess with signals, so check for any potential interference.
Each of these adjustments can help make a difference in the opener’s performance. If issues persist, consulting the manual for additional guidance might be helpful.
Resetting the Wall Control Panel
If you need to reset the actual wall control panel instead of the remote, follow these steps:
1. Disconnect Power: Unplug the garage door opener or disconnect the power source for a few minutes.
2. Press the Wall Control Button: After returning power, press and hold the wall control button down for around 10 seconds.
3. Observe Signals: The indicator lights should help verify if the reset was successful. If they blink as expected, you’re set!
Resetting the wall control panel can fix issues separate from the garage door remote if they exist.
Considering Replacement Options
If you find that your control panel is beyond simple debugging and resets, you might want to start browsing options for a replacement. You’ve got a few choices:
- OEM Replacement: This means getting a Chamberlain control panel that fits your model directly, ensuring compatibility.
- Universal Remotes: If you want flexibility, consider a universal remote that can sync with various garage door openers.
Finding the right fit can enhance your garage door experience and save you from potential headaches in the future.
So there you have it! Resetting your Chamberlain control panel doesn’t have to feel like rocket science. With a bit of patience and the steps laid out above, you can get your garage door opener back in working order. Here’s the thing: technology does have its quirks, and knowing how to reset it can save you time and frustration.
Remember that troubleshooting is a part of this process, too. If you continue having trouble, don’t hesitate to seek help or check out more intricate solutions. Keep this guide handy, and you’ll feel more at ease when tech issues arise—because honestly, who wants to be stuck outside during a rainstorm? Enjoy your stress-free garage access!