Chamberlain is one of the most recognized names in garage door openers, and their wall buttons are user-friendly and reliable. These wall buttons let you operate your garage door from inside, making life easier when your arms are full. However, there are times when they can stop communicating with your door opener. If you’ve faced this hiccup, then this guide will walk you through how to reset your Chamberlain wall button clearly and concisely.
Understanding Your Chamberlain Wall Button
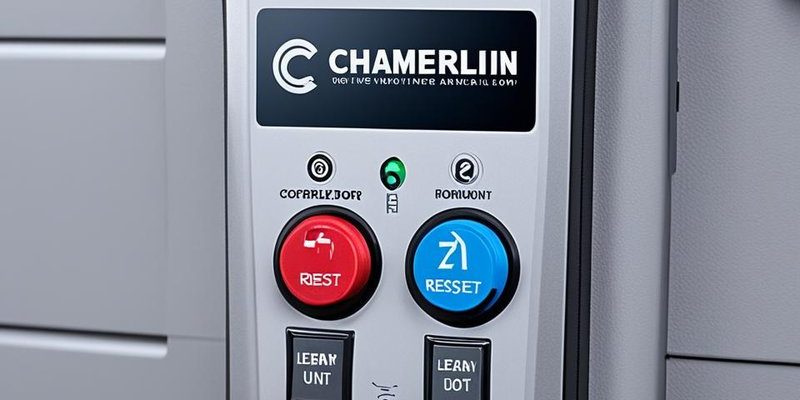
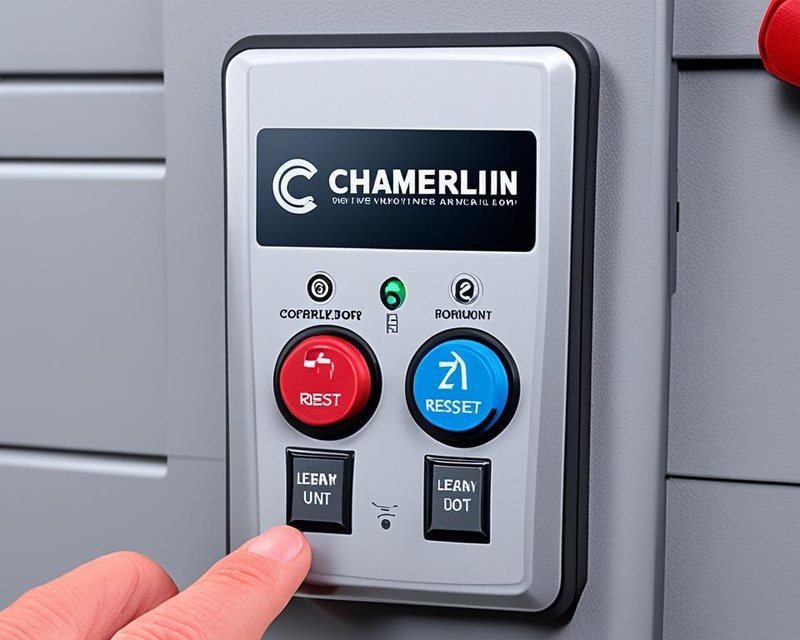
Before we dive into the resetting process, let’s get familiar with what your Chamberlain wall button does. Essentially, it’s like the command center for your garage door. With just a press, it sends a signal to your garage door opener to either open or close the door. When this button is working correctly, it’s usually a hassle-free experience.
You might find that the wall button is wired directly to the garage door opener or is wireless, meaning it communicates through radio signals. No matter the type, understanding its role can really help when things go wrong. Some common issues you might encounter with the button include unresponsiveness, incorrect operation of the door, or the LED light not turning on. Generally, a reset is often the best first step to troubleshoot these concerns.
Why You Might Need to Reset Your Wall Button
You might be wondering why your wall button stopped working in the first place. Here are a few reasons:
1. Power Interruptions: Any loss in power, like a blackout or a tripped circuit breaker, can disrupt the connection between your wall button and opener.
2. Signal Interference: Sometimes, other electronic devices can interfere with the signals, especially if you’re using a wireless model.
3. Low Battery: If your wall button is battery-operated, low battery life can lead to its dysfunction.
When any of these situations arise, resetting your wall button can help restore its functionality. It’s usually quicker than trying to diagnose the specific issue, and in many cases, it simply brings everything back in sync.
Step-by-Step: How to Reset Your Chamberlain Wall Button
Resetting your wall button can be done in just a few simple steps. Here’s the breakdown to make it easy for you:
Step 1: Disconnect Power
First, ensure the garage door opener is completely powered down. You can do this by unplugging it from the power outlet or turning off the circuit breaker dedicated to the garage door.
Step 2: Remove the Wall Button
If it’s a wired wall button, gently pull it away from the wall. If it’s wireless, simply take it off the mounting bracket. Make sure you’re careful not to damage any wires if it’s a wired model.
Step 3: Wait for a Minute
This might seem trivial, but waiting about 60 seconds allows any temporary issues to clear. It’s like letting your computer “catch its breath.”
Step 4: Reconnect Everything
Reattach the wall button to its location, putting any wires back as needed. If it’s a wireless model, ensure the battery is correctly installed.
Step 5: Reconnect Power
Plug your garage door opener back in or turn on the circuit breaker.
Step 6: Test the Wall Button
Press the wall button to see if it operates the garage door. If it works, congratulations! You’ve successfully reset your Chamberlain wall button.
If it still doesn’t work, you might need to troubleshoot further or refer to your user manual for specific instructions.
Troubleshooting Common Issues
Even after resetting your wall button, there might be some lingering issues. Here are a few common problems and what to do about them:
- Wall Button Unresponsive: Check if the wires are securely connected or if the battery needs replacing, especially for wireless buttons.
- Garage Door Doesn’t Open: Ensure that the garage door isn’t blocked by something. Also, check the opener itself—there might be an issue separate from the wall button.
- Light Flashing on the Opener: This could indicate various problems, from sensor issues to a need for reprogramming. Sit down with the user manual to confirm the troubleshooting for specific light signals.
Sometimes, the issue might not be with the wall button at all. Ensure your garage door opener is functioning properly to rule out larger problems.
Alternative Solutions If Reset Doesn’t Work
If your reset doesn’t solve the problem, you might want to consider a couple of alternative solutions:
1. Reprogram the Wall Button: Some models allow for reprogramming. The manual often has details about this process.
2. Inspect Remote Control: If you’ve been using your remote more than the wall button, it could be an issue with that device.
3. Switch to a Universal Remote: If both the wall button and the original remote have issues, it might be worth trying a universal garage door remote. They’re often compatible with many brands, including Chamberlain.
Remember, while troubleshooting can feel overwhelming, often the simplest solution is the one you overlooked.
When to Call in the Professionals
If you’ve followed all the reset steps and troubleshooting tips but still find no success, it could be time to call in a professional. This would be the best route if you suspect electrical issues or if your garage door system is significantly malfunctioning.
Professional assistance can help diagnose tricky problems like wiring issues or opener malfunctions, ensuring you get back to opening your door with ease.
Resetting your Chamberlain wall button might seem tricky, but with a few straightforward steps, you’re back to having a smoothly running garage door. Remember, it’s all about keeping that communication between your wall button and garage door opener clear. Don’t hesitate to reach out for professional help if basic troubleshooting doesn’t work.
Like keeping your car in good shape, occasionally resetting or checking in on your garage system goes a long way in avoiding bigger issues down the line. Now, with this guide in hand, you’re equipped to tackle any hiccups with your Chamberlain wall button confidently!