You might be using a specific model like a Chamberlain or Genie garage door opener, and relying on those sensors to keep things safe. If the sun is constantly beaming down on them, they won’t work as effectively. The truth is, even the best technology can have its weaknesses, and sunlight is one of them. So, how do you protect those sensitive sensors? Let’s dive into the steps of installing sun shields and make your garage door operations a breeze!
What Are Garage Door Sensors?
Garage door sensors are small electronic devices usually positioned at the bottom of your garage door tracks. They operate using infrared technology to detect whether an object (like your car, a person, or even a pet) is in the way of the closing garage door. If something interrupts the beam between the two sensors, the door will stop and reverse to avoid causing any harm or damage.
Think of these sensors as safety guards that protect you and your belongings. If they can’t see well because of direct sunlight or debris, it could lead to false alarms or, even worse, the door not closing properly. Installing sun shields is a simple yet effective way to ensure these sensors always have a clear view of their surroundings.
Why Do You Need Sun Shields?
Here’s the thing: without proper visibility, your garage door sensors can misinterpret what they “see.” If the sun shines right on them, they might close unexpectedly or refuse to open altogether. This creates annoying delays and could potentially damage your door or your car if it closes when you’re not ready.
Sun shields act like tiny awnings that block sunlight from hitting the sensors directly. Instead of having to squint through the glare, your sensors can remain focused and accurately detect anything in their path. By using sun shields, you’re not just making life easier—you’re enhancing the safety of your garage space.
Choosing the Right Sun Shields
When selecting sun shields for your garage door sensors, you have a few options to consider. You can find pre-made sun shields designed for specific sensor models, or you can get a bit crafty and make your own!
Here are a couple of options to look into:
- Commercial Sun Shields: Available at hardware stores or online, these are often made of durable materials and can be easily attached.
- DIY Solutions: Using simple materials like cardboard or plastic, you can create custom shields tailored to your sensors.
Before you decide, consider the climate where you live. If you’re in a region with intense sunlight, you might want to invest in higher-quality materials that can withstand UV rays without degrading over time.
Preparing for Installation
Before you start installing your sun shields, gather your tools and materials. You won’t need much—just a screwdriver, some screws (if needed), and your chosen sun shield, whether it’s pre-manufactured or your DIY version.
Here’s a short checklist:
- Sun shields (pre-made or DIY)
- Screwdriver
- Mounting screws (if needed)
- Measuring tape
Also, it’s a good idea to clean the area around your garage door sensors to ensure a good installation and optimal function once the shields are in place.
Step-by-Step: Installing Commercial Sun Shields
Installing commercial sun shields is usually straightforward. Follow these steps for a smooth installation:
1. Turn Off Power: Safety first! Before working on any electrical components, ensure the power to the garage door opener is turned off. This prevents any accidental movement while you’re installing.
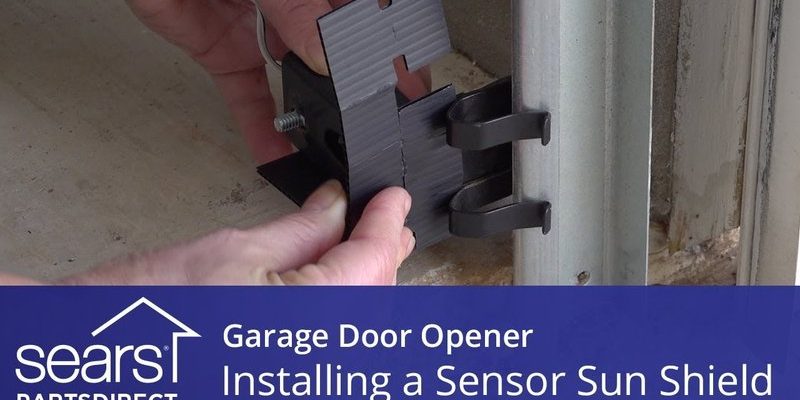
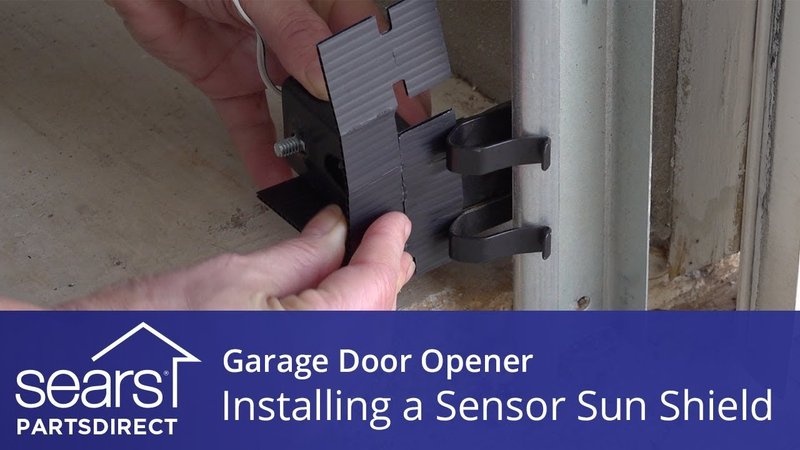
2. Position the Shield: Hold the sun shield against the sensor so it’s lined up properly. Make sure it’s positioned to block out the direct sunlight without obstructing the sensor’s view.
3. Mark the Holes: Use your pencil or marker to mark where the screws need to go for mounting. These marks will help you drill precisely.
4. Drill and Attach: If necessary, drill holes into the wall or area where you’ll be attaching the shield. Then, using your screwdriver, secure the shield in place with screws.
5. Test the Sensors: Once the shield is in place, turn the power back on and test your garage door sensors. Ensure they’re functioning correctly and the sun shield is doing its job!
Step-by-Step: Installing DIY Sun Shields
If you prefer to go the DIY route, here’s how to make and install your own sun shields:
1. Cut the Material: Start by cutting your cardboard or plastic to the desired size. It should be large enough to shade the sensor but not so large that it blocks its view.
2. Mounting Preparation: Decide how you want to attach the shield. You can use adhesive, tape, or even zip ties, depending on your preference and the materials used.
3. Attach the Shield: Position your DIY shield against the sensor and secure it. Make sure it’s stable and won’t easily fall off.
4. Test Functionality: Just like with commercial shields, turn the power back on and test the sensors to ensure they’re working as expected with the new sun shield.
Common Issues and Troubleshooting
After installing your sun shields, you might face a few common issues. If your garage door isn’t working as it should, here are some troubleshooting steps:
1. Sensor Misalignment: Make sure the sensors are still aligned correctly. If they’re not, no matter how much sun protection you provide, they won’t work properly.
2. Debris Blockage: Sometimes, dirt or cobwebs can obstruct the sensors. Regularly inspect the area around them to keep everything clean.
3. Obstructions: Ensure that nothing is blocking the sensors’ view. Even a small object can trigger a false reading.
4. Reprogramming or Resetting: If your sensors have stopped working completely, you might need to reset the garage door opener or reprogram the sensors. Check your manufacturer’s manual for specific instructions.
Maintaining Your Sun Shields
Once you’ve got your sun shields installed, taking care of them is essential. Depending on the material, you might need to clean them occasionally. Dust and grime can build up, which might interfere with how effectively they block sunlight. Here’s how to maintain them:
1. Regular Inspections: Check your sun shields for any signs of wear or damage. Repair or replace them if needed to maintain optimal function.
2. Cleaning: Use a mild soap solution and a cloth to gently clean your shields. Avoid ammonia-based cleaners which could damage certain materials.
3. Adjustments: If you notice the sun shifting with the seasons, you might want to adjust the positioning of your shields to ensure they are still providing adequate coverage.
Why Professional Installation Might Be an Option
If the concept of installing sun shields feels a little overwhelming, don’t hesitate to consider hiring a professional. They can ensure everything is set up correctly the first time. A professional installation is especially handy if you have complicated sensors or garage door systems. Plus, their expertise can lead to better safety outcomes, ensuring your garage is running smoothly without any glitches.
If you prefer to try it yourself, just remember that anyone can install sun shields with a bit of patience and care. And, with time, you’ll probably view it as another simple home maintenance task.
Installing sun shields for your garage door sensors is a straightforward project that pays off in convenience and safety. Whether you opt for commercial shields or decide to flex your DIY skills, protecting your sensors from the sun’s glare can make your daily routine that much smoother.
So, take a little time to enhance the functionality of your garage door. Not only will it help avoid frustrating delays, but it also keeps everyone safe. With just a few simple steps, you can ensure your sensors are always ready to respond, allowing for worry-free access to your garage. Remember, a little shade can go a long way!