Motion-activated lighting isn’t just about putting on a show. When you press that remote button on your Chamberlain or LiftMaster garage door opener, it’s not just opening the door; it’s also turning on those lights that spring to life the moment you arrive. In this article, we’re diving into how to fully utilize this nifty feature, so you can make the most of your garage space and enhance your home’s overall security.
What Are Motion-Activated Lights in Garage Door Openers?
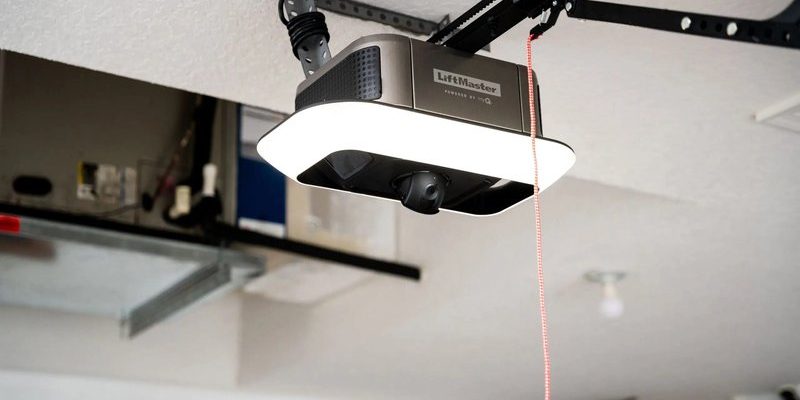
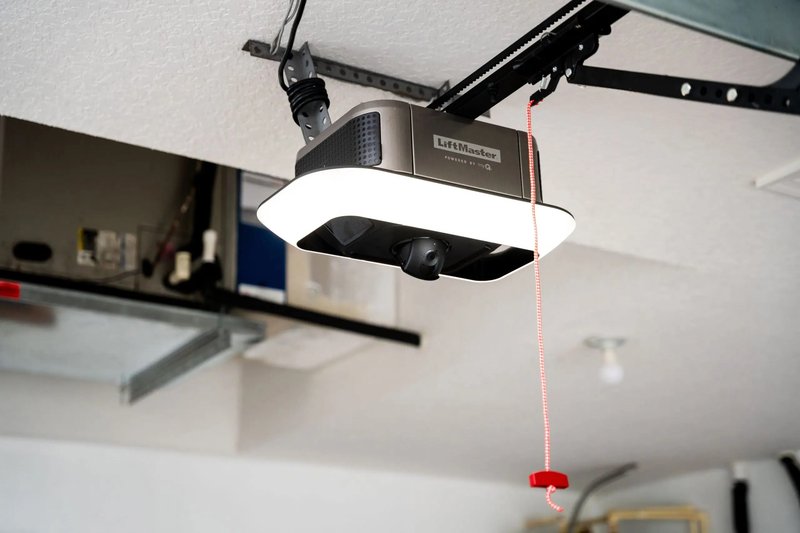
Motion-activated lights are designed to turn on automatically when they detect movement. They’re like a welcome party for you and your car! When paired with your garage door opener, these lights illuminate your garage and driveway, allowing you to safely navigate the space. Typically, this feature is found in modern models such as the LiftMaster 8500 or Chamberlain B970.
The beauty of motion-activated lighting is that it saves energy too. They shine bright only when needed, preventing lights from being accidentally left on for hours. So, not only do you light up your garage, but you also save on electricity costs. It’s a win-win!
How Motion Sensors Work
Motion sensors are the heart of this technology. They usually use infrared or PIR (Passive Infrared Radiation) to detect heat emitted by moving objects, like a person or car. Once they sense movement, the lights turn on, illuminating the area for a preset time—often enough to let you get settled without scrambling in the dark.
Here’s the thing: Not all motion sensors are created equal. Some have a broader range, while others may be more sensitive to smaller movements. This variation can depend on the brand and model, so if you find one isn’t working as effectively as you’d like, it may not be at fault; it could just be the tech behind it.
Setting Up Your Motion-Activated Lights
Setting up motion-activated lights with your garage door opener is usually straightforward. Here’s how you can get it done:
1. Check Your Manual: Your first move is to skim through your garage door opener’s manual. This document will guide you through the specific setup process tailored to your device.
2. Locate the Sensor: Find the motion sensor on your garage door opener. It’s typically located on the unit itself or attached to the track.
3. Adjust the Settings: Many models allow you to adjust the sensor’s sensitivity, and the duration for which the lights stay on. Play around with these settings until you find what works best for your needs.
4. Test It Out: After setup, try walking around the garage or driving up to ensure the lights activate as desired. If you find they turn on too easily or not at all, you may need to recalibrate the sensor.
Common Issues and Troubleshooting
Every device runs into snags from time to time, and motion-activated lighting is no exception. Here are a few common issues you might encounter, along with solutions:
– Lights Not Turning On: If the lights refuse to activate, it could be due to a blocked sensor. Ensure nothing is obstructing its view. Alternatively, reset the system by unplugging it for a minute before plugging it back in.
– Lights Are Too Sensitive: If the lights activate for every little movement—like fluttering leaves or passing cars—try adjusting the settings to lower the sensitivity.
– Short Battery Life: If your remote or sensor uses batteries, check to see if they need replacing. Fresh batteries can make a world of difference in functionality.
Benefits of Using Motion-Activated Lights
Utilizing motion-activated lights within your garage offers several advantages:
– Increased Safety: Nothing feels better than knowing you can see where you’re going, especially if you’re carrying items. These lights can help prevent accidents in dim conditions.
– Enhanced Security: Lights that activate suddenly can deter intruders by creating the illusion of presence, making your home less targeted.
– Energy Efficient: Because they only activate when someone is near, you’re not wasting power on lights that could burn out while shining for hours.
These lights are truly the unsung heroes for garage safety and security.
Installing Additional Motion Sensors
If your garage door opener doesn’t come with built-in motion lighting, you can install additional sensors. Here’s how:
1. Choose the Right Sensor: Select a suitable motion sensor light, preferably one that’s compatible with your existing setup. Consider models like the Ring Floodlight Cam for added security.
2. Mounting: Follow the instructions to mount the sensor at the recommended height. Ideally, it should be about 7 to 10 feet off the ground for optimal detection.
3. Wiring: If it’s hardwired, ensure you carefully connect the wires, following the supplied diagram. If battery-operated, make sure to insert new batteries.
4. Testing: Activate the sensor after installation and walk around the area to see if it responds adequately.
Pairing Your Remote with Motion Lighting
You might be wondering how to sync your garage door opener remote to control motion-activated lighting. Here’s how to do it:
1. Activate Pairing Mode: Start by pressing the learn button on your garage door opener. You may need assistance from a friend to hold the remote close to the sensor.
2. Press the Remote Button: Once it’s in pairing mode, press the button on the remote that you want to assign to the motion lights.
3. Confirmation: Listen for a beep or light flash from the garage door opener, indicating a successful pairing.
4. Test the Remote: After pairing, press the designated button to ensure the lights activate accordingly.
Pairing might feel a bit finicky, but once you get the hang of it, you’ll appreciate having the power at your fingertips.
Alternative Lighting Solutions
While motion-activated lights are fantastic, you might consider other lighting options for your garage:
– Motion-Activated Floodlight: These are great for illuminating the entire driveway, especially if you’re pulling in or out at night.
– Smart Bulbs: These can often be controlled via smartphone apps, allowing you to set schedules or activate them remotely.
– Solar-Powered Lights: If you’re keen on sustainability, solar lights are a great money saver and eco-friendly option.
Each option carries its benefits and can complement your motion-activated lighting so that you have a bright, welcoming garage any time of day or night.
Maintaining Your Motion-Activated Lights
Regular maintenance ensures that your motion-activated lighting continues to function smoothly. Here are a few tips:
– Clean the Sensors: Dust and debris can block sensors, preventing them from detecting motion. A quick wipe with a cloth every month can keep them clear.
– Check the Batteries: If your lights rely on batteries, schedule regular checks and change them out as needed to prevent unexpected outages.
– Inspect the Wiring: Look for any exposed wires or loose connections, particularly for hardwired systems. Safety first!
Keeping these maintenance practices in mind will guarantee optimal performance.
Using your garage door opener’s motion-activated lighting is not just about convenience; it’s also about safety and efficiency. By understanding how these systems work, setting them up properly, and troubleshooting any issues, you can make the most out of this valuable feature. Whether you’re pulling in after sunset or just moving around in your garage, you’ll appreciate having the lights come to life without needing to flip a switch. Like having a helpful companion, your motion-activated lighting is there to brighten your day—literally!