Imagine driving your car with a loose or worn-out belt. Frustrating, right? Likewise, neglecting the belts of your garage door opener can lead to a myriad of issues. Perhaps you’re using a Chamberlain or a LiftMaster opener, and those belts seem like a tiny detail. In reality, they’re vital for your opener’s performance and longevity. Let’s dig into how these belts work, when to replace them, and what maintenance looks like.
What Are Garage Door Opener Belts?
Garage door opener belts are flexible, rubber or polymer belts used in belt-driven garage door openers. They connect the motor of the opener to the trolley that lifts and lowers the garage door. Think of them as the transporters of energy, transferring the force generated by the motor into motion that smoothly opens or closes the door.
Unlike chain-driven systems, which can be noisy and require lubrication, belt-driven systems operate quietly and generally need less maintenance. However, ignoring them can lead to wear and tear. Worn-out belts can slip, stretch, or even break, causing the garage door to malfunction. Regular inspections can save you from unexpected repairs down the line.
Signs It’s Time for a Replacement
So, how do you know when it’s time to replace your garage door opener belts? Here are a few telltale signs:
- You notice unusual noises: If your garage door is suddenly squeaking or grinding, it may be due to a worn belt.
- The door shakes or jerks: A belt that’s frayed or stretched can lead to jerky movements, which is never a good sign.
- It takes longer to open: Speed problems often point to a weakening belt that can’t transfer energy efficiently.
- You see visible wear: Check for cracks, fraying, or other signs of physical damage.
Remember, sooner is better than later. If you’ve missed one of these signs and are facing a broken belt, don’t panic. Let’s discuss some easy replacement steps.
How to Replace Your Garage Door Opener Belts
Replacing garage door opener belts may sound daunting, but it’s a manageable DIY task. Here’s a step-by-step guide to help you along the way.
1. Gather Your Tools
Before jumping in, make sure you have the right tools. Here’s what you’ll need:
- Replacing belt kit (specific to your opener’s model)
- Screwdrivers (flathead and Phillips)
- Socket wrench
- Pliers
- Safety goggles
- Step ladder (if needed)
2. Disconnect Power
Safety first! Always disconnect the power to your garage door opener before starting. This prevents any accidental opening while you’re working.
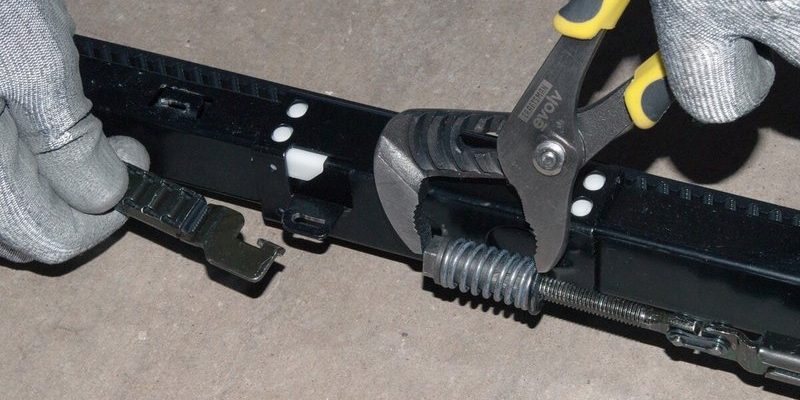
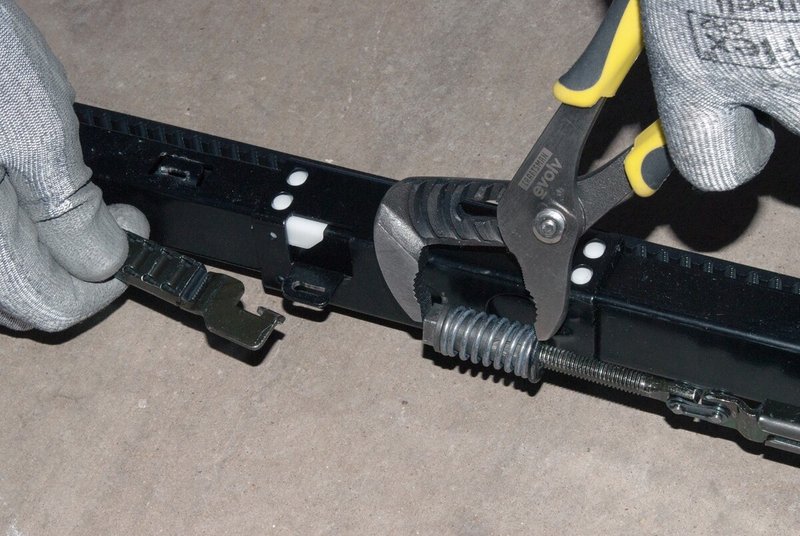
3. Remove the Old Belt
Now, locate the existing belt. Depending on your model, you might need to remove some screws or bolts holding it in place. Be gentle—take care not to damage other components. Once free, remove the belt from the trolley and the motor.
4. Install the New Belt
Slide the new belt onto the motor and the trolley. Make sure it’s aligned properly. Some belts come with specific instructions, so don’t forget to reference those as needed.
5. Secure Everything
With the new belt in place, secure any screws or bolts you removed. Make sure everything is tight but not overly so. Over-tightening can wear out the components more quickly.
6. Reconnect the Power
Once everything’s back in place, it’s time to reconnect your garage door opener to power. Check the alignment by running the door through a full open-and-close cycle. Listen for any unusual sounds and check for smooth operation.
Maintaining Your Belts: Best Practices
Once you’ve replaced the belt, it’s essential to take care of it to extend its longevity. Here are some maintenance tips:
- Regular Inspections: Check for wear and tear at least twice a year. Look for fraying, cracks, or signs of stretching.
- Keep It Clean: Dust and grime can affect the efficiency of the belt. A quick wipe-down will work wonders!
- Avoid Overloading: Make sure not to place excessive weight on the door—this puts strain on the belt.
- Lubricate Moving Parts: While belts themselves don’t need lubrication, all other moving parts should be kept greased to ensure smooth operation.
Maintaining your garage door opener belts not only enhances performance but also prevents costly repairs in the long run.
Common Problems with Garage Door Opener Belts
Whether it’s a brand new belt or an older model, there are a few common issues you might encounter:
- Slipping: If the belt isn’t fitting snugly, it may slip off the pulley. Adjusting the tension can often resolve this.
- Crooked Alignment: If the door tracks are not aligned, it can cause belts to wear unevenly. Regular maintenance helps catch these issues.
- Raising Issues: If the door isn’t raising smoothly, the belt tension may be inadequate, or it could indicate another mechanical problem with the opener.
Issues can be a headache, but many can be avoided by understanding how belts work and doing routine checks.
Costs Involved in Replacement
Now, let’s talk about costs. The price of replacing a garage door opener belt can vary widely, but here’s a general breakdown:
- DIY Replacement: Expect to pay between $15 and $50 for the replacement belt, depending on the brand and model.
- Professional Installation: Hiring a pro may run you anywhere from $50 to $150, including parts and labor.
If you’re comfortable doing it yourself, it’s often the most cost-effective option. However, if you prefer not to tackle the job, there’s no shame in calling in the experts.
Choosing the Right Replacement Belt
If you’re in the market for a new belt, you might feel overwhelmed by options. Here are a few pointers to guide your choice:
- Compatibility: Always ensure the belt you’re purchasing is compatible with your garage door opener model. Check the manufacturer’s specifications.
- Material: Look for belts made from durable polymers or rubber designed for longevity and quiet operation.
- Brand Reputation: Consider going with well-reviewed brands. Products from reputable brands like Chamberlain or LiftMaster often assure quality and reliability.
Investing a little time into researching can save you headaches later.
Maintaining your garage door opener belts is just like any other home maintenance task; it requires a bit of attention and care. Neglecting them can lead to inconvenient breakdowns, which are not only frustrating but can also lead to unexpected costs.
By understanding how these belts work and recognizing when to replace or maintain them, you can ensure your garage door opener performs smoothly. Remember, a little prevention goes a long way! So, check those belts, keep them clean, and enjoy years of trouble-free operation. Got any tips or tricks you’ve learned along the way? Feel free to share!