When you think of garage door openers, you might picture those handy little remote controls, like the ones for brands such as Chamberlain or LiftMaster. These devices not only make life easier by allowing you to open your garage door with just a click, but they also add an extra layer of security to your home. How you choose to install one—whether you’re going the DIY route or hiring a pro—will significantly impact your wallet. Let’s dive deep into that comparison and figure out which option might be best for you!
Understanding Garage Door Openers
When we talk about garage door openers, we’re generally referring to the motorized devices that allow you to open and close your garage door. There are a few types, like chain-driven, belt-driven, and screw-driven openers. Each one has its strengths and weaknesses.
– Chain-driven openers use a metal chain to pull the door up and down. They’re durable and great for heavy doors, but can be noisy.
– Belt-driven openers use a rubber belt, making them quiet but often cost more upfront.
– Screw-driven openers operate using a threaded steel rod, which can be a good middle option in terms of both price and noise level.
So, if you’re considering which type to install, think about factors like your budget, door weight, and how much noise you can handle!
Estimating DIY Installation Costs
Doing it yourself (DIY) might sound appealing. It’s like a home improvement adventure! The first thing you need to factor in is the cost of the opener itself, which typically falls between $150 to $300, depending on the type and brand.
Next, don’t forget about the tools and materials you might need, which can include things like:
- A drill and drill bits
- Screws and anchors
- A level
- Stud finder
If you don’t have these tools already, that could add another $50 to $150 to your overall costs. All things considered, your total DIY cost could range from $200 to $450.
The Perks of Going DIY
Why even consider DIY? For one, it gives you a lot of flexibility. You can install your garage door opener when it suits you best—no need to schedule an appointment. Plus, there’s a certain satisfaction to tackling home projects.
Many installers are booked out for a while, so if you’re in a hurry, doing it yourself might get that garage door up and running sooner. Also, you might just learn something new! By researching and figuring it out, you could uncover tricks and tips that’ll serve you well for future projects.
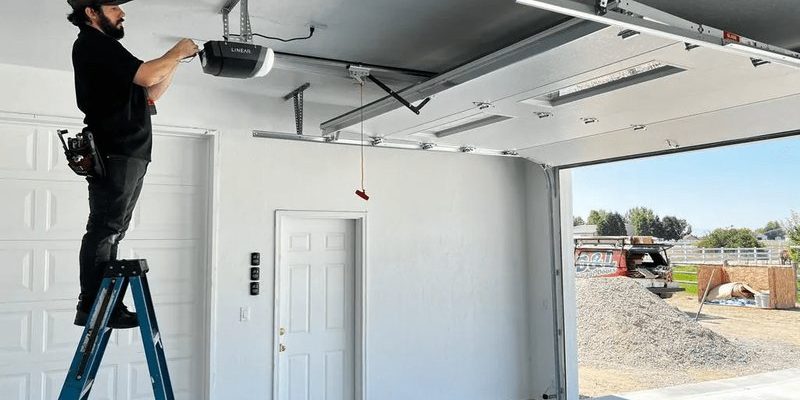
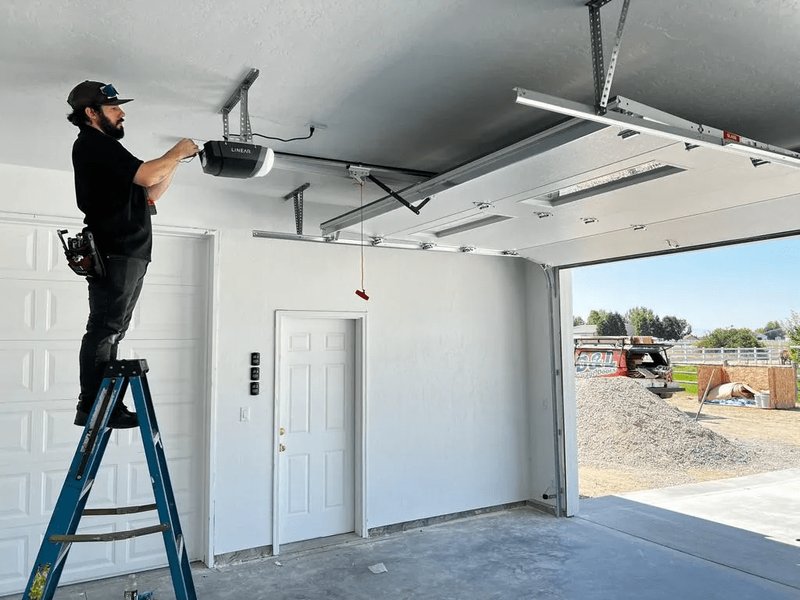
Professional Installation Costs
Opting for professional installation might cost more upfront, but it can save you time and stress. Hiring someone usually falls in the range of $250 to $600, which typically includes both parts and labor.
When you consider the expertise of a professional, the initial cost starts to sound more reasonable. They’ll have the right tools and experience—which can make a huge difference in the long run. Plus, most professionals also offer warranties on labor, giving you peace of mind.
Benefits of Professional Installation
There’s something to be said for letting the pros handle it. For starters, they’ve done this a thousand times. They can often spot issues you might not, like structural problems with your door or garage.
Another perk? Safety. Installing a garage door opener can involve heavy lifting, and you definitely don’t want to risk injury or damage. A professional knows how to handle all of that safely and efficiently.
Comparing Time and Experience Needed
Here’s the thing: the time investment for DIY can vary widely depending on your skill level. A newbie might take several hours to figure everything out, while someone with experience might zip through it in less than two.
On the other hand, a professional installation usually takes only around one to two hours, leaving you with more time for your favorite hobbies—whether it’s binge-watching that series you love or finally starting that home project you’ve been putting off.
Common Challenges During Installation
Regardless of which route you choose, there can be hiccups along the way. For DIY, one of the most common issues is not synchronizing the remote properly with the opener. Don’t worry; it happens!
Pro tip: keep your manual handy—it’ll guide you step-by-step. If you run into problems, you can also find plenty of videos online to troubleshoot anything that might go wrong.
For pros, the challenges might include unforeseen problems with existing garage structures. If your garage door is older, it might not fit well with the new opener. This could lead to additional costs, so it’s important to ask if they charge extra for adjustments or repairs.
Understanding Long-Term Costs
Another consideration is performance and maintenance costs. DIY installations often rely on your ongoing attentiveness. You will need to check settings, test the sensor alignment, and sometimes replace batteries in the remote.
On the flip side, professionals generally install openers that include warranties for both parts and labor. So, if something goes wrong soon after installation, it’s usually on them, not you.
DIY vs. Professional: A Quick Comparison Table
| DIY Installation | Professional Installation | |
|---|---|---|
| Cost Range | $200 – $450 | $250 – $600 |
| Time | Varies (2+ hours) | 1 – 2 hours |
| Tools Required | May need to purchase tools | Tools provided by installer |
| Expertise Needed | Basic to intermediate | Professional level |
| Warranties | Limited | Usually includes labor warranties |
Making Your Decision
You’ve got the facts, costs, and challenges laid out, but how do you decide? Start by thinking about your own comfort level and skill set. If the thought of using power tools gives you anxiety, it might be best to hire a professional.
But if you enjoy working on home projects and are prepared to do a little research, DIY can be a fulfilling path. You might just surprise yourself with what you can accomplish!
Final Thoughts
Whether you go with DIY or a professional installation, the most important thing is that your garage door opener works reliably and securely. Take your time weighing your options and consider what feels right for you—both in terms of cost and effort. At the end of the day, it’s all about creating a safe, easily accessible space for your belongings. Happy installing!