When it comes to garage door openers, there are different brands and types you might be using—like a Chamberlain or LiftMaster opener, some may even opt for a Craftsman. Each of them tends to have photo eye sensors that operate in a similar way, no matter the design. So, if you’ve noticed your garage door acting a little haphazardly, you might need to check those sensors. Let’s dig into how to clean and maintain these little protectors and ensure everything runs smoothly.
Understanding Photo Eye Sensors
Before we jump into the cleaning process, it’s helpful to understand what photo eye sensors are and how they work. Essentially, these sensors are located near the bottom of your garage door, on either side. They emit an infrared light beam, which creates an invisible safety curtain. When everything is running smoothly, this beam is uninterrupted. If something crosses it, the door automatically reverses, which is a fantastic safety feature.
Now, you might be wondering why these sensors are so critical. Well, they help prevent accidents and damage. Imagine you’re rushing to park your car and accidentally hit the remote button. If those sensors aren’t working, the door may close right onto your car or even worse — someone standing underneath. Regular upkeep is essential to make sure they perform as intended.
Why Cleaning Your Photo Eye Sensors is Important
You may think that simply having photo eye sensors means you’re perfectly safe. However, dirt, dust, and debris can obstruct their view. Even the smallest buildup can cause false readings. This means the door may not open or close correctly, or it might refuse to close altogether. In other words, neglecting these sensors can lead to headaches down the line, like expensive repairs or injuries.
Besides safety concerns, if your sensors are dirty, you may notice your garage door behaving erratically. This can be incredibly aggravating. Sometimes you’ll be standing there, clicking the remote, and it just won’t budge! Regularly cleaning your sensors can prevent most of these issues and ensure your garage door works flawlessly.
What You’ll Need for Cleaning
Gathering the right tools makes the cleaning process smooth and effortless. Here’s what you need:
- Soft Cloth: Use something gentle that won’t scratch the sensor.
- Mild Soap or Glass Cleaner: Keep it simple with the kind you’d normally use for windows.
- Brush: A small paintbrush or toothbrush works wonder for hard-to-reach areas.
- Water: Just a little will help with the cleaning solution.
Having these supplies handy will make it easy to get started. Trust me, cleaning these sensors isn’t a time-consuming chore; it’s more like a quick five-minute task that can save you a lot of trouble later!
Step-by-Step Guide to Cleaning Your Photo Eye Sensors
Now that you’re equipped, let’s dive into the cleaning process. It’s straightforward and quick, so don’t worry.
Step 1: Locate the Sensors
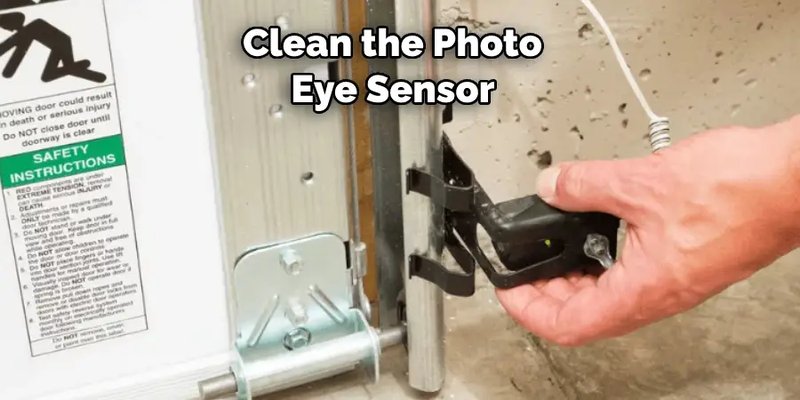
First, find the photo eye sensors, usually positioned on either side of the garage door at around six inches off the ground. They look like small, black boxes and are often mounted on the garage wall.
Step 2: Inspect for Dirt and Debris
Next, take a closer look at each sensor. Is there visible dust or dirt? Any spider webs? Identify the areas that need attention. This might also be a good time to check if the sensors are properly aligned. If they’re misaligned, they may not function at all.
Step 3: Wipe the Sensors
Now grab your soft cloth and your cleaning solution. If you’re using glass cleaner, spray a little onto the cloth—not directly onto the sensor. Gently wipe the surface to remove any buildup, ensuring the lens is clear and unobstructed.
Step 4: Use a Brush for Tough Spots
For more stubborn dirt or cobwebs, reach for the small brush. Gently sweep around the sensor to dislodge any gunk. This is particularly handy for hard-to-reach corners or behind the sensors where dirt might accumulate.
Step 5: Check Alignment Again
After cleaning, give those sensors another look. They should be facing each other directly without any obstruction in between. If they’re off-kilter, simply adjust them until they’re aligned.
Step 6: Test the Sensors
Finally, after you’ve cleaned and checked everything, it’s time for a test run. With the door closed, wave something—a piece of cardboard should work—through the sensor beam. The door should reverse upon breaking the beam. If it doesn’t, you may need to recalibrate or check your remote.
Maintaining Your Photo Eye Sensors
Cleaning is just one part of the equation; maintenance is key too. Make it a habit to clean your sensors every few months. Like your car, your garage door opener needs regular check-ups. Consistent maintenance can help increase the lifespan of the sensors.
Also, take time to inspect the wires and connections for wear and tear. Over time, the elements can take a toll. If any wires look frayed or damaged, consider consulting a professional to replace them rather than attempting a DIY fix.
Common Problems with Photo Eye Sensors
Sometimes, despite your best efforts, you might still encounter issues. Here are a few common problems:
- Misalignment: If the sensors are not directly facing each other, they wouldn’t work. Recheck their positioning.
- Dirt Build-Up: Even a small amount can obstruct the beam. Regular cleaning is essential to avoid this.
- Faulty Wiring: Damaged wires can disrupt the signal. Inspect them if you suspect something is off.
If you face persistent issues, consulting a garage door technician may be a good call to ensure everything is functioning properly.
Cleaning and maintaining your garage door opener’s photo eye sensors might seem minor, but it plays a big role in your home’s safety and convenience. By taking just a little time to clean them regularly, you’ll ensure smooth operation and prevent unnecessary headaches.
So, the next time you park your car in the garage or you’re about to hit the remote, remember your little guardians at the door. With a quick clean-up, you can keep them operating at their best, providing peace of mind for you and your family.
Originally posted 2025-02-06 06:18:40.