In this guide, we’ll walk through how to program a temporary PIN for your garage door keypad, specifically focusing on popular models from brands like LiftMaster and Genie. Whether you’re a new homeowner or just haven’t gotten around to it, you’ll find this process easier than you think. We’ll break it down step-by-step, so you’ll be a pro in no time!
Understanding Your Garage Door Keypad
Before diving into programming, it’s essential to understand how your keypad works. Most garage door keypads allow you to enter a code to open or close the door. This is practical, especially when you don’t have your remote handy.
Hardware Components
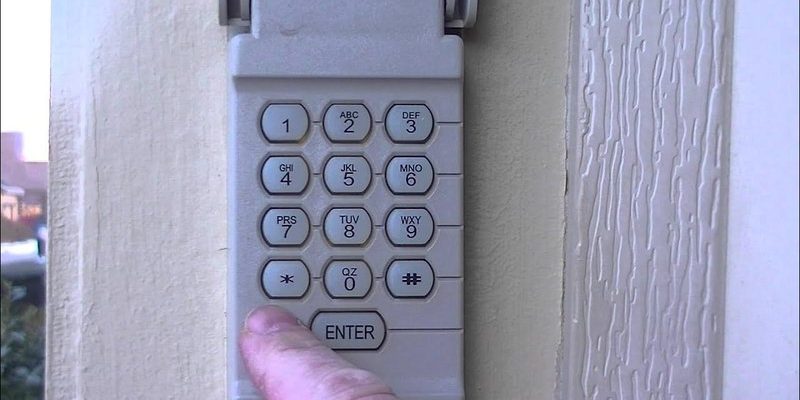
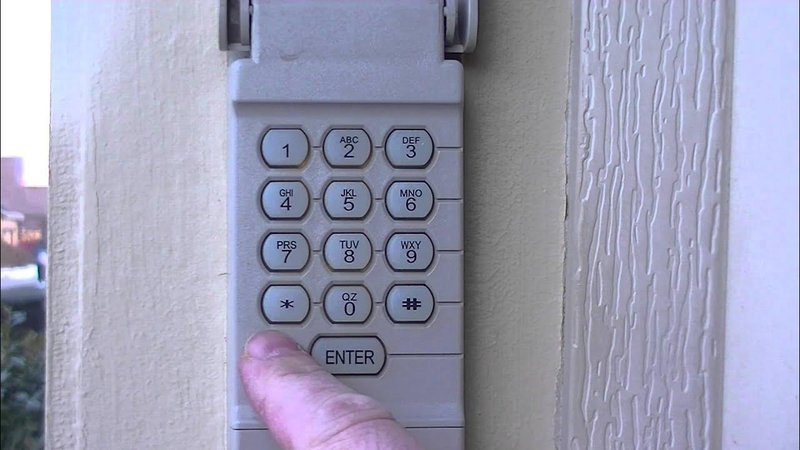
At its core, a garage door keypad consists of several buttons, including one for programming. You’ll often see a four- or six-digit combination. This is similar to a combination lock that keeps your garage secure.
Common Features
Many keypads also include backlit keys, making it easy to enter your code at night. Some models even have features like temporary sets, allowing you to give access to petsitters or service workers without permanently sharing your main PIN.
Why You Might Need a Temporary PIN
You might be wondering, “Why go through the trouble of programming a temporary PIN?” Let me explain a few scenarios where this feature comes in handy:
– Guest Access: If you’re having friends stay over, they may need access to your garage for their vehicles or for items stored inside. Instead of sharing your usual code, you can create a temporary one that expires after their visit.
– Service Personnel: Sometimes, you need to let a service technician or delivery person in. A temporary PIN keeps your main code confidential while allowing them access.
– Security Precaution: If you’re heading out of town, it’s a good safety measure to change codes regularly. Giving temporary access can fit snugly into your security routine.
Gathering Your Tools
It’s all about having the right tools at hand! Fortunately, programming your garage door keypad typically requires just a few things:
– Your Garage Door Keypad: This is the star of the show.
– Your Remote Control (optional): Some models let you program directly from the remote.
– Access to the Garage Door Opener: You may need to be near the opener during programming.
Before diving into programming, ensure the batteries in your keypad are fresh. A weak battery can lead to frustrating connection issues.
Steps to Program a Temporary PIN
Let’s get into the nitty-gritty! The specific steps may vary depending on the brand of your keypad. Here’s a general approach that covers most brands, like LiftMaster and Genie.
Step 1: Enter Programming Mode
1. Locate the Program Button: This is usually on the back of the keypad or near the battery compartment.
2. Press and Hold the Program Button until the light indicator turns on.
Step 2: Enter Your Existing Code
Once you’re in programming mode, enter your existing PIN. This often looks like entering your regular access code. The light should flash, indicating it’s ready for a new entry.
Step 3: Set the Temporary PIN
Next, you’ll enter the temporary code you want to use. Usually, it involves selecting a sequence of digits like:
1. Press the desired numbers (commonly 4–6 digits).
2. Confirm by pressing the Approximate Button again.
Step 4: Save and Exit
– Press the Program Button again to save this new code.
– The light will blink to confirm a successful entry.
Step 5: Test Your New Code
It’s always a good idea to test your newly programmed temporary PIN. Stand outside your garage, enter the code, and see if the door opens. If it works, congratulations! You’ve successfully programmed a temporary PIN.
Common Issues and Troubleshooting
So, what happens if your temporary PIN isn’t working? Here are some common hiccups you might face:
– Incorrect Code: Double-check that you entered your temporary PIN correctly. Typos in the code can result in failure to open the door.
– Weak Batteries: Confirm that the keypad’s batteries aren’t running low. Weak batteries can cause poor connectivity.
– Reprogramming Needs: Sometimes, if the keypad is acting finicky, you may need to perform a complete reset before reprogramming.
Don’t panic! Most issues can be resolved easily with a little troubleshooting.
Resetting the Keypad
If you’ve found that programming isn’t working, a complete reset may be needed. Here’s how to do it:
1. Locate the Reset Button: Usually, it’s near your programming button.
2. Press and Hold for about 10 seconds until the light blinks twice.
3. Release and Re-enter Programming Mode: Follow the same steps for programming as above.
This should clear any stored codes, allowing fresh programming.
Additional Features of Your Keypad
Now, let’s talk about some cool features your garage door keypad might have that can enhance your experience:
– Temporary Code Limiting: Some advanced keypads allow you to set expiration dates for temporary codes automatically.
– Access Logs: Certain models track when specific codes are used, providing insights into who accessed the garage and when.
– Smart Home Integration: If you have a smart home setup, check if your keypad can sync with your home automation system. This allows even greater control over your home.
Programming a temporary PIN for your garage door keypad is a fantastic way to provide access without sacrificing your security. With the simple steps outlined here, you can easily give guests the ability to enter while keeping your main access code safe. This puts you in control—like a digital locksmith that lets you lend your keys without the worry of permanent access.
So, whether you’re hosting friends or needing to let service workers in, you’ll now have the confidence to manage your garage access with just a few button presses. Remember, keeping your home secure is all about the little things, like effectively managing your PINs!