Let’s break it down step-by-step, like explaining it over coffee with a friend. Think of your Liftmaster opener as a reliable assistant. Sometimes, it just needs a little nudge to get back to work. With the right approach, you can have it functioning smoothly again, ensuring your garage door opens without a hitch. In this guide, we’ll explore how to reset that battery backup, so you can focus on the important stuff—like deciding which coffee to order next!
Understanding the Basics of Liftmaster Battery Backup
Before we dive into the reset process, it’s worthwhile to understand why your Liftmaster battery backup exists in the first place. This nifty feature isn’t just for fun; it’s about safety and convenience. Picture this: a power outage occurs, but you still want access to your garage. The battery backup ensures that your garage door operates smoothly even when there’s a blackout, providing peace of mind.
Liftmaster setups differ based on model and type, but they typically come with backup batteries designed to kick in during emergencies. Knowing this can help you appreciate why it might need a little attention from time to time. Also, if your battery seems drained too quickly, it might be time for a little troubleshooting beyond just resetting it.
Signs That Your Battery Backup Needs Reset
Now that you understand its importance, how do you know when your battery backup needs a reset? Well, there are a few telltale signs. Here’s the thing: recognizing these early can save you headaches down the line.
- Garage door not responding: If you press your remote and nothing happens, that’s your first clue.
- Flashing LED lights: Many Liftmaster models have lights that signal when the battery is low or if it needs resetting.
- Unusual beeping: If you hear beeping from the unit, it might be crying for help.
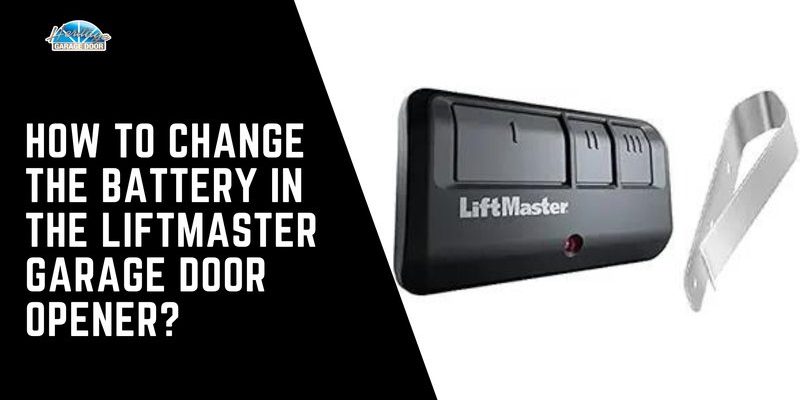
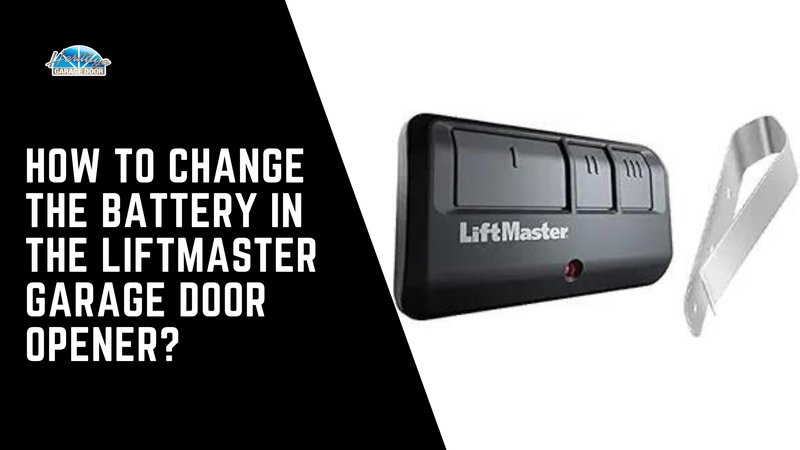
- Battery replacement: If you’ve recently switched out the battery, a reset is often a necessary step.
Recognizing these signs can help you tackle issues proactively. Ignoring them might lead to a dead battery backup just when you need it most, like a car dying on the freeway!
Tools You’ll Need for the Reset
Getting ready to reset your Liftmaster battery backup? Great! But first, let’s make sure you’re equipped with the right tools. You won’t need anything fancy, just a bit of patience and the right gear.
Here’s a quick checklist of what you’ll want to have handy:
- Liftmaster remote: This is your main tool for interaction.
- Owner’s manual: If you can find it, it’s a great reference for specific models.
- Smartphone (optional): For quick online help if you hit a snag.
- Pencil and paper (optional): To jot down any notes or codes you might need to remember.
Having these ready will streamline the resetting process, making it almost feel like a breeze.
Step-by-Step: How to Reset Your Liftmaster Battery Backup
Here comes the fun part! Resetting your Liftmaster battery backup is a straightforward process. Don’t worry if you’ve never done it before—let’s walk through it together.
1. Locate the battery backup unit: It’s usually mounted on the garage wall, near the opener. Check the owner’s manual if you have trouble finding it.
2. Disconnect the power: Unplugging the unit is an essential first step. It’s like giving your opener a little nap before the reset.
3. Press the reset button: This button is often red or yellow; give it a firm press. If there’s no visible button, check your manual for the exact location.
4. Reconnect the power: Plug the unit back in. You should see the LED lights flashing, indicating it’s beginning to reboot.
5. Test the system: Grab your remote, and press the button. Your garage door should respond. If it doesn’t, repeat the steps. Sometimes our assistants need more than one nudge!
Taking these steps makes the reset process feel like a dance—nothing complicated, just a sequence of simple moves. If you hit any snags along the way, remember: it’s okay! Many of us stumble before we find our rhythm.
Troubleshooting Common Issues After Resetting
After completing the reset, your unit should be back up and running. However, what if it’s not? Don’t sweat it; this happens to the best of us. Let’s tackle a few common issues that may arise post-reset.
– Battery still not charging: Sometimes, the battery might need replacing. Check if it’s securely connected and visually inspect it for damage.
– Remote not syncing: Ensure that you’ve paired your remote correctly. Refer to your manual for specific pairing instructions; it might involve pressing a button on both the remote and the unit.
– Constant beeping: If the beeping doesn’t stop, it could indicate a faulty battery. Replacing it might be your best solution here.
If you’re feeling overwhelmed, don’t hesitate to reach out to Liftmaster support or even a local technician. It’s better to ask for help than to wrestle with a stubborn setup alone!
When to Call for Professional Help
Let’s be honest: we all need help sometimes. If you try resetting your Liftmaster battery backup and find it still won’t cooperate after several attempts, it might be time to seek professional assistance.
Here are some signs that you might benefit from a tech-savvy friend (or a technician):
– Repeated issues after multiple resets: If your backup keeps acting up despite your best efforts, a deeper issue may be lurking.
– Unfamiliar sounds: If you hear unusual noises, like grinding or clicking, those could be indicators of mechanical failure.
– Battery overheating: If the battery feels hot to the touch, it’s a red flag. Handling electrical components can be dangerous, so it’s best to get an expert on the case.
Remember, you’re not alone in this. Many people face similar challenges, and reaching out for help is not a sign of weakness—it’s smart!
Maintaining Your Liftmaster Battery Backup for Longevity
Now that you’ve reset your battery backup, how do you keep it working efficiently? Maintenance is key! Just like how we need regular check-ups to stay healthy, your garage door system benefits from some TLC too.
1. Regularly check the battery: Inspect it monthly. Look for corrosion or loose connections. A simple visual check can save you from future issues.
2. Clean the area: Dust and debris can hinder performance. Keep the unit clean and free from obstacles that might block its operation.
3. Keep the firmware updated: If your Liftmaster model supports it, make sure it runs the latest updates. Staying current can enhance performance and security.
By following these maintenance steps, you’ll ensure that your Liftmaster battery backup stands the test of time.
In conclusion, resetting your Liftmaster battery backup doesn’t have to be intimidating. By understanding its function, recognizing signs of trouble, and following simple steps, you can tackle this task with confidence. Remember, you’re in charge of your garage door system—try to enjoy the process, and know that help is always just a call away if needed!