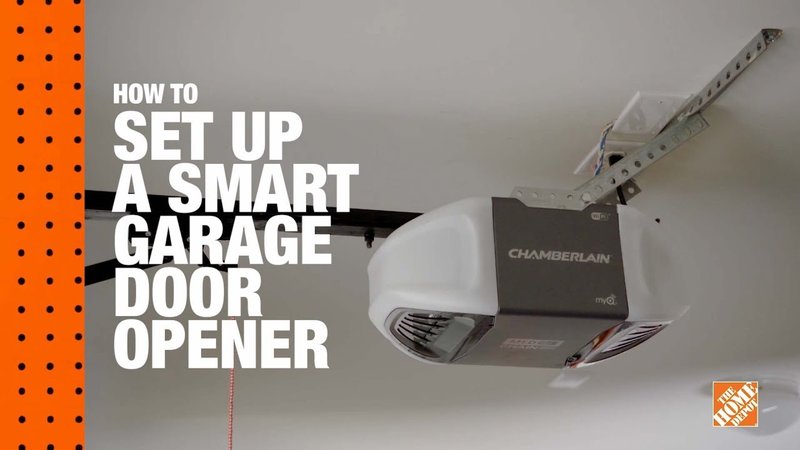
Imagine your garage door opener is like your trusty coffee machine. Sometimes it brews perfectly, but other times, it just won’t cooperate. Understanding your opener’s diagnostic signals can help you fix small glitches with ease—saving you time and frustration. For this guide, we’ll focus on popular brands like Chamberlain and LiftMaster, known for their reliable remote controls and smart features. Let’s dive into the nitty-gritty of using your garage door opener’s diagnostic features.
Understanding the Diagnostic Features
Most modern garage door openers come with several diagnostic features to help you pinpoint issues without calling a pro. These features often include LED indicator lights, beeping sounds, and even error codes. Understanding what these indicators mean can save you both time and money.
For example, if you notice a steady red light on your Chamberlain opener, it often signals a blockage in the door’s path. Meanwhile, a flashing light could indicate that the remote hasn’t paired properly with the opener. These simple clues reveal a lot about your opener’s function and potential troubles—just like reading the dials on your car’s dashboard.
Being aware of these features is crucial. If you’re curious about what to look for, don’t worry! We’ll break down these indicators so you can become your own garage door detective.
LED Indicator Lights Explained
Let’s get into the meat of the matter: LED indicator lights. Most garage door openers, including those from LiftMaster, use LED lights to communicate their status. These lights can flash in specific patterns or shine a steady color to signal different things.
- Solid Green Light: This typically means everything is working smoothly—your door is synced and ready to go.
- Flashing Red Light: Usually indicates a problem, like an obstruction in the door’s path or a battery issue.
- Solid Red Light: This can signal that the system is in learn mode or that there’s a malfunction.
Understanding these signals gives you quick insight into the health of your garage door system. To change a light bulb, for example, you’d start by looking for a steady green light. If it’s not green, you’ve got clues pointing you toward a solution.
Beeping Sounds: What They Mean
Now, let’s talk about those beeping sounds that can either be helpful or downright annoying. Depending on your model, beeping can signify various states that your garage door opener is experiencing.
- One Beep: Sometimes, this means the door is moving down or successfully closed.
- Three Beeps: This often indicates an issue with the safety sensors—maybe something is blocking the infrared signal.
- Continuous Beeping: This usually hints at a battery issue where the remote may not be syncing with the opener.
When you hear those beeps, instead of feeling frustrated, think of them as your opener’s way of talking to you. Remember, the goal is to resolve the issue before it escalates.
Decoding Error Codes
Many garage door openers, especially from brands like Chamberlain and LiftMaster, utilize error codes to notify you of specific problems. If you’ve seen a blinking light paired with a series of flashes, you’ve encountered an error code. But don’t panic; these codes are meant to guide you.
Check your user manual for a list of error codes. For example, a 1-2 blink pattern might indicate a misaligned safety eye, while 5-6 blinks could signal a faulty logic board. Once you crack the code, you can address the issue or discuss it with customer support if needed.
Understanding error codes is a bit like reading a secret language. The more you familiarize yourself with these codes, the quicker you can troubleshoot any problems.
Syncing Your Remote Control
Sometimes it’s not your garage door opener that’s the issue—it’s the remote control. Maybe you’ve pressed the button a dozen times, and nothing happens. If so, it might be time to sync or reprogram your remote.
To sync your remote with your Chamberlain or LiftMaster opener:
1. Locate the Learn Button: Usually found on the back of the motor unit, the button is often orange or purple.
2. Press the Learn Button: This puts the opener in learning mode.
3. Press the Remote Button: After pressing the Learn button, click the button on your remote you wish to pair.
4. Watch for Changes: When the opener lights flash, it’s a success!
Don’t skip this step! Syncing your remote not only ensures that it works correctly, but it also unlocks other features your opener might have.
Battery Health Checks
Like any good gadget, the battery in your remote control needs to be in tip-top shape. If your buttons are unresponsive, the first thing to check is the battery.
Typically, a simple change can breathe new life into your remote. Here’s how to check:
1. Open the Remote: Use a small screwdriver to open the battery compartment.
2. Check for Corrosion: Sometimes, leftover battery acid can build up and block the connection.
3. Replace the Battery: Most remotes use a standard 3-volt battery. Make sure you’re using the correct type.
Regularly checking the battery ensures your garage door operates without a hiccup. After all, the last thing you want on a rainy day is to be stuck outside struggling with a non-responsive remote.
Common Troubleshooting Procedures
With these diagnostic features in your toolkit, troubleshooting becomes much more manageable. Here are a few common troubleshooting scenarios you might encounter:
- Unresponsive Remote: Check the battery, sync it again, and test the range of your remote.
- Door Not Closing Completely: Inspect the safety sensors for dirt or misalignment.
- Unexpected Noises: These could be due to worn rollers or a misaligned track.
By knowing how to check these common issues using your opener’s features, you can often solve problems quickly without needing professional help.
When to Call for Help
While many problems can be resolved with a bit of detective work, some issues might require professional help. If you notice:
- Consistent error codes that don’t resolve
- Unusual noise patterns that could indicate mechanical failure
- Repeated syncing issues
it’s wise to call a garage door technician. Sometimes the problem runs deeper than we can handle.
Consider professionals as your backup…much like that buddy who always manages to find the fix whenever tech goes haywire!
Final Thoughts on Using Diagnostic Features
Using your garage door opener’s diagnostic features can feel overwhelming at first, but once you get the hang of it, you’ll find they’re like a helpful friend ready to guide you through common problems. Whether it’s decoding error codes, checking the battery, or syncing your remote, these actions empower you to manage your garage door opener without always needing to call a pro.
Think of your garage door opener as a teammate cheering you on, sharing crucial information to keep things running smoothly. By tapping into these features, you can troubleshoot issues with confidence and ease, ensuring your garage door is always ready when you need it. Happy troubleshooting!
