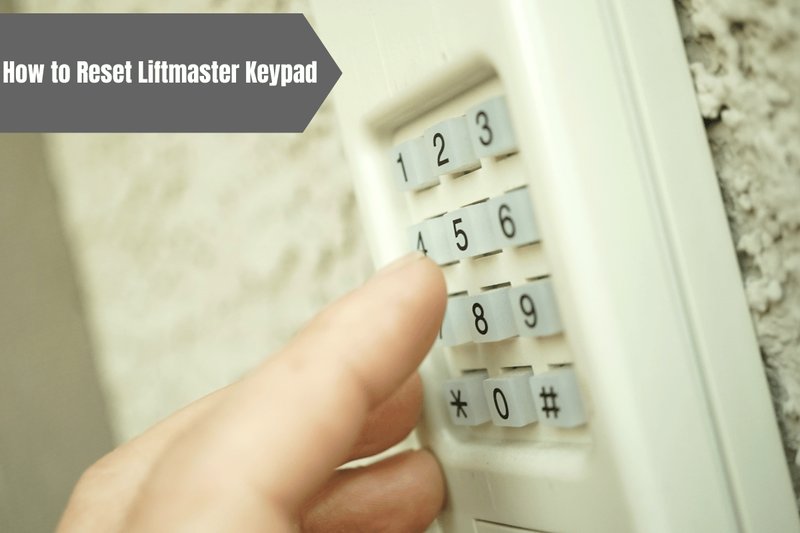
Don’t worry—resetting a LiftMaster keypad is easier than it seems. Think of it like giving your garage door opener a little nudge to remind it who’s in charge. Whether you’ve moved into a new place and want to clear the old codes or just need a fresh start, we’ll walk you through the steps together.
Let’s dive into how to reset your LiftMaster keypad, so your garage door opens smoothly without a hitch.
Why You Might Need to Reset Your Keypad
There are several reasons you might find yourself needing to reset your LiftMaster keypad. First and foremost, perhaps you just moved into a new house and want to ensure no one else can access your garage. Clearing old access codes is a smart safety measure. It’s like changing the locks when you move in; you wouldn’t want to leave the previous owner’s code floating around.
Another common reason for a reset is malfunction. Maybe your keypad has been acting up, refusing to respond even when you press the buttons confidently. It’s frustrating, right? Just like a stubborn printer that refuses to print; sometimes, the solution is as simple as a reset. This process can help recalibrate the device and restore its functionality.
Lastly, if you’ve changed the batteries in your keypad, it may also help to reset it. New power can sometimes mean old settings are misaligned. Think of it as restarting a computer; it clears away any glitches.
Gathering What You’ll Need
Before we jump into the reset process, let’s make sure you have everything you need. Gathering the right tools beforehand can save you time and hassle.
Here’s a quick checklist:
- Your LiftMaster keypad – That’s obvious, right? Make sure it’s handy!
- A small tool or pin – This is often needed for pressing hidden buttons. A paperclip works just fine.
- Owner’s manual – If you have it, this can be a handy reference, especially for model-specific instructions.
Having these items ready ensures you won’t have to run back inside to search for anything while you’re halfway through the process. Gather everything and let’s get to work!
Steps to Reset Your LiftMaster Keypad
Now the fun part! Here’s how to reset your LiftMaster keypad step by step. Follow these instructions carefully, and you’ll have it reset in no time.
1. Locate the “Learn” Button: This is typically located on your garage door motor unit, usually near the antenna wire. It’s usually a small, colored button—often red or yellow.
2. Press and Hold the “Learn” Button: Use your tool or your finger to press and hold this button until you see the garage door lights blink. This means you’re in the right spot, and the system is ready to go!
3. Enter the New Code: Now, go back to your keypad and enter your desired new code. Choose something memorable but not too easy for others to guess—like your oldest pet’s name combined with your favorite number.
4. Press the “Enter” Button: This is crucial! Before you breathe a sigh of relief, hit that enter button on your keypad to save the new code. You should see the lights on the motor unit blink again, confirming the reset was successful.
5. Test Your Keypad: Finally, just like testing a new recipe, you want to make sure it works. Head outside and give your new code a try. Fingers crossed—it should open that garage door like magic!
Troubleshooting Common Issues
Sometimes, even after following the steps, things don’t always go as planned. If your reset hasn’t worked, don’t despair! Here are a few common hiccups and how to address them.
– Keypad Doesn’t Respond: If your keypad is still silent, check the batteries. Sometimes weak or dead batteries can cause the keypad to act out. Replace them and try again.
– Code Not Accepted: Double-check the code you entered. If your new code includes letters, make sure your keypad supports it. Not all LiftMaster keypads allow for alphanumeric codes—stick with numbers if in doubt.
– Light Doesn’t Blink: If the motor unit isn’t blinking after you press the learn button, the problem might be with the unit or the keypad. Ensure both are correctly powered up and try resetting again.
Maintaining Your LiftMaster Keypad
Once you’ve reset your LiftMaster keypad successfully, you’ll want to keep it in good shape. Just like you wouldn’t ignore a car warning light, a little maintenance goes a long way with your keypad too.
– Clean It Regularly: Dust can accumulate around the buttons over time, leading to issues. Gently wipe the keypad with a damp cloth every so often to keep it clean.
– Check Batteries Periodically: Just like your TV remote, the batteries in your keypad won’t last forever. Keep an eye on performance, and replace them as needed—ideally, every 6-12 months depending on usage.
– Avoid Water Exposure: If your keypad is outside, try to shield it from heavy rain or snow. Excess water can lead to unexpected problems. A small roof or overhang above it can do wonders.
Wrap-Up: You’re All Set!
Resetting your LiftMaster keypad doesn’t have to be daunting. With a little patience and the right steps, you can easily take control of your garage access. Whether you’re starting fresh with a new code or simply troubleshooting issues, you now have the confidence to get it done.
Remember, if you run into any persistent issues, consulting the owner’s manual or reaching out to a professional is always an option. Your safety is key, and a functioning keypad plays a vital role in that. Happy resetting!
