Before diving into the details, it’s useful to note that Liftmaster is a well-respected brand known for its reliable and user-friendly garage door openers. In this guide, we’ll focus on resetting different types of Liftmaster models—mainly those with a standard remote, as well as smart options that you might control from your phone. Ready? Let’s jump into the nitty-gritty!
Why You Might Need to Reset Your Liftmaster Garage Door Opener
Before we get into the reset process, it’s important to understand why you might need to reset your Liftmaster garage door opener. There are a variety of reasons, and knowing why could help you troubleshoot the issue quicker.
Common Issues: If your garage door opener isn’t responding to the remote, or if it’s opening or closing unexpectedly, resetting it can often do the trick. Sometimes, interference from other radio signals or a low battery in the remote can cause these issues.
Syncing Problems: When you buy a new remote or change the batteries in your existing one, you’ll often have to sync it to the opener again. It’s like introducing a new friend—you need to make sure they all get along.
Tools You’ll Need for the Reset
Getting ready to reset your Liftmaster garage door opener doesn’t require a toolbox full of fancy gadgets. In fact, you probably already have everything you need on hand.
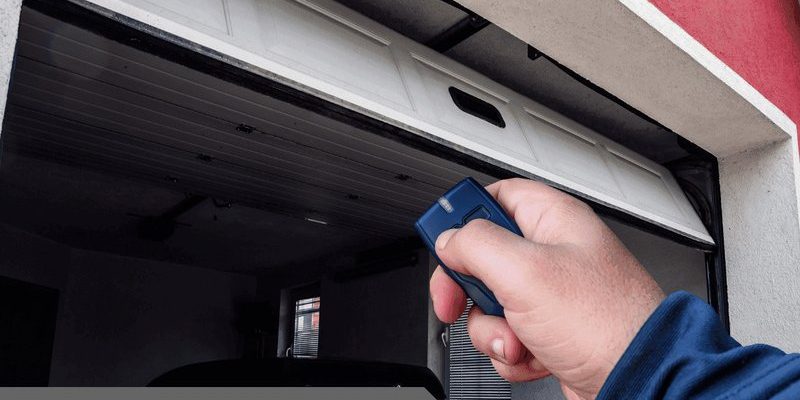
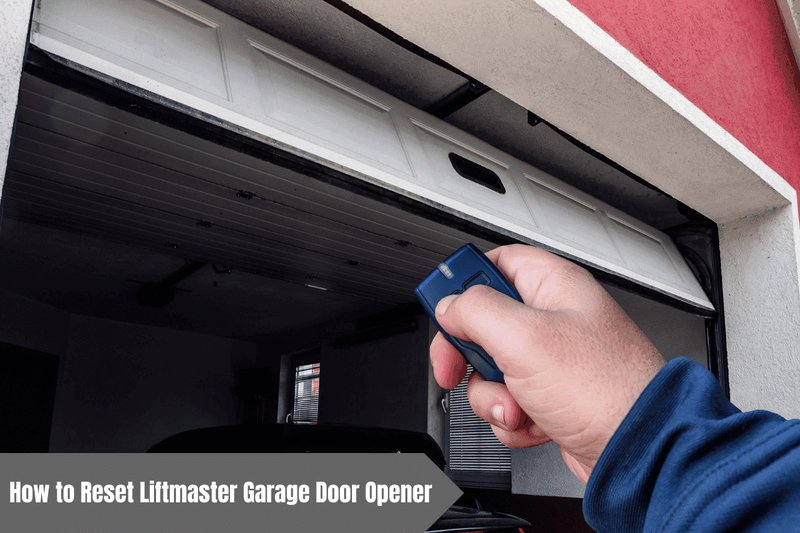
- Remote Control: This is usually the primary device for operation. Make sure the batteries are fresh and working.
- Access to Your Garage Door Opener: You’ll usually find it mounted on the ceiling of your garage, but be sure to know the model number—it helps if you run into any specific issues.
- Owner’s Manual: If you can, get your hands on the manual specific to your model to refer to any troubleshooting tips.
Step-by-Step: How To Reset Your Liftmaster Garage Door Opener
Now, let’s go through the actual steps to reset your Liftmaster garage door opener. While the specific steps can vary slightly depending on the model you have, many follow a similar procedure.
Step 1: Power Down
First, turn off the power to your garage door opener. You can do this by unplugging the unit directly or flipping the circuit breaker. Just like giving your computer a break, this allows the opener to reboot. Wait about 10 seconds and then restore power.
Step 2: Locate the “Learn” Button
Next, find the red or yellow “Learn” button on the back or side of your garage door opener. This button is essential; it’s what allows your remote to sync with the opener.
Tip: If you’re unsure where it is, consult the manual or look for a diagram online that shows the exact location for your specific model.
Step 3: Clear Previous Codes
Press and hold the “Learn” button for about six seconds. This will clear any previous codes stored in the system. You might notice a blinking light—this means it’s ready for the next step.
Step 4: Program Your Remote
Grab your remote control and press the button you want to program. Hold it down until the light on the opener blinks or remains steadily lit. This indicates that the remote has been successfully paired with your Liftmaster opener.
Step 5: Test It Out
Once you’ve done all of the above, give it a test. Press the remote button and see if the garage door responds as expected. If it does, congratulations! You’ve successfully reset your Liftmaster garage door opener.
Troubleshooting Common Reset Issues
Even with the best plans, things don’t always go smoothly. Here are some common problems and what you could do to resolve them.
Remote Not Connecting: If your remote isn’t syncing, double-check that you pressed the “Learn” button long enough. If the button doesn’t light up, this could indicate a bigger issue with the opener itself.
Interference From Other Devices: Sometimes, other wireless devices can cause issues. If you live in a busy area, check if other remotes or operations are interfering. Consider changing the code through the Learn button process again.
Alternative Reset Method for Smart Models
If you have a Liftmaster model with smart technology or Wi-Fi capability, resetting it can be a bit different. Often, you might need to access the app associated with the opener to restore settings or troubleshoot.
Typically, there’s a way to reset through the app by finding your garage door opener in the device management section. From there, you may be able to delete and re-add your remote controls.
When to Call a Professional
Sometimes, despite your best efforts, things just don’t work out. If you find that you’ve followed these steps and your garage door still refuses to cooperate, it might be time to call in a pro.
Professional help can be invaluable, especially if they need to address mechanical issues or electronic failures beyond a simple reset.
Final Thoughts
Resetting your Liftmaster garage door opener isn’t as daunting as it sounds. With just a few simple steps, you can troubleshoot most issues and get your garage door back on track. Whether it’s syncing your remote or addressing persistent problems, knowing how to reset your opener puts you one step ahead.
Next time you find yourself grappling with your garage door opener, you’ll remember these handy tips. Plus, taking the time to learn DIY solutions can save you money and frustration in the long run.