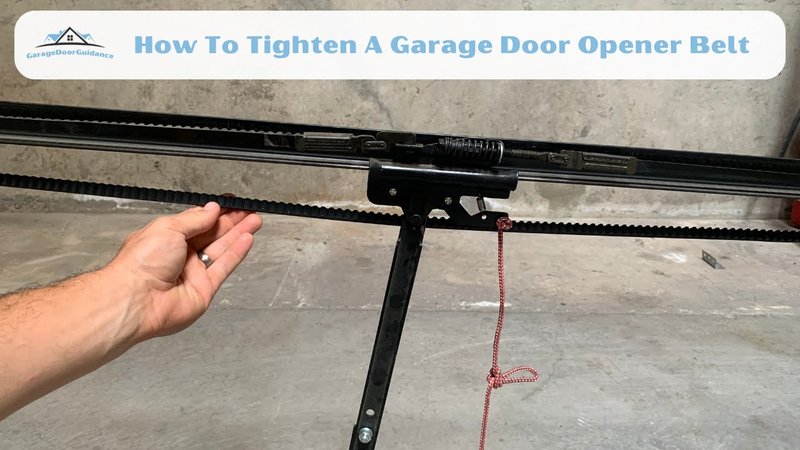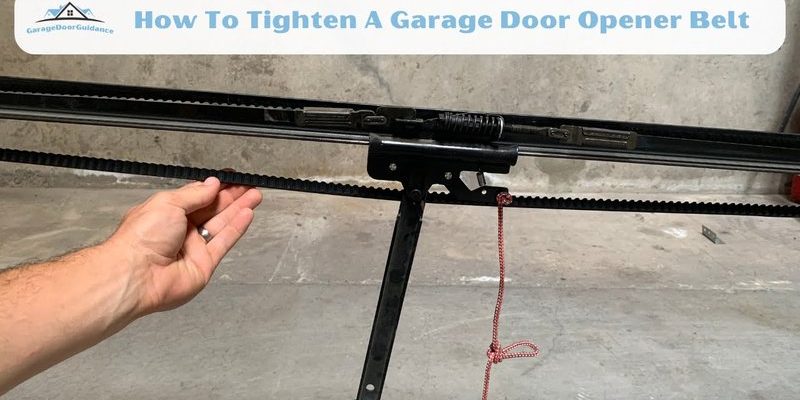
You’ll find that getting familiar with your mounting system isn’t as intimidating as it sounds. Whether you have a Chamberlain or LiftMaster opener, understanding how to maintain it can save you time and stress. Just like knowing how to check your vehicle’s oil levels, regularly checking your garage door’s mounting hardware will ensure everything runs smoothly. Plus, it can help avoid unnecessary service calls.
Now that we’ve set the stage, let’s get into the nitty-gritty of checking and tightening those pesky mounting bolts.
Why Check Garage Door Opener Mounting Hardware?
First things first, you might be asking yourself, “Why does it even matter?” Well, here’s the thing: the mounting hardware is what keeps your garage door opener securely attached. Over time, wear and tear can cause bolts and screws to loosen. This can lead to increased wear on the opener, imbalance, or even a dangerous situation where the door may fall unexpectedly. By checking and tightening these connections regularly, you can prolong the life of your opener and keep everything running smoothly.
Not only can loose hardware affect the function of your opener, but it can also lead to other hassles. Imagine your garage door making loud clunks every time it opens or closes. It could be your mounting hardware crying out for attention! Regular checks not only enhance functionality but also contribute to the safety of your entire garage area.
So, let’s talk about how to actually do this. If you’re ready to roll up your sleeves, stick around for the step-by-step breakdown!
Gather Your Tools
Before you start this little adventure, you’ll need to gather a few basic tools. Don’t worry — this isn’t an extreme DIY project! Here’s what you typically need:
- Socket Set: This is essential for loosening or tightening bolts.
- Screwdriver: A simple, flat-head screwdriver will often do the trick.
- Step Ladder: You might need a little boost to reach those high places.
- Torque Wrench: Optional, but useful if you want to ensure everything’s tightened to manufacturer specs.
Once you have your tools, it’s time to give yourself a safe space to work. Clear the area around your garage door opener. Safety first, right? You wouldn’t want to trip over anything while you’re busy securing those bolts!
Inspect the Garage Door Opener Environment
The next step is to take a good look at the environment surrounding your garage door opener. You might be wondering how that impacts the hardware, but it plays a significant role. Look around for any signs of wear, weather damage, or other issues that might affect how your opener functions.
Check that there’s enough clearance around the opener. Over time, dust and debris can build up, which might hinder proper operation. Make sure to remove any objects that are too close, as this can also interfere with the opener’s mechanism. A clean space is essential for a smooth system!
Locate the Mounting Hardware
Now comes the fun part – finding the actual hardware! The mounting hardware typically consists of bolts and screws that attach the opener to the ceiling or wall. Depending on your specific model, this could be on the header bracket or the motor unit itself.
Look closely for any visible signs of wear or bending. If this is the first time you’re checking your opener, look for the bolts that appear rusty or worn — they might need a little TLC! Think of it like a treasure hunt, where the treasure is a functional garage door!
Check for Looseness
Here’s where we roll up our sleeves and get hands-on. Using your socket set, gently try to tighten each bolt you can find. Start with a snug turn; you don’t want to overtighten and strip the screws. If a bolt seems particularly loose, take it off, inspect it for damage, and clean the area before replacing it.
If you notice any bolts moving too easily or not catching, don’t panic. It could just be that they need a little more attention. This process doesn’t take long, but it’s crucial for your garage door opener’s performance.
Tightening the Mounting Hardware
Once you’ve found the loose hardware, it’s time to tighten it up. Here’s a simple step-by-step to follow:
1. Use the Socket Set: Start by using the appropriate size socket to tighten the bolts or screws.
2. Apply Even Pressure: As you tighten, ensure that you’re applying even pressure. This ensures that the opener remains balanced and straight.
3. Check the Torque (Optional): If you’ve got a torque wrench, set it to the recommended specifications from your opener’s manual. This adds an extra layer of security.
4. Repeat as Necessary: Go through each bolt systematically. This will ensure you don’t miss any potential trouble spots.
By tightening everything properly, you’ll give your opener a sense of stability and security, just like a firm hand on a bicycle while you learn to ride.
Testing the Opener After Adjustment
Once you’ve tightened everything, you’re almost there! Now it’s time for the exciting part — testing your garage door opener. Here’s how to do it:
1. Restore Power: If you’ve disconnected power during your checks, make sure to reconnect it.
2. Open and Close the Door: Use your remote to open and close the garage door a few times. Pay attention to any unusual sounds. Keep an ear out for any thuds or creaks that weren’t there before.
3. Watch for Jitteriness: Does the door move smoothly? A well-adjusted opener should allow the door to glide efficiently without wobbling, similar to a well-oiled machine.
If the door behaves like a dream, congratulations! You’ve done a great job tightening those bolts. If not, it might be a good idea to consult your user’s manual or call for a professional.
Maintaining Your Garage Door Opener
Regular maintenance is key. Just like changing the oil in your car, checking your garage door opener should be part of your bi-annual routine. Here are a few tips to keep everything in tip-top shape:
– Visual Inspections: Get into the habit of visually checking the opener regularly. Keep an eye out for any new signs of wear.
– Clean the Opener: Dust and debris can disrupt performance. A simple wipe-down can go a long way.
– Lubricate Moving Parts: Use a silicone-based lubricant on rollers and tracks. This will keep everything moving smoothly.
Being proactive with these simple tasks will save you time and hassle down the road. Consider it part of your home upkeep checklist!
Checking and tightening your garage door opener mounting hardware may seem daunting at first, but it’s really just a matter of basic maintenance. It’s like tuning up your bike or checking the batteries in your remote. Once you grasp the hows and whys, you’re well on your way to ensuring your garage door runs smoothly.
So, the next time you hear that odd clunk or feel a little wobble when your door descends, you’ll know it’s time to roll up those sleeves and get to work. Keeping your opener in prime condition not only enhances its lifespan but also keeps your home safe. Each small effort pays off, making your life just a bit easier. Happy DIYing!
