Most Sears openers come with a wired control panel and a remote, both of which can be programmed to respond the way you need. Think of the control panel as the brain of your garage door system while your remote acts as your magic wand—it tells the door to open or close without you having to get out of your car. Now, let’s dive into the steps to program this bad boy.
Gathering Your Tools and Information
Before you start, it’s essential to have the right tools and information at your fingertips. First, make sure you have your Sears garage door opener remote and the control panel accessible. It also helps to keep the user manual handy, as it usually has vital programming instructions specific to your model.
Next, check the batteries in your remote. A dead battery can lead to confusion during programming. You can typically find 9V batteries at most stores, or maybe even in your junk drawer. It’s better to be safe than sorry, right? On the control panel, look for the “Learn” button. Depending on your model, it might be located on the back or the side of the unit.
Why Knowing Your Model Matters
Each model may have slightly different programming steps. If you’re looking up information online, make sure to search your specific model number. This little detail saves you from mismatched instructions. Every opener operates a little differently, and you want to ensure you’re following the right path!
If you don’t happen to have your manual handy—which happens to the best of us—you can often find a digital copy on Sears’ website. It’s like having your treasure map ready for the adventure ahead.
Programming the Control Panel
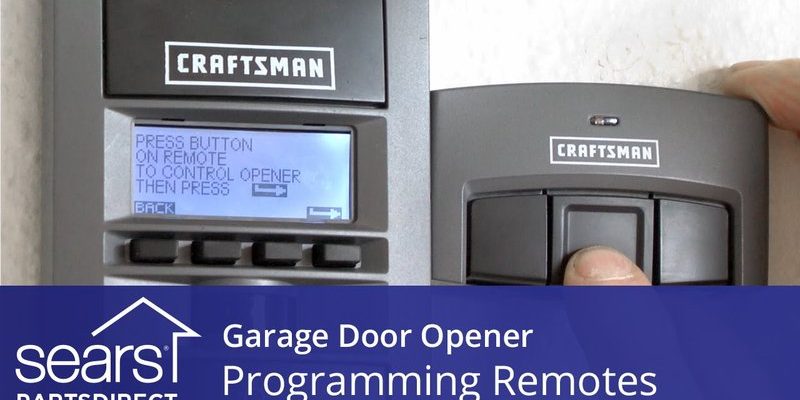
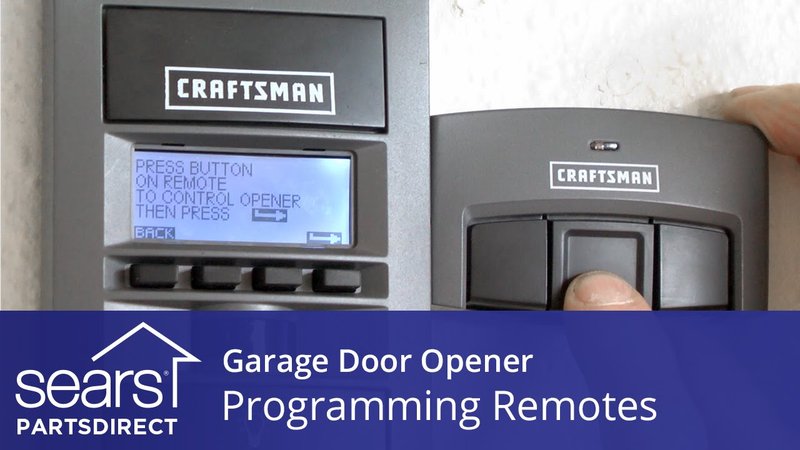
Now that you have everything, let’s jump into programming the control panel. First, you’ll want to press and hold the “Learn” button on the back of your opener unit until the indicator light turns on. This means the opener is ready to learn a new remote. In some models, the light might blink and then hold steady.
Once that light is on, you have a limited window (usually about 30 seconds) to press a button on your remote. Pick any button that you’d like to use for opening the door. After a few seconds, the light on the opener should blink or go out, which signals that the remote is now paired with your garage door opener!
Testing Your Programming
You might be wondering how to know if it all worked. Well, after programming, simply press the button you assigned on the remote. If it opens the garage door, congratulations—you did it! If not, don’t panic. It happens to the best of us. You might have to repeat the steps to ensure everything synced correctly.
Sometimes, you might find that the remote only works sporadically or not at all. If that’s the case, check the battery or consider reprogramming the remote once again to refresh the connection.
Erasing Old Codes
In case you want to remove old codes—maybe you’ve moved into a new home and want to ensure the previous owner’s remote doesn’t work anymore—you can clear all saved codes. To do this, press and hold the “Learn” button again until the indicator light goes out. This usually takes about six seconds.
From here, any previous remotes will no longer function with your opener. It’s like hitting the reset button on a game—starting fresh can feel great!
Why This Matters
Erasing codes can be crucial for safety and privacy. Think of it this way: just as you wouldn’t want strangers having access to your home, the same goes for your garage door opener. It’s better to take the precaution and keep your space secure.
Troubleshooting Common Issues
Sometimes, things just don’t go as planned. If your remote isn’t working after programming, it’s often due to one of a few common issues. Here’s what to check:
- Battery Problems: Ensure the remote batteries are fresh. A weak battery sends weak signals!
- Distance: Are you standing too far away from the opener? Try moving closer.
- Signal Interference: Electronic devices nearby might be creating interference. Try turning those off.
Once you troubleshoot, try programming the remote again. Sometimes, a simple fix can bring everything back to life.
When to Call for Help
If you’ve run through all the troubleshooting tips and your remote is still giving you grief, it might be time to call for help. A professional can diagnose issues you may not see. Plus, they can help upgrade to a new system if necessary and ensure everything is running smoothly.
Final Thoughts on Programming Your Sears Control Panel
Programming your Sears Garage Door Opener Control Panel doesn’t have to be a daunting task. With a little patience and the right steps, you can get everything set up in no time. Remember, your control panel is the nerve center of your garage door’s operation, and knowing how to program it effectively brings you peace of mind.
In today’s world, home and garage safety is paramount. Each step you take to secure your property, from learning how to program your opener to erasing old codes, keeps your space protected. Plus, think of the convenience you gain—no more getting out of your car in the rain just to fumble with the door!
Now, take a deep breath, grab your remote, and let’s get programming! You got this!