Now, you might be wondering: how hard can this really be? Installing a rail extension kit isn’t rocket science, but it does require some basic knowledge and the right tools. Here’s the thing: if you can follow a few simple instructions and have a little bit of patience, you’ll be well on your way to successfully completing this task. In this guide, we’ll explore, step by step, how to install a rail extension kit for your 8-foot garage door—from the tools you’ll need to tips to make the job easier.
Understanding the Components of Your Rail Extension Kit
Before diving into the installation process, it’s essential to understand what you’re working with. A rail extension kit typically consists of several components:
- Extension Rails: These are the long, horizontal pieces that attach to the top portion of your garage door.
- Mounting Hardware: Usually includes brackets, nuts, and bolts. These are critical for securing everything properly.
- Support Brackets: These help stabilize the new rail setup and ensure smooth operation.
- Instruction Manual: It seems simple, but don’t overlook this handy guide! It has specific details about your particular kit.
Amateur installers often overlook these details. But understanding your components will help you avoid common pitfalls. You wouldn’t jump into baking a cake without knowing the ingredients, right?
Gathering the Necessary Tools
Now that you know what’s in your rail extension kit, it’s time to round up the tools you’ll need. Think of this step as assembling your toolkit, like packing for a camping trip. You wouldn’t want to get to your destination and find you forgot the tent stakes, right? Here’s a basic list to get you started:
- Wrench Set: Essential for tightening bolts and nuts.
- Drill: Needed for any additional holes you may need to make.
- Screwdriver: A flathead and a Phillips screwdriver will do just fine.
- Level: To ensure everything is perfectly aligned.
- Tape Measure: Accurate measurements help avoid mistakes.
Having these tools on hand not only speeds up the installation process but also ensures the job is done right. Finding yourself running around the house looking for a screwdriver halfway through this task is not ideal!
Preparing Your Garage Door
Before you can install the rail extension kit, you need to prepare your garage door. This might feel like the calm before the storm, but trust me, taking the time to do this now will save you headaches later. Here’s how to get started:
1. Disconnect the Opener: You don’t want any surprises while working, so unplug the garage door opener from its power source.
2. Remove the Existing Rails: Using your wrench or drill, carefully detach the existing horizontal rails from the garage door. Keep these screws and bolts; you may need them later.
3. Check for Damage: Inspect your garage door for any damage or wear. This is a good moment to clean any dirt or debris around the area.
Preparing your door may seem tedious, but it’s absolutely crucial. A clean, damage-free surface makes the installation smoother and significantly improves performance.
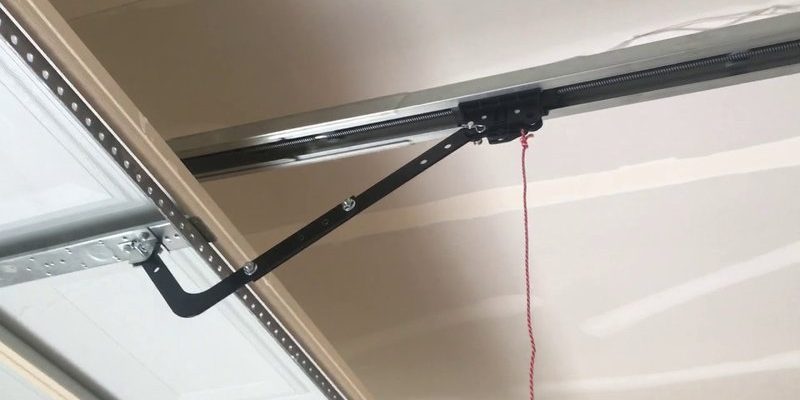
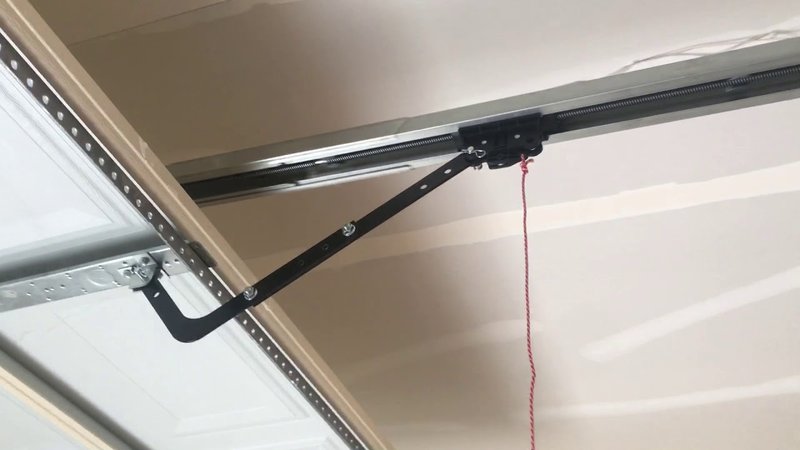
Installing the Rail Extension Kit
With everything prepped and ready, it’s installation time! When you look at the rail extension kit, it can appear intimidating, like a complex puzzle. But taking it one piece at a time makes it manageable. Here’s the step-by-step process:
1. Attach the Extension Rails: Start by securing the extension rails to the existing vertical tracks of your garage door. Follow the instructions provided in the manual closely. Make sure to use the right mounting hardware for a snug fit.
2. Install Support Brackets: Attach the support brackets to the ceiling or wall, depending on the design. You’ll want to make sure these brackets are spaced evenly and anchored firmly. Use a level to check that everything aligns perfectly.
3. Secure Everything: With your wrench, tighten all the bolts and screws. Everything should feel solid without any wobbles.
4. Reattach the Garage Door Opener: Now it’s time to plug your garage door opener back in and make sure it’s correctly aligned with the new height of your door.
By following this procedure closely, the installation should be smooth sailing. If you run into any issues, don’t hesitate to refer to your kit manual or contact customer support.
Testing Your New Setup
Once you’ve installed your new rail extension kit, the moment of truth arrives—testing! This step feels like waiting for your baked cake to cool before slicing into it. Here’s how to go about it:
1. Run the Door Up and Down: Use your remote to open and close the garage door several times. Pay attention to any unusual noises or hesitations. It should move smoothly without any jerking.
2. Check Alignment: Make sure that the door remains centered in the tracks. If it’s misaligned, it can lead to more significant issues down the road.
3. Observe the Safety Features: If your garage door has safety sensors, check that they’re functioning properly. This ensures the door won’t close if someone or something is in the way.
Testing helps you confirm that everything is functioning as it should, ensuring you’ve invested your effort wisely.
Troubleshooting Common Issues
If you encounter problems during your testing phase, don’t panic! Here are some common issues that might arise and how to fix them:
1. Door Isn’t Closing Fully: If your garage door isn’t closing all the way, it may be out of alignment. Check the placement of the support brackets and reset if needed.
2. Unusual Noises: Loud grinding or scraping may indicate that parts are misaligned. In this case, shut it down immediately and double-check your installation.
3. Remote Issues: If your remote isn’t working, ensure the battery is fresh and that the opener is still connected correctly.
Think of troubleshooting as a detective story where you piece together clues to solve the mystery. If problems persist, don’t hesitate to consult professional help—there’s no shame in asking an expert for assistance.
Maintenance Tips for Longevity
Now that your 8-foot garage door operates beautifully, let’s keep it that way! Maintenance is crucial. Just like you take care of your car to ensure it runs smoothly, your garage door needs the same care:
1. Lubricate Moving Parts: Every few months, apply a silicone or lithium-based lubricant to the rollers and hinges.
2. Inspect Regularly: Look for any signs of wear and tear. Catching problems early can save you time and money later.
3. Keep the Tracks Clean: Dirt or debris in the tracks can hinder door movement. Wipe them down periodically to keep everything clear.
By maintaining your rail extension kit, you’re ensuring it serves you well for years to come.
Final Thoughts
Installing a rail extension kit for your 8-foot garage door can feel like a daunting task—much like finally tackling that DIY home project you’ve been putting off. But remember, with the right tools, a bit of patience, and following these steps, you can achieve this without breaking a sweat.
You’ve not only enhanced the functionality of your garage door but also gained confidence in your DIY abilities. Now that you’re armed with the knowledge and skills, don’t be surprised if you find yourself recommending this guide to a friend or tackling similar home projects down the line. Happy installing!
Originally posted 2025-02-21 02:20:05.