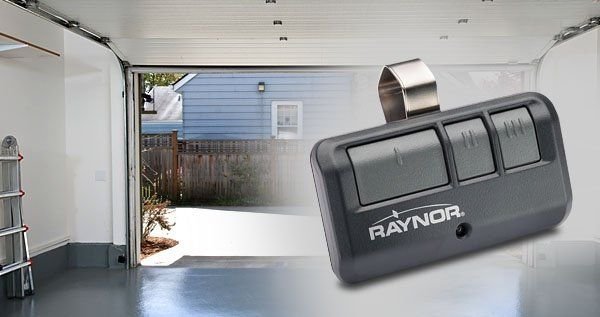
Raynor remotes are designed to make your life easier, allowing you to open your garage door with just a click. Whether it’s a new remote or you’re trying to sync an old one after changing the batteries, knowing how to program it can save you time and headaches. The good news is, you won’t need a degree in engineering; just a bit of guidance, and we’ll have that remote working properly in no time!
Gather Your Tools
Before diving into the programming process, let’s make sure we have everything we need handy. Honestly, this step is like laying out all your ingredients before you start baking a cake—having everything organized can save you from potential mess-ups later.
You’ll primarily need:
- Your Raynor remote control
- The Raynor garage door opener unit (typically mounted in your garage)
- A ladder (if your opener is mounted high)
- A step stool (for extra height, if necessary)
- The user manual for your specific Raynor model (optional but helpful)
By gathering these items, you’ll set yourself up for success. It’s always best to double-check that your remote batteries are fresh too; a simple battery swap can often solve many issues before you dive deeper into programming.
Understanding Your Raynor Remote
Let me explain—before programming anything, it’s essential to know the type of Raynor remote you have. Raynor offers various models, each featuring different buttons and layouts. Most modern Raynor remotes, like those with a rolling code system, offer enhanced security by changing the code each time you use it.
You might be wondering why this matters. Well, it’s not just a security feature; the way you program your remote can vary based on whether you have a single-button model or a multi-button one. This knowledge can save you a lot of frustration.
If your remote is an older model, it may have a fixed code system. These are generally easier to program but less secure compared to rolling code remotes. Checking which model you have can provide clarity on what steps you need to follow.
Connecting The Remote To Your Garage Opener
Now, let’s get into the actual programming—this is where the magic happens! Start by locating the learn button on your Raynor garage door opener. It’s usually found on the back of the unit and marked with the word “Learn.”
Here’s how to proceed:
1. Press the Learn Button: Go ahead and press that button. You’ll see an indicator light turn on. This means your opener is ready to receive signals from your remote.
2. Press the Remote Button: Within a few seconds, press the button on your Raynor remote that you want to program. You should see the indicator light blink and then turn off. That’s a good sign!
3. Test the Remote: Now, give your new programming a whirl. Walk to your garage door and press the remote button. If everything was done correctly, the door should open or close smoothly.
If your door doesn’t respond, don’t panic! There might be a battery issue, or you could repeat the process. Sometimes, it takes a few tries to get it right.
Troubleshooting Programming Issues
Here’s the thing: even the best-laid plans can go awry. If your Raynor remote isn’t cooperating, let’s troubleshoot a few common issues.
– Batteries: First things first. Check the batteries in your remote again. Even new batteries can be dead. Replace them if you haven’t already.
– Distance: Make sure you’re within range of the garage door opener. Too far away, and your remote might not connect properly.
– Interference: If you’re in an area with lots of electronics, that could create interference. Try to program your remote in a different location if you suspect this.
– Factory Reset: If problems persist, factory resetting your remote may help. Check your manual for specific instructions on how to do this for your model.
Troubleshooting can feel like a test of patience, but remember, it’s all part of the learning process!
Extra Programming Tips
Programming your Raynor remote shouldn’t feel like rocket science. Let’s sprinkle in a few extra tips to make the process even smoother.
– Use the Manual: That user manual we talked about earlier? Don’t let it gather dust. It often contains specific codes and troubleshooting tips that can save you time.
– Pairing Multiple Remotes: If you have more than one Raynor remote, you can often program them all to work with the same opener. Just follow the steps for each remote individually.
– Upgrade Options: If you’re frequently having issues with an older remote, consider investing in a newer model. Raynor produces remotes with advanced features that might make life easier.
These simple tips can prevent you from pulling your hair out while programming and enhance your overall experience.
You’re now equipped with the knowledge to program your Raynor remote with confidence. From gathering your tools to troubleshooting issues, each step has brought you closer to mastering the process. Remember, patience is key, and practice makes perfect—just like mastering that doughnut recipe you’ve always wanted to try!
Once your remote is working, you’ll enjoy the convenience of easily accessing your garage. No more manual lifting or wrestling with a stubborn door. Just a simple press of a button and you’re back on your way. Happy programming!