Geofencing uses GPS and mobile data to create a virtual boundary around your home. When your smartphone crosses this boundary, it triggers actions—like opening the garage door. It’s smart, convenient, and—let’s be honest—makes you feel a bit like Tony Stark every time you pull into your driveway. If you’re a beginner wondering how to set this up, you’re in the right place. Setting up geofencing can elevate your smart home game without making you feel overwhelmed.
Let’s break down how to get started with geofencing for your smart garage door opener step by step.
What You Need for Geofencing
Before diving in, it’s good to gather everything you’ll need. Here’s a comprehensive list to get you started:
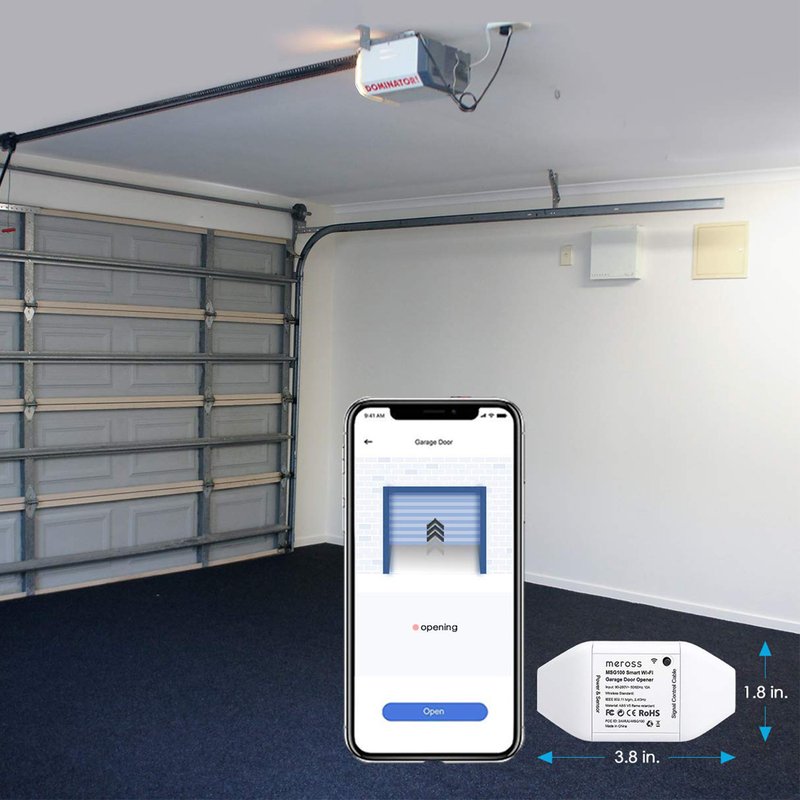
- Smart Garage Door Opener: Ensure your garage door opener supports geofencing. Brands like Chamberlain offer models with this feature.
- Smartphone: You’ll need a smartphone to handle the setup and manage the app. Whether using Android or iOS doesn’t matter.
- Wi-Fi Connection: A decent Wi-Fi signal is crucial for your opener to communicate with the app.
- Garage Door Opener App: Download the specific app for your smart garage door opener to begin setup.
Once you have everything, you’re on your way to seamless entrance into your garage, just like pulling up to your favorite café and having the door open as you arrive.
Setting Up Your Smart Garage Door App
Now that we have the essentials, let’s start by setting up the app for your smart garage door opener.
1. Download the App: First, head over to your smartphone’s app store and search for the app linked with your garage door brand, such as “myQ” for Chamberlain products. Download and install it.
2. Create an Account: Open the app and create an account. You might need to input your email, create a password, and verify your account through an email link.
3. Connect Your Garage Door Opener: Follow the instructions in the app to connect the opener. This usually involves pressing a button on the opener to sync it with your app. Make sure your Wi-Fi is on and that the opener and app are both set for this process.
Getting the app ready is a crucial first step, so take your time and ensure everything is set correctly.
Understanding Geofencing Basics
Now that you have the app connected, let’s dive into what geofencing really means for your garage door opener.
Think of geofencing as a virtual fence around your home. This is how it works:
– GPS Tracking: The app uses GPS to track your smartphone’s location. When you enter the defined area (the “fence”), the app recognizes it.
– Trigger Actions: You can configure the app to trigger certain actions based on your location. For instance, your garage door can open automatically when you cross a specific point, like 300 feet away from your home.
– Customization: Most apps allow you to customize the radius of the geofence. You might want it to open farther away or just closer to guarantee you’re ready to pull into your garage smoothly.
Understanding these basics helps make the rest of the setup clearer and shows you why it’s such a valuable feature.
Creating Your Geofence
Let’s set up that virtual fence that does all the magic. Creating a geofence is pretty easy:
1. Open the App: Tap the geofencing option in the app settings. Look for something labeled as “Geofencing,” “Location Based Services,” or similar.
2. Set Your Radius: Here, you can often see a map. You’ll want to define how large you want the geofence to be. Most apps let you drag or adjust the radius. Remember, a radius of around 300 feet is common, but you can make it larger or smaller depending on your preference.
3. Save Your Settings: Once you’re satisfied, save your settings and exit the geofence setup menu.
Now your smart garage door opener knows when to spring into action just by your phone’s location.
Testing Your Geofence Setup
After creating your geofence, it’s time for a little test run to make sure everything works. Here’s how:
1. Walk Away: Leave your home with your phone. Ensure you’re outside the set boundary; this could mean taking a short walk or a drive around the block.
2. Return: Head back towards home. As you cross your geofence boundary, the app should automatically signal your garage door opener to open.
3. Observe: Pay attention to how the app interacts with the opener. Does the door respond quickly? Are there any delays? It’s smart to check this out before relying on it fully.
Testing helps ensure smooth operation. If it doesn’t work as planned, double-check your settings.
Troubleshooting Common Issues
Like any tech, sometimes things don’t go exactly as expected. Here are a few common hiccups and how to fix them:
– App Not Recognizing Location: Make sure your phone’s location services are enabled. Go to your phone settings, find the app, and ensure location permissions are set to “Always.”
– Slow Response: If the garage door isn’t opening as quickly as before, check your Wi-Fi strength. If the signal is weak, consider moving your router closer to the garage or using a Wi-Fi extender.
– Geofence Not Working: If your geofence isn’t triggering, double-check the radius and confirm it’s set up correctly in the app. Also, try restarting both your smartphone and the opener.
Troubleshooting doesn’t have to be painful—just a quick diagnostic to keep everything running smoothly.
Why Geofencing Matters for Your Door Opener
You might be wondering if setting up geofencing is worth the effort. Here’s why it truly matters:
– Convenience: You never have to fumble around for your keys again. Your garage door opens as you get close, saving you time and hassle.
– Increased Security: With geofencing, you can set your door to close automatically after a certain time if you forget (providing you have that feature), adding an extra layer of security.
– Peace of Mind: You can be sure the door closes behind you as you leave. Plus, if you have family members arriving home at different times, you won’t have to worry about coordinating who has the key.
These benefits make geofencing not just a fancy tech feature, but a genuine enhancement to your daily routine.
Setting up geofencing for your smart garage door opener might sound complex, but it’s really just a few simple steps away. With the right tools and a little patience, you’ll find that the convenience of opening your garage door with your phone makes it all worthwhile.
Take it step by step, and don’t hesitate to troubleshoot if needed. Soon, you’ll be driving home, and your garage door will be ready to greet you with open arms—without lifting a finger. Embracing technology isn’t just about gadgets; it’s about simplifying your life and making everyday tasks a breeze. Happy geofencing!