Let’s assume you’re working with a popular model, like those made by Thorlabs or similar brands. They typically come with a remote that allows you to issue commands effortlessly. Throughout this guide, I’ll break down how to program your linear motor unit step-by-step, making it easy to follow, even if you’re brand new to the tech world.
Understanding Your Linear Motor Unit
Before diving into programming, it’s essential to understand what a linear motor unit is and how it operates. Essentially, this unit converts electrical energy into mechanical motion in a straight line. Unlike traditional motors that require additional components like gears, linear motors offer a more direct movement, which can be faster and more precise.
These units can vary significantly based on their application. For example, some linear motors are designed for light-duty movements in laboratory equipment, while others can handle heavier loads in industrial settings. Familiarizing yourself with the specifications and capabilities of your specific linear motor unit can ensure that you program it effectively.
Here’s the thing: whether you’re using it for a delicate positioning task or a heavy lifting application, programming your unit starts with a clear understanding of its features. If you skip this step, you might run into issues later on, like not being able to reach the desired position accurately.
Gathering Your Tools
Let’s get practical! To successfully program your linear motor unit, you’ll need a few key components:
- Remote control: This is your interface for sending commands.
- Power supply: Make sure your unit has the correct voltage and current.
- Programming software: If applicable, download the manufacturer’s software for more advanced features.
- Manual: Keep the user manual handy; it’s your best friend during this process.
So, what’s next? Make sure your motor unit is connected to a power source and that you’ve installed any necessary software on your computer. If you’re using a remote that operates on batteries, ensure those are new and installed correctly. It’s like preparing for a big cooking show—you want everything ready before you start.
Charging Your Remote and Checking Connections
Once you have the tools ready, it’s time to ensure everything is connected properly. Start by charging your remote, if necessary. A dead remote is like a car with no gas—not going anywhere!
Check that all connections between the power supply, motor unit, and remote control are secure. Sometimes, loose connections can cause unexpected behaviors, leading you to believe your programming is off when, in fact, the hardware isn’t cooperating. Take a moment to double-check these connections.
Here’s a quick checklist:
- Is the motor properly connected to the power source?
- Are the controls set to the right mode (e.g., manual or programmable)?
- Is the remote charged and functioning?
Getting these basics right can save you a lot of hassle down the road.
Setting Up the Initial Parameters
Once everything’s connected, it’s time to initialize your linear motor unit. Think of this step as setting the stage for a performance—you want everything in place before the show begins.
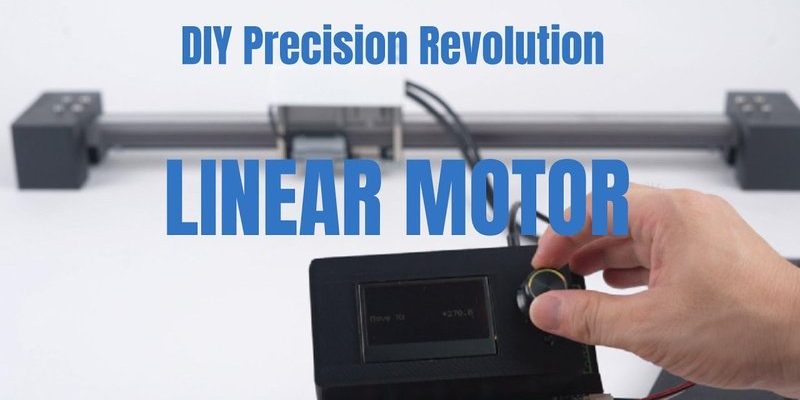
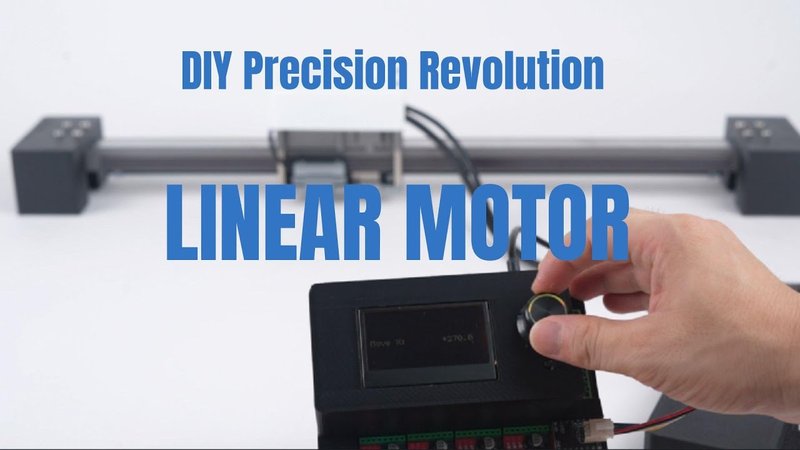
First, use your remote to turn on the linear motor unit. Depending on the model, you might see lights or indicators showing its status. You’ll likely want to set a few parameters, like the starting position, maximum speed, and movement limits. This is done usually through your remote or the programming software mentioned earlier.
Here’s what to consider:
– Starting Position: This is where the motor will begin when you send it a command. You can define this by moving the motor to the desired location and saving this position as your starting reference.
– Max Speed: Setting the maximum speed is crucial. Too fast and your motor might overshoot its target; too slow, and you’ll waste time.
– Movement Limits: If your motor is part of a larger system, you’ll want to set limits on how far it can move in either direction. This prevents potential damage to the motor or the objects it interacts with.
Once these parameters are set, you’re ready to proceed to programming specific movements.
Programming the Movement Commands
Now comes the fun part: programming the movement commands! This is where you tell your linear motor unit exactly what to do. Depending on the complexity you need, programming can be straightforward or involve sophisticated string commands.
If you’re using the remote, look for a “program” or “set” button. Here’s a simple process:
1. Move the motor to the desired end position.
2. Press and hold the program button till you see a light flash—this tells you it’s recording.
3. Move the motor back to the starting position and repeat the process for any additional commands.
If programming software is available, you can define these commands using dropdown menus or scripts, allowing for more precision. It’s like going from a simple recipe to a gourmet dish with precise instructions.
Always remember to test your commands after you program them. A test run can help identify any errors and adjust the parameters if needed.
Troubleshooting Common Issues
Even with the best setup, sometimes things go awry. Don’t worry; troubleshooting is part of the process. Here are a couple of common issues you might encounter:
– Motor Not Responding: First, check if your remote is working. If the remote seems dead, replace the batteries and try again. If it works, then check your connections as mentioned earlier.
– Incorrect Movements: If your motor moves too far or not far enough, revisit your parameters. Make sure you’ve defined your starting and end positions accurately, and double-check that max speed settings are well-balanced.
Taking some notes during your testing can help you identify patterns in these issues. You might discover a particular command always causes problems, which could lead you to find the solution much faster.
Remember, patience is key! Every engineer has faced these challenges at some point, so you’re not alone.
Wrapping Up
Programming a linear motor unit doesn’t have to be a daunting task. With the right tools, a clear understanding of your equipment, and a few simple steps, you’ll be well on your way to having your motor meet your needs efficiently. By following this guide, you’ll feel more confident in managing your linear motor unit, whether you’re at home or in a professional setting.
So grab your remote, take a deep breath, and let the programming begin. Soon enough, you’ll be operating your linear motor unit like a pro!