Most modern garage doors come with safety sensors as part of the opener kit. These typically include brands like Chamberlain, LiftMaster, or Genie. The sensors communicate with the garage door opener to detect obstacles, just like your eyes do in navigating around furniture. Here’s how you can program these sensors and make sure they’re working perfectly.
Understanding Your Safety Sensor
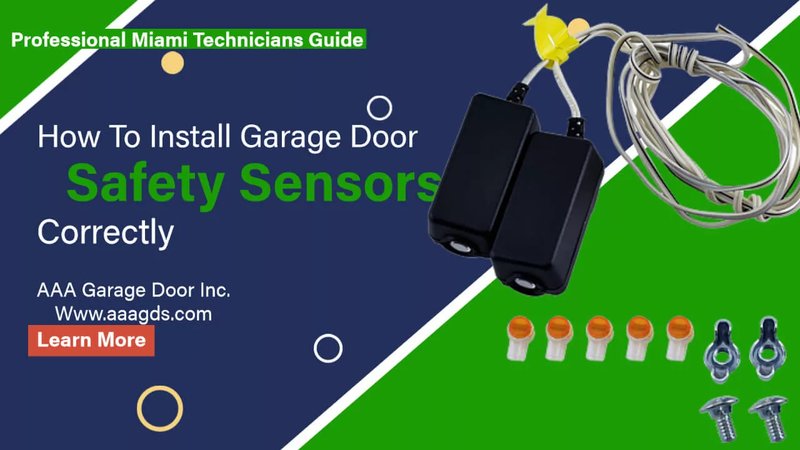
Before diving into programming, it’s key to understand what your safety sensor actually does. Essentially, it’s a pair of devices mounted near the bottom of your garage door tracks, one sending a signal and the other receiving it. They need to have a clear line of sight to communicate. If something interrupts that line—like a car, a pet, or even a child—the door will reverse rather than crush whatever is in its way.
Why is this important? Well, imagine you’re in a rush, and the door begins to close while you’re still in the garage. You’d want it to stop or reverse, right? Having a properly programmed safety sensor can keep your family safe by preventing accidents.
Gather the Right Tools
Now that you have a handle on how the safety sensor works, let’s talk tools. Programming your overhead door safety sensor requires minimal effort but having a few items handy makes things easier:
- Your Garage Door Opener Remote: This is essential for programming.
- Step Ladder: If you need to reach higher sensors, it’s best to have one nearby.
- Screwdriver: Depending on installation, you might need to tighten or reposition the sensors.
- Instruction Manual: This document is your friend when doing anything technical.
Having these tools at your side can streamline the process, making it less frustrating and more efficient.
Step-by-Step Programming Process
Time to get into the good stuff! Here’s a simple step-by-step guide for programming your overhead door safety sensor:
1. Power Off: Start by disconnecting the power to your garage door opener. This is crucial for safety and to prevent any accidental activations.
2. Check Alignment: Make sure the sensors are aligned. They need to be facing each other without any obstructions. If they’re misaligned, use your screwdriver to adjust them until they’re directly across from one another—think of it like making sure old friends can see each other across a crowded room.
3. Reconnect Power: Once you’ve assured the sensors are aligned and everything looks good, plug your garage door opener back in.
4. Program the Sensors: Now grab your remote. Most remotes have a “program” button—sometimes it’s the same as the “learn” button on the opener. Press it and hold it until the opener lights blink. This usually takes about 2 seconds.
5. Test the Sensors: Close the garage door using the remote. Stand in the door’s path; if everything is functioning as it should, the door will stop and reverse. If it doesn’t, double-check the sensor alignment and try again.
This step-by-step brainstorm might sound basic, but it’s all about being methodical.
Troubleshooting Common Issues
Sometimes things don’t go as planned, and that’s perfectly okay! Let’s explore a few common issues you might run into while programming:
– Misalignment: If your garage door doesn’t reverse when an obstacle is in the way, your sensors might be misaligned. A simple adjustment should fix that.
– Dirt and Debris: Dust or spider webs can interfere with the sensor’s function. Wipe down both sensors with a clean cloth to improve performance.
– Battery Issues: If your remote isn’t working, check the batteries. Old batteries can lead to signals not being sent, and it’s easy to overlook this.
If you encounter any of these problems while programming your overhead door safety sensor, don’t fret! Check these solutions before calling for professional help.
Why Regular Maintenance Matters
So now you’ve programmed your safety sensor, which is super important, but have you considered regular maintenance? This can ensure your safety sensor remains functional over time. Here’s a quick checklist to help you.
– Monthly Checks: Every month, test the sensors. Ensure they still work and reverse when needed.
– Clean Sensors: Wipe dirt from the sensors to maintain visibility. Even a tiny blockage can cause issues.
– Inspect Wiring: Look at the wiring for wear and tear. Damaged wires can lead to malfunctioning sensors.
Regular maintenance not only secures your family but also extends the life of your garage door system.
When to Call a Professional
If you find that after following all steps your safety sensor still isn’t working, it might be time to call in the pros. Sometimes, the internal components of the opener or sensor can malfunction, and this is best left to someone with experience and tools designed for troubleshooting.
A technician can diagnose the problem more efficiently and suggest solutions you might not have thought about. Plus, it’ll save you time, which is always valuable!
Final Thoughts
Programming your overhead door safety sensor may seem complex at first, but once you break it down, it’s straightforward. Remember, the safety and security of your home is paramount, and your garage door safety sensor plays a critical role.
By taking these steps, testing regularly, and performing routine maintenance, you can keep your garage door functioning safely for years to come. If you encounter snags, address them head-on, and don’t hesitate to call a professional if you need to. Happy programming!
