Most garage door systems, such as those by LiftMaster or Chamberlain, offer a dedicated wall button for convenience. It can be particularly handy for families where multiple people need access to the garage. In the following sections, we’ll dive into the details of programming your wall button. By the end, you’ll be a pro—whether it’s syncing the button or troubleshooting common issues.
Why It’s Important to Program Your Wall Button
You might be asking yourself why programming your wall button is necessary. Here’s the thing: without it, you’re stuck relying solely on your remote, and what happens if that remote gets lost or its battery dies? Programming ensures your wall button works smoothly with your garage door opener. It essentially establishes the connection between the two, ensuring communication flows without a hitch.
By doing this, your wall button not only helps open your garage door but also serves as a safety feature. If your remote is ever out of reach or you’re in a hurry, you can rely on the wall button to get you in or out. Additionally, it can be a backup method when troubleshooting other issues, like if your remote isn’t functioning as intended.
Gathering the Right Tools
Before you start programming, you’ll need a few basic tools. Luckily, it’s not a long list! Here’s what you’ll typically need:
- Your overhead door opener manual
- The wall button
- A step ladder (if your opener is high up)
- A flathead screwdriver (if applicable)
Having your manual on hand is incredibly helpful. It often contains unique instructions tailored to your specific model, which can save you time and prevent any unnecessary headaches. If you can’t find your manual, many companies offer digital versions online. Grab everything, and let’s get to work!
Locating the Learn Button on Your Garage Door Opener
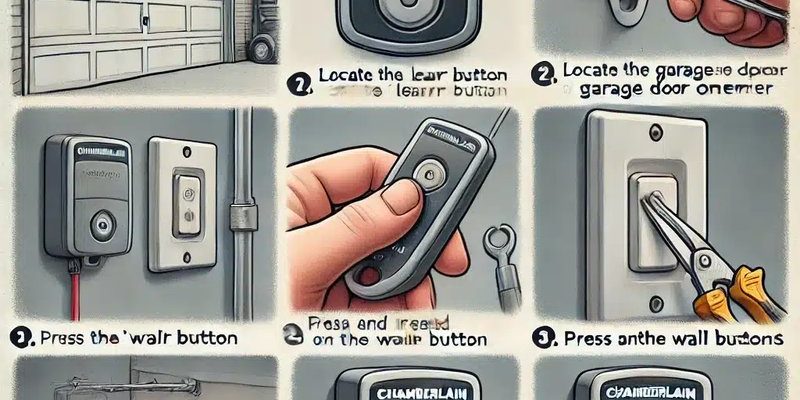
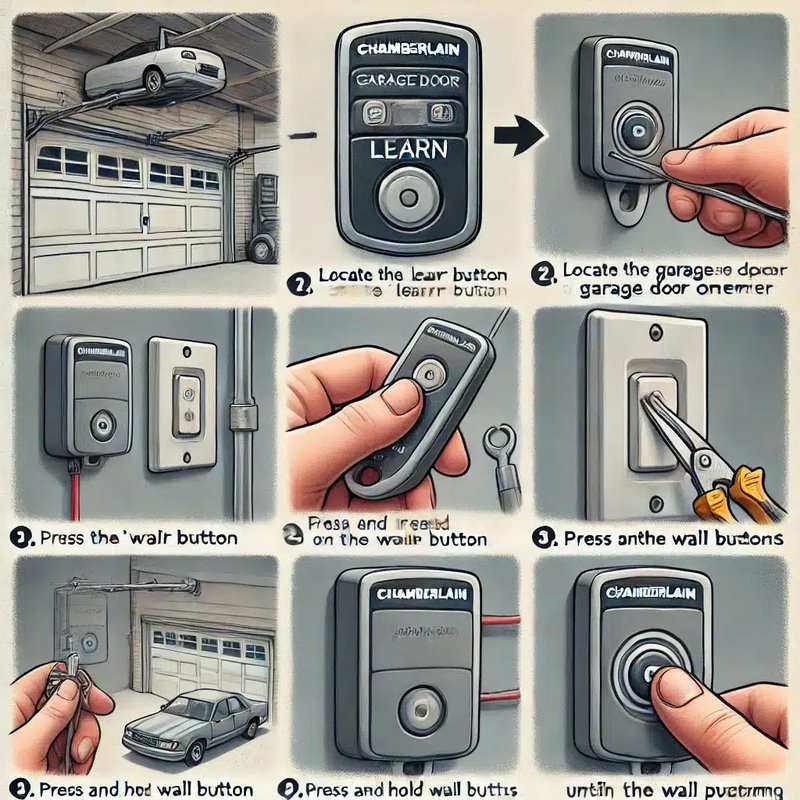
First things first: you’ll need to find the “learn” button on your garage door opener. It’s a small button located on the actual opener unit, often near the antenna or power source. Depending on your brand, it might be colored—commonly green, yellow, or purple. Locating this button is key because this is where you’ll sync your wall button.
If you’re using a ladder, be sure to take your time and be cautious. Safety first! Once you’ve found the button, make a note of its position. You’ll need to press it during the programming process, so knowing its exact location will make things easier.
Programming the Wall Button
Now that you have everything handy and you’ve located the learn button, you can start programming your wall button. Here’s a step-by-step guide:
1. Press the Learn Button: With your garage door opener plugged in and ready to go, press and release the learn button on the opener. This initiates the programming mode.
2. Press the Wall Button: Within 30 seconds of pressing the learn button, press and hold the wall button for about 2-3 seconds. You should see or hear a reaction from the garage door opener—usually a light blink or a sound indicating it’s successfully paired.
3. Test it Out: After programming, press your wall button to see if it works! The door should respond by opening or closing smoothly.
If the door doesn’t react, don’t worry. Just repeat the process, ensuring you stay within that 30-second window between pressing the learn button and the wall button.
Troubleshooting Common Issues
Even with the best planning, sometimes things just don’t go as we expect. If you find that your wall button isn’t working after programming, here are a few troubleshooting tips:
– Check the Power Source: Make sure your opener is plugged in and that there’s power to the outlet. If there’s a power outage, your wall button won’t work.
– Inspect the Wiring: If the wall button hasn’t been working since installation, check for any damaged or loose wires. A bad connection can prevent your button from sending the signal to the opener.
– Battery Check: If your wall button includes a battery, like some models do, make sure it’s fully charged or replace it completely.
Spend a little time troubleshooting, because rectifying these issues can save you from unnecessary frustration down the line.
Syncing the Wall Button with Other Remotes
If you have multiple remotes or other wireless access options, syncing your wall button to work with them can seem intimidating. But it’s very similar to the programming we just covered. Typically, the programming steps are nearly the same for each device.
1. Begin with the Learn Button: Press the learn button on your opener again to enter programming mode.
2. Choose Your Remote: Next, take the remote you want to sync and press its button within the 30-second window.
3. Repeat as Necessary: If you have multiple remotes, just repeat the process for each one.
Remember to always leave a bit of time between syncing different remotes for best results.
Why Maintenance Matters
Programming your overhead door wall button is only the beginning! Encouraging regular maintenance can extend the life of both your opener and the wall button. Think of it like getting a yearly check-up—it’s not always glamorous but it keeps everything running smoothly.
Regularly check for issues like frayed wires, loose connections, or any dirt buildup around the opener. Periodic cleaning and checks can help ensure your wall button continues to function without any hitches.
Lastly, always keep your manual handy for reference and look up troubleshooting tips if you encounter any issues down the road.
Final Thoughts
Programming your overhead door wall button isn’t just a technical task; it empowers you to take control of your garage door access. With just a little time and patience, you can have your wall button up and running smoothly. Remember, if something doesn’t work as you expect the first time, don’t hesitate to troubleshoot. And most importantly, enjoy the convenience that a well-programmed wall button provides. Whether it’s coming home to a welcoming garage or quickly getting something from inside, that little button makes a big difference!