When you think about it, programming your overhead door remote is like teaching a dog new tricks. Once you show it the right moves, it’ll respond perfectly every time. Most garage remotes, like those from Overhead Door, use a simple method of pairing with your garage opener. Here, we’ll walk through this process step by step, making it clear and straightforward—no dog treats required!
Gathering Your Tools and Information
Before diving into programming, let’s gather what you need. Imagine you’re preparing to bake a cake: you’ll want all your ingredients out and your oven preheated beforehand.
Firstly, check if your remote has a battery that needs replacing. If it’s not functioning, the problem might be as simple as a dead battery. Grab a small screwdriver and a new battery—most remotes use a 3V lithium battery. Make sure you have the model number of your overhead door opener handy; this can usually be found on the back of the unit or in the user manual. You won’t need much more than that—just focus and a bit of patience.
Now, let’s move on to the programming itself!
Accessing the Garage Door Opener
The next step is to locate the learn button on your overhead door opener. This is usually found on the back or side of the motor unit. Depending on the model, it might be a little round button, typically in a bright color like red or yellow. But don’t get ahead of yourself.
Take a moment to familiarize yourself with the control panel. You may see additional buttons like lights and a keypad. For now, though, your focus should be entirely on that learn button. Let’s describe the learn button as the gatekeeper to syncing your remote; without it, your remote won’t know who it’s working with.
Programming the Remote
Now that you have access to the learn button, it’s time for the fun part—incredible garage door magic! Here’s how to program your overhead door remote:
1. First, press and hold the learn button until you see a light on the motor unit blink. This indicates it’s ready to pair with the remote. You might have about 30 seconds to complete the next steps, so don’t dawdle!
2. Next, press and hold the button on your remote that you want to use. You might feel like a wizard casting a spell, so go ahead and channel those energies.
3. Keep holding that button until you see the lights blink again on the garage door motor. That blinking light means your remote and opener are now paired!
4. Test it out by pressing the remote button to see if your garage door operates correctly. If it doesn’t work right away, don’t panic! This could be a simple glitch that requires repeating the steps.
Troubleshooting Common Issues
Sometimes, things don’t go as smoothly as we’d like. If your overhead door remote isn’t working after programming, here are a few troubleshooting tips to help you out:
– Check the Battery: It’s a simple yet common issue. Make sure your remote battery is fresh and replaced correctly.
– Reprogram: Sometimes, the first pairing doesn’t catch. Simply repeat the programming steps mentioned earlier.
– Distance Issues: If you’re too far from the garage opener, the remote may struggle to connect. Try standing closer during programming.
– Clear Interference: Devices like routers, Wi-Fi, or other remote signals can interfere. Turn them off temporarily and try again!
If all else fails, consulting the owner’s manual or contacting technical support may be your next best option.
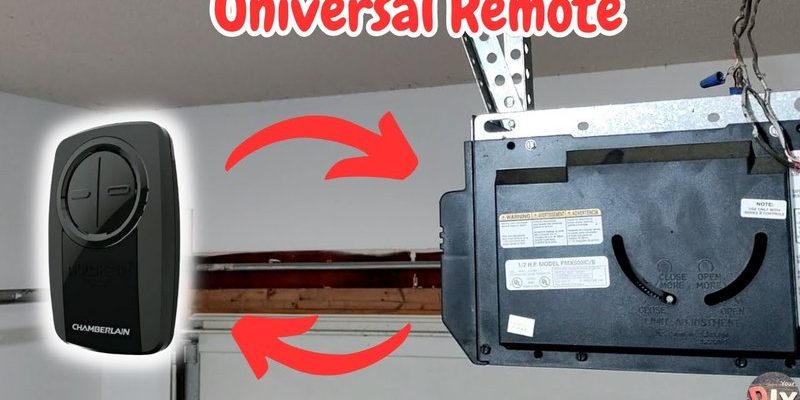
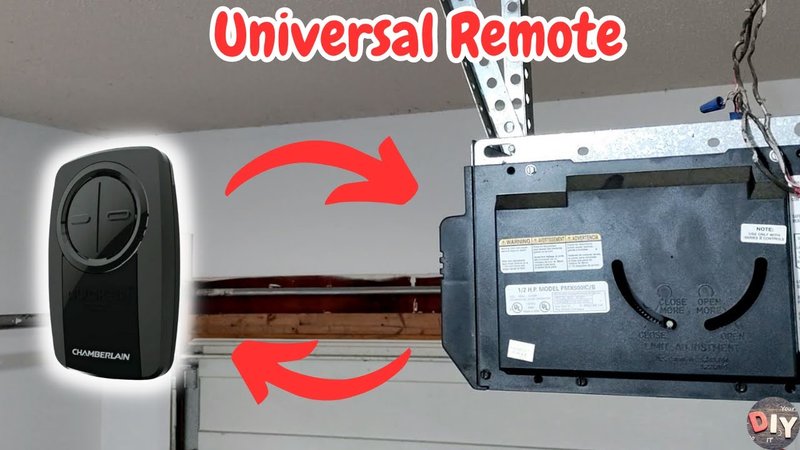
Understanding Remote Types: Universal vs. Brand-Specific
You might wonder about the difference between brand-specific remotes and universal options. Here’s the thing: while a brand-specific remote is designed to work seamlessly with your overhead door opener, a universal remote can control multiple devices.
While both types work, brand-specific remotes often have easier programming steps and direct compatibility. If you’re frequently changing vehicles or need an extra remote, universal remotes could be the way to go. Just keep in mind that compatibility should always be checked before purchasing!
Maintenance Tips for Your Overhead Door Remote
Once you’ve got everything programmed, you’ll want to keep your remote in top shape. Regular maintenance can prevent issues and extend its lifespan. Here are some quick tips:
– Replace the Battery Regularly: Every 6-12 months is a good rule of thumb. This means fewer unexpected failures.
– Clean the Remote: Dust and crumbs can build up. A quick clean with a soft cloth can do wonders for functionality.
– Use a Keychain: If your remote has a keychain attachment, use it! This helps prevent loss and keeps it close at hand.
Just like you wouldn’t let your car run out of gas, keeping your remote well-maintained ensures it’s always ready to go.
Final Thoughts
Programming your overhead door remote may seem daunting at first, but with a few simple steps, you’ll feel like a pro in no time. Remember to gather your tools, locate the learn button, and follow the programming steps carefully. And if you run into any hiccups, troubleshooting is usually just a few steps away.
By keeping your remote maintained, you minimize future issues and ensure your garage operates smoothly. So, the next time you’re coming home, you’ll have that perfect garage-opening moment, hands free. Go ahead and enjoy that newfound simplicity in life—your time spent programming will pay off!