Essentially, programming is all about making sure your motor unit and remote can “talk” to each other. It’s like making sure your favorite song is saved on your playlist, so you can listen to it whenever you want. Throughout this article, I’ll guide you through the programming process of your Skylink motor unit, ensuring you’re fully equipped to tackle it without any hassle.
Gather the Necessary Tools
Before diving into the programming process, it’s essential to have everything you need at your fingertips. This ensures a smooth experience without unnecessary interruptions. The primary tools you’ll need include:
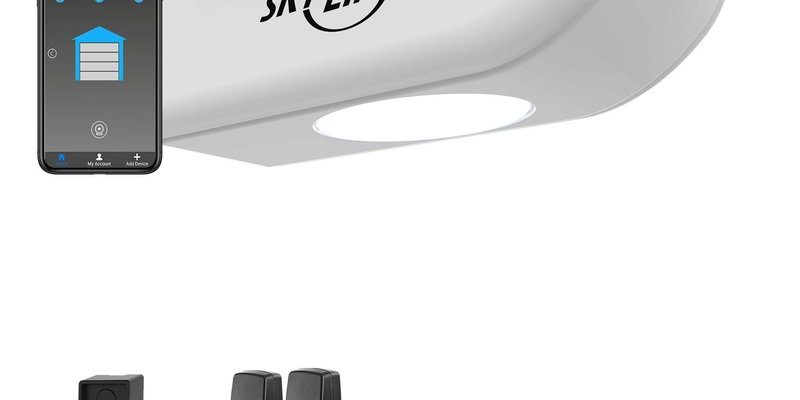
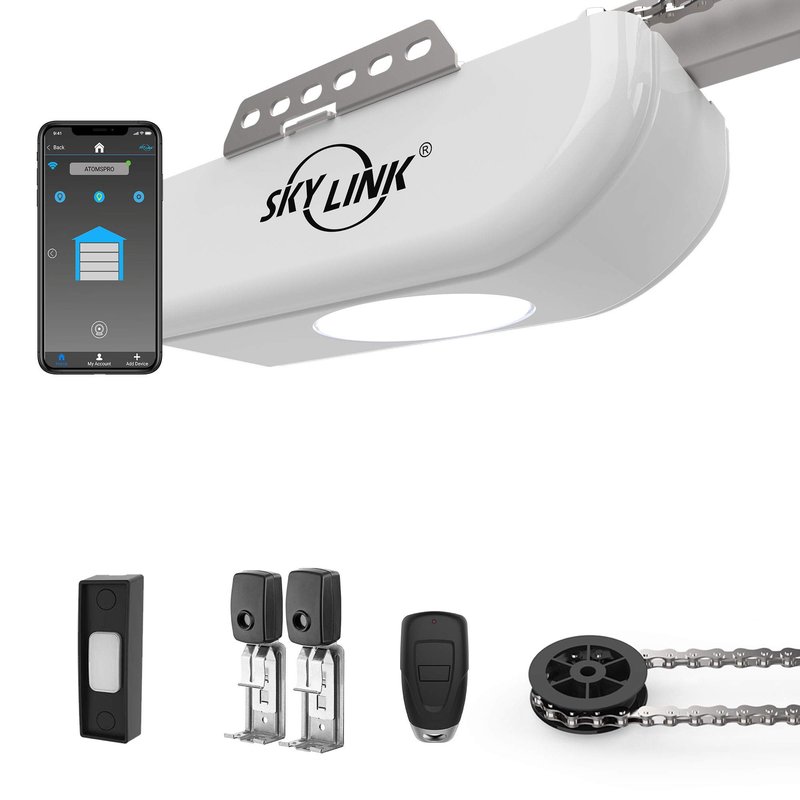
- Your Skylink motor unit
- A compatible Skylink remote control
- A ladder (if your motor unit is mounted high)
- A flashlight (to see any markings or buttons clearly)
- Possibly, new batteries for your remote
Make sure your remote has fresh batteries. A dead remote is like trying to start a car without gas—it just won’t work! If you notice your garage door is acting sluggishly or doesn’t respond at all, swapping out batteries is an excellent first step before programming.
Understand Your Motor Unit’s Settings
Every Skylink motor unit has various settings that allow you to customize how it operates. Familiarizing yourself with these before beginning can help you along the way. Here’s how it usually breaks down:
First, look for the programming button on your motor unit. This button can often be hidden behind a cover, so don’t hesitate to check your user manual if you can’t find it right away. The programming button is generally used to sync the remote with the motor unit.
Next up is the LED light indicator on the motor unit. This handy little feature lets you know if you’re successfully syncing your devices. A solid light usually indicates readiness, while blinking lights often mean it’s in the programming mode.
Step-by-Step Programming Process
Now for the heart of the matter: actually programming the Skylink motor unit. Follow these straightforward steps, and you’ll be on your way:
1. Locate the Programming Button: As mentioned earlier, it’s usually on the motor unit. Press and hold it until the LED light blinks.
2. Prepare Your Remote: With the button still pressed, take your remote in hand and press the button that you want to use to operate your garage door. Most remotes have a specific button designated for this purpose.
3. Confirm the Connection: After you’ve pressed the remote button, release the programming button on the motor unit. The LED light should turn off, signaling that the programming was successful. If it remains blinking, you might need to retry the above steps.
4. Test the System: Once programmed, it’s crucial to test everything. Stand back and press the assigned remote button to activate your garage door. If it opens or closes as expected, congratulations! You’ve successfully programmed your Skylink motor unit.
Troubleshooting Common Issues
Sometimes, things don’t go as planned. If you’ve followed the above steps and your remote still isn’t working, don’t panic. Here are a few troubleshooting tips:
– Check for Interference: Make sure there’s nothing blocking the signal between your remote and motor unit. Items like metal objects or dense walls can interfere.
– Recheck Batteries: Low batteries in the remote can cause issues. Always start by swapping in new batteries to rule this out.
– Reset the Motor Unit: If all else fails, you can try resetting the motor unit to its factory settings. Refer to the user manual for steps on how to do this, but generally, it involves holding down the programming button for a longer duration.
Programming Additional Remotes
If you have more than one Skylink remote, the good news is—you can easily program them as well! The steps are similar to what we’ve already covered, but here’s a quick recap:
1. Press and hold the programming button on the motor unit until the LED light blinks.
2. Choose the remote you want to program and press the designated button.
3. Release the motor unit’s programming button and watch for the LED light to turn off.
Once you’re done, test each remote to ensure they all operate your garage door correctly. This task is straightforward and ensures everyone has access to the garage—with just a click of a button!
Why Proper Programming Matters
You might wonder why all this programming fuss is crucial. Well, here’s the thing: ensuring your garage door remote is correctly set up provides several benefits:
– Safety: A properly synchronized remote ensures that you can quickly open or close your garage door when needed, making entering and exiting a breeze.
– Convenience: Having a remote means no more fumbling with keys, especially during bad weather or night time.
– Security: With the proper programming, you reduce the risk of unauthorized access. This is crucial for protecting your valuables inside the garage.
Let’s be honest; nobody wants a malfunctioning garage door when they’re trying to get home, so patience and attention to detail during programming can pay off.
Programming your Skylink motor unit doesn’t have to be a daunting task. By following the steps outlined here, you can easily sync your remote and enjoy hassle-free garage access. Remember the importance of gathering your tools, understanding your motor unit, and troubleshooting any issues that may arise. Once all’s set up correctly, you’ll find controlling your garage door seamless and efficient.
Now you can confidently click your remote and watch your garage door smoothly open and close, just like a well-choreographed performance! Happy programming!