Programming the circuit board is key to making sure your remote works seamlessly with your garage door opener. Skylink has designed its openers to be user-friendly—kind of like assembling IKEA furniture, but without the extra screws left over. Whether you’re setting up a new remote or reprogramming an old one, I’ve got you covered.
Understanding the Basics of Skylink Circuit Boards
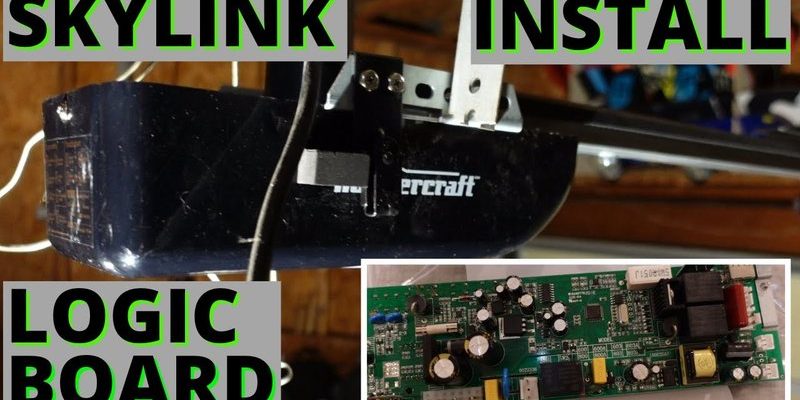
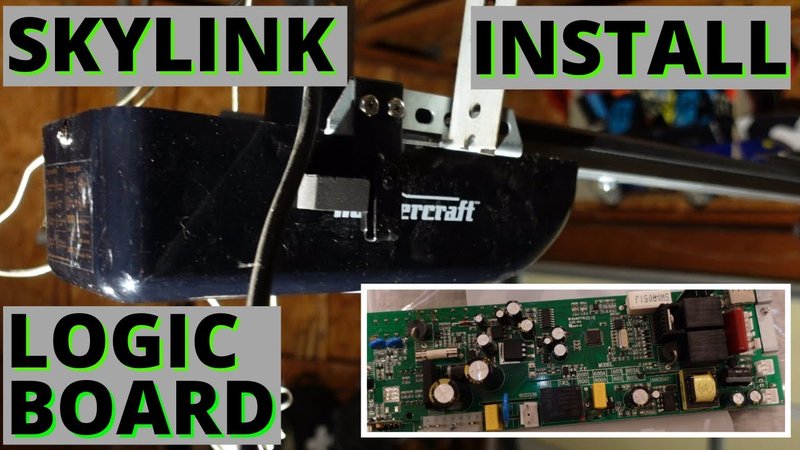
Before diving into the programming steps, it’s good to familiarize yourself with what a circuit board does in your Skylink garage door opener. Think of the circuit board as the brain of your opener. It receives signals from your remote, processes those signals, and then communicates with the garage door to open or close it. It’s where all the magic happens.
Most Skylink models come with a simple interface on the circuit board that allows you to pair your remote. You typically need to press buttons in a specific order, which can feel a bit like solving a puzzle. Just remember: if you’ve ever paired a Bluetooth device, you’ll get the hang of this pretty quickly.
If you’re wondering why this matters, consider this: properly programming your circuit board not only ensures functionality, but it also adds a layer of security. You want your garage to be accessible only to you and authorized users, right?
Gathering Your Tools and Remote
To kick things off, you’ll need just a few items:
- Your Skylink garage door opener
- Your Skylink remote
- A small screwdriver (if required for accessing the circuit board)
- Pencil and paper (just in case you want to jot down any important codes)
Before you start programming, make sure your remote has a fresh battery. A low battery can throw a wrench in the whole process, leaving you frustrated. Think of it like trying to start your car with a dead battery—it just won’t work!
Locating the Circuit Board
Now that you have your tools ready, it’s time to locate the circuit board in your Skylink garage door opener. Open the cover of the unit, which usually requires a screwdriver. This process varies by model, so refer to your user manual if you’re unsure.
Once you open the cover, the circuit board is typically marked and can be easily identified. It usually has pins to connect with the remote and indicators for programming. Remember to keep the area well-lit and organized, so you don’t lose any small parts, much like organizing your desk before starting a project.
Programming Your Remote to the Circuit Board
With the circuit board exposed, you can start programming your remote. Here’s a simple step-by-step guide:
1. Press the “Learn” Button: This is often located on the circuit board. You might see a small button that you need to press down.
2. Choose Your Remote: Find the corresponding button on your Skylink remote. When you press the button on your remote, it should send a signal to the opener.
3. Watch for Confirmation: Most systems will give you a light signal or beep to let you know the programming worked. If you don’t see this, it might be necessary to try again or check for battery issues.
Programming can sometimes feel a bit like a high-stakes moment in a movie—will the hero save the day, or will they fail? Patience is key here. Take your time and try pressing the buttons carefully.
Testing Your Remote
After successfully programming your remote, it’s crucial to test it. Stand a safe distance from your garage door and press the button to see if it opens or closes. Think of this as your victory lap—you’ve done the hard work, and now it’s time to reap the rewards!
If the door doesn’t respond, there are a couple of things to troubleshoot. Double-check the battery in your remote and ensure you’ve followed the programming steps correctly. Sometimes, it helps to start over as if you’re hitting refresh on a webpage that’s acting up.
Common Programming Issues and Solutions
You might run into a few common problems while trying to program your Skylink circuit board. Here are some troubleshooting tips to consider:
– Remote Not Responding: If your remote light doesn’t flash when you press it, the battery may be dead. Replace the battery and try again.
– Circuit Board Not Acknowledging the Remote: Ensure you pressed the “Learn” button and that you’re within range. If all else fails, resetting the circuit board might just do the trick—just be careful, as this can erase all programmed remotes.
– Interference: Sometimes, other electronic devices can interfere with the signal. Keep your remote away from these distractions, just as you would when trying to concentrate on a good book.
Resetting Your Circuit Board
Occasionally, you might need to reset the entire circuit board to start from scratch. This is especially helpful if you’re having persistent issues or if you want to remove old remotes.
Most Skylink models allow you to reset by holding down the “Learn” button for a specific duration. Make sure to check your user manual for precise instructions. After resetting, you’ll need to reprogram the remote again, so keep your tools handy.
Final Thoughts
Programming your Skylink circuit board may seem a bit overwhelming at first, but once you get the hang of it, you’ll feel like a tech wizard. Don’t get discouraged if things don’t go perfectly on the first try. Much like learning to ride a bike, sometimes it takes a few attempts to get it just right.
By following these steps, not only will you have a fully functioning garage door opener, but you’ll also gain confidence in handling your home electronics. If you run into issues or need to start over, remember the troubleshooting tips provided. Happy programming!