First off, let’s talk about what this wall button actually is. The Skylink wall button is designed to make opening and closing your garage door as simple as pressing a button. Imagine having a remote control for your garage door that you can mount on the wall—convenient, right? With a minimal learning curve, you’ll be ready to program it in no time.
Ready to dive in? Here’s everything you need to know to successfully program your Skylink wall button and get your garage in gear!
Understanding Your Skylink Wall Button
Before you jump into programming, it’s essential to understand what you’re working with. The Skylink wall button is a sleek device that communicates with your garage door opener. It sends signals to open or close the door, much like when you press “play” on your favorite playlist. This button is not just a piece of plastic; it’s your gateway to convenience.
Think about it this way: if you had a magic wand that could make your garage door obey your every wish, the wall button would be that wand. It’s important to ensure that your wall button is compatible with your specific Skylink garage door opener model. This compatibility allows them to sync up effortlessly. If you’re unsure about compatibility, check the Skylink website or your user manual.
When you have the right model, ensure the system is powered on and functioning correctly. Sometimes, it’s the simplest things like dead batteries in the remote or power interruptions that can cause hiccups.
Gathering Tools: What You’ll Need
Alright, let’s get practical. Before programming your Skylink wall button, gather a few handy tools. You won’t need much—just a couple of essentials to make the process smooth.
- Flat-head screwdriver: This may be necessary for attaching the wall button to the wall or removing faceplates.
- Step ladder: If your garage door opener is mounted high, a ladder will help you reach the button comfortably.
- Owner’s manual: Keep your Skylink user manual handy; it’s your roadmap.
With these tools by your side, you’ll be equipped to tackle the programming task at hand. Make sure your workspace is clear, and eliminate any distractions. You want to be focused while you establish this new connection between the wall button and your opener.
Programming Your Skylink Wall Button in Simple Steps
Here comes the fun part—programming your Skylink wall button. This isn’t rocket science; think of it as following a recipe where each step brings you closer to a delicious result. Here’s how to get started:
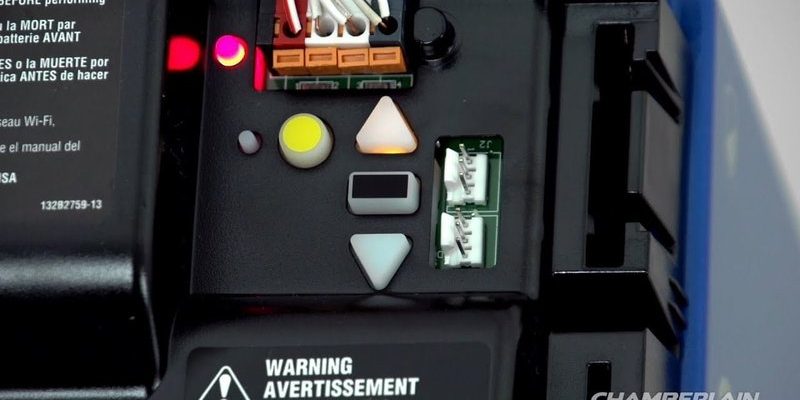
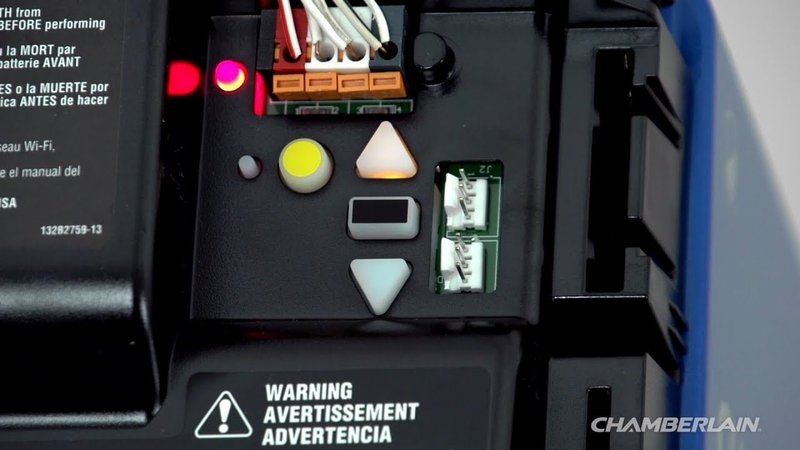
1. Locate the Learn Button: Your garage door opener has a “learn” button, usually found on the back or side. Press this button; you’ll see a light turn on.
2. Press the Wall Button: While the light is on, head to your Skylink wall button and press the button you want to program. Hold it for a couple of seconds.
3. Watch the Lights: If the programming is successful, you should see the light on the opener blink or turn off. This is your indicator that the wall button is paired with your opener.
4. Test It Out: Finally, give the wall button a press to see if your garage door opens or closes. If it does, congratulations! You’ve just customized your garage’s access.
If your programming doesn’t take, don’t get discouraged. Sometimes, you might need to repeat the process a few times.
Common Troubleshooting Tips
There’s nothing more frustrating than a gadget that won’t cooperate. If your Skylink wall button isn’t responding, here are some troubleshooting steps to help clear things up:
– Check the Battery: If the wall button is wireless, ensure it has good batteries. Replacing batteries is often the simplest fix!
– Distance Matters: Make sure you’re close enough to the garage door opener when programming. Sometimes, the signal can get weak if you’re too far away.
– Reset If Necessary: If all else fails, you might need to reset the wall button. You can do this by holding down the programming button for about 15 seconds until the light blinks rapidly.
– Consult the Manual: Remember that trusty owner’s manual? It often contains specific troubleshooting tips.
It’s always a good approach to keep calm and test your gadget step by step. You might be surprised at how quickly a simple fix can resolve the issue!
Exploring Alternatives: Universal Vs. Brand Remote
While the Skylink wall button is efficient, you might wonder if there are other options out there. The good news is, there are alternatives, like universal garage door remotes. These can often work with multiple brands, which may save you some hassle if you have more than one garage door opener.
Universal Remotes vs. Brand-Specific Remotes:
– Universal Remotes: These often come with a learn feature, allowing you to program it to various brands, but they can be a little trickier to set up. If you switch garages or brands often, this may be worth considering.
– Brand-Specific Remotes (like Skylink): These are designed solely for the brand’s openers, usually offering easier programming options. If you love the simplicity of your Skylink setup, staying with brand-specific options might be your best choice.
Ultimately, the decision comes down to your preference and whether you need that extra versatility of a universal remote.
Now that you’ve got your Skylink wall button programmed, you can sit back and enjoy the convenience it brings. There’s something gratifying about having your garage door respond to a simple button press. Whether you’re unloading groceries or hurrying to get inside during a rainstorm, your newly programmed wall button will make life a tad easier.
Honestly, the process wasn’t that complicated, was it? With just a bit of focus and patience, you’ve successfully expanded your garage’s capability. Remember, if you encounter any bumps along the way, just refer back to this guide. Every problem has a solution, and you’ve got the tools now to navigate them! Cheers to your newfound expertise in programming your Skylink wall button!