In this guide, we’ll walk through everything you need to know to get that remote working in no time. From understanding the types of Craftsman remotes available to the actual programming steps, we’ll cover it all with a friendly touch. So, grab your remote, and let’s dive into how to program it effectively!
Understanding Your Craftsman Remote
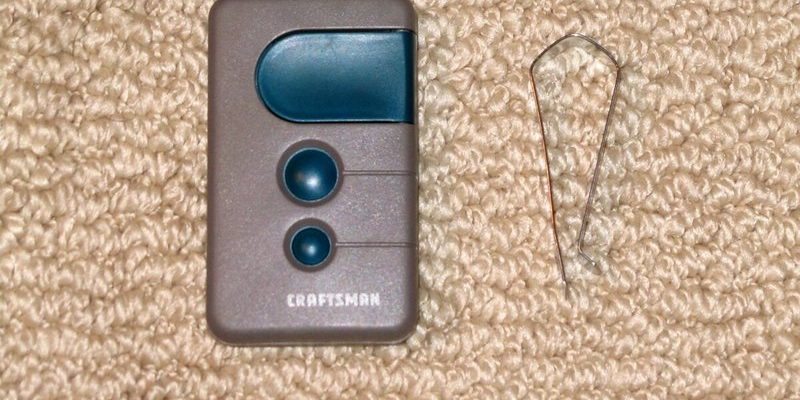
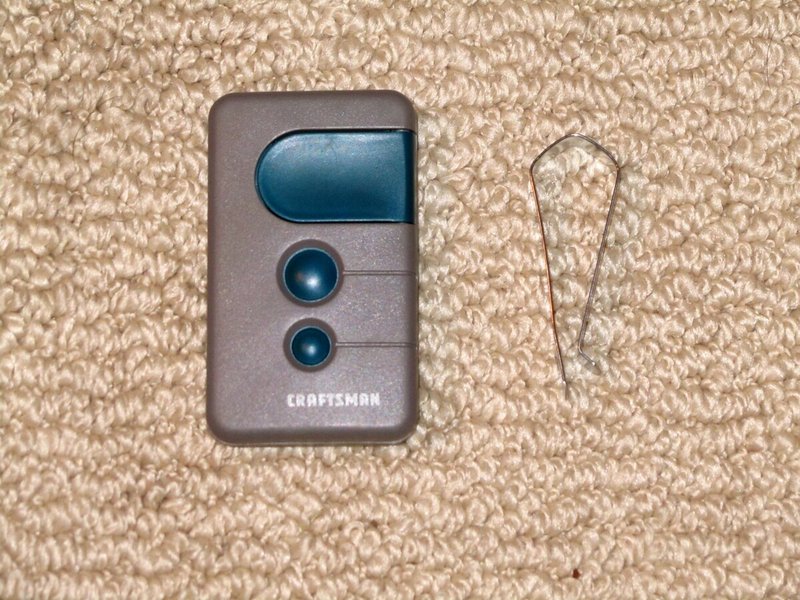
Before diving into the nitty-gritty of programming, it’s good to know the different types of Craftsman remotes you might come across. Craftsman has several models, each with its slight variations. Most commonly, you’ll find either a light-weight model or one with extra buttons for multiple door control.
Light Weight Model: This type often comes with a single button, which is straightforward and primarily meant for one garage door. It’s super easy to program and perfect for anyone looking for simplicity.
Multi-Button Model: If you have more than one garage door, this version might be for you. Typically, these remotes have two to four buttons, allowing you to control several doors from a single device. While it’s a tad more complex, it’s very user-friendly once you grasp the basics.
Understanding which remote you have sets the groundwork for programming. It’s like knowing whether you’re brewing coffee with a drip machine or an espresso machine—each has its unique setup!
Gather the Necessary Tools
Before jumping into programming, there are a few things you’ll want to have on hand. It’s all about being prepared to make the process smoother.
- Your Craftsman Remote: Make sure you have the remote you’re programming right in front of you.
- Garage Door Opener: Having your garage door opener model nearby makes it easier to follow along with the programming steps.
- Fresh Batteries: New batteries for the remote will ensure it works properly. Dead batteries can lead to unnecessary frustration.
- Manual or Model Number: If you can dig up your user manual or at least write down your Craftsman garage door opener model number, it can be handy.
Having these tools ready is like setting up your workspace before tackling any DIY project. The right tools can make all the difference!
How to Program a Craftsman Remote
Now comes the fun part! Programming your Craftsman remote can be done with a few straightforward steps. Don’t worry if you’re feeling unsure; we’ll guide you through everything in detail.
1. Locate the Learn Button:
– On most Craftsman garage door openers, you’ll need to find the Learn button. This is typically located on the back or side of the motor unit. It could be a colored button (often purple or yellow).
2. Press and Hold Learn Button:
– Press and hold the Learn button for about 2 seconds, then release it. You should see a light start to blink, indicating the opener is in “programming mode.”
3. Code the Remote:
– Within 30 seconds of pressing the Learn button, press and hold the button on your Craftsman remote you want to be programmed. Hold it until you see the garage door opener light blink or hear a clicking sound. This usually takes about 2 to 5 seconds.
4. Test the Remote:
– After programming, press the button on the remote to see if it activates the garage door. If it does, you’re successful!
This is a straightforward process—almost like following a recipe. Just remember to stay patient: if it doesn’t work the first time, try again. Sometimes you just need to approach it with a fresh perspective.
Troubleshooting Common Issues
Sometimes things don’t go as planned, and that’s perfectly normal! Let’s go over some common issues you might encounter while trying to program your Craftsman remote and how to resolve them.
– Remote Not Responding: If your remote isn’t responding, first check the batteries. If they’re fresh and you still have no luck, try reprogramming the remote from the start.
– Learn Button Not Working: If pressing the Learn button doesn’t activate the programming mode (no light or sound), make sure the garage door opener is plugged in correctly and functioning.
– Remote Cancelling All Codes: Sometimes, unusually pressing the wrong button can reset the codes. If that happens, you’ll need to go back and reprogram the remote.
Remember, troubleshooting can feel like a puzzle, but with patience, you’ll often find that missing piece!
Why Programming Your Craftsman Remote Matters
You might be asking yourself, “Why is it important to program my Craftsman remote correctly?” Well, having a working remote not only saves you time but also ensures proper security for your home. Think of it this way: it grants you access without exposing your garage door to potential intruders or accidental openings.
When programmed correctly, a Craftsman remote enhances your convenience. Imagine pulling into your driveway after a long day and effortlessly opening your garage door without a hassle. It’s all about making your day-to-day life easier and more streamlined!
Alternatives to Craftsman Remotes
If programming your Craftsman remote feels frustrating, you might be considering alternatives. There are universal garage door remotes available on the market that can sync up with various brands, including Craftsman. Here are a few points to think about:
– Convenience: A universal remote can control multiple garage doors and is often easier to program.
– Cost-Effectiveness: Instead of purchasing multiple brand remotes, a universal option can be a single solution for all your needs.
– Adaptability: These remotes often work across various brands, providing flexibility as your needs change.
Ultimately, it comes down to personal preference and what fits best into your lifestyle.
Maintaining Your Craftsman Remote
Once you’ve programmed your Craftsman remote successfully, the last step is maintenance. Proper care of your remote can extend its lifespan and ensure it operates efficiently.
- Regularly Change Batteries: Make a habit of checking and replacing the batteries every six months.
- Inspect for Damage: Regularly examine the remote for any signs of wear and tear. If the casing is cracked or the buttons are sticking, it may be time for a new remote.
- Clean It Carefully: Keeping your remote clean can help performance. Wipe it down without using harsh chemicals—just a soft cloth should do the trick.
Just like taking care of your car keeps it running smoothly, simple maintenance of your Craftsman remote will ensure it stays reliable.
In conclusion, programming your Craftsman remote doesn’t have to be a headache. With the right tools and a bit of patience, you can have your remote up and running in no time. Whether it’s to make your life easier or boost your home security, understanding how to program this handy device is worth every moment spent. Here’s to smoother garage access and hassle-free programming!