The Genie keypad offers a streamlined way to operate your garage door without needing to dig into your pockets for a remote. Whether you’ve just bought a new keypad or need to reset an old one, this guide will walk you through the programming steps like a pro. We’ll cover the basics, common hiccups, and some handy tips to keep your keypad functioning smoothly.
What You Need Before You Start
Before jumping into the programming process, you’ll need a few essential items to make sure everything goes off without a hitch. Here’s a quick checklist:
- Your Genie Keypad: Make sure it’s compatible with your Genie garage door opener.
- Stepladder: If your keypad is mounted high, you might need something to reach.
- Code to Program: Have your desired 4-digit code ready. It should be easy to remember but not super obvious!
- Battery: Ensure the keypad has a good battery. If it’s not lighting up, replace it before you begin.
Here’s the thing: starting with a solid plan helps streamline the process, so check that your garage door is closed, and all the necessary items are in one place. It’ll save you those annoying, “Where did I put that?” moments.
Understanding Your Genie Keypad and Opener
Before programming, it’s important to understand how your Genie keypad communicates with your garage door opener. The keypad uses a unique code to sync up with the opener—sort of like a secret handshake! This setup ensures that only those with the correct code can operate the door.
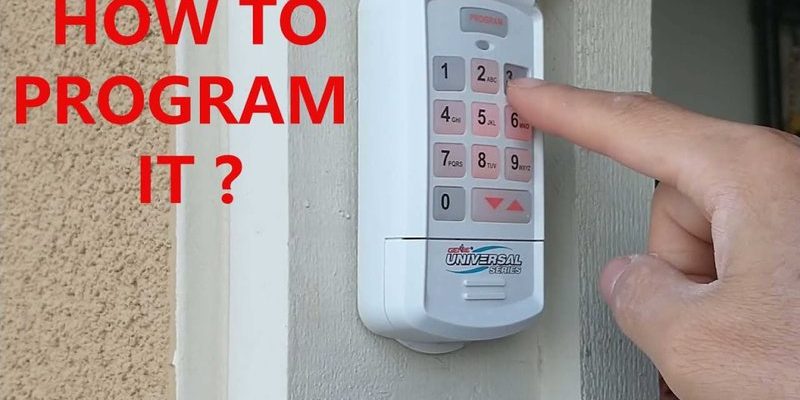
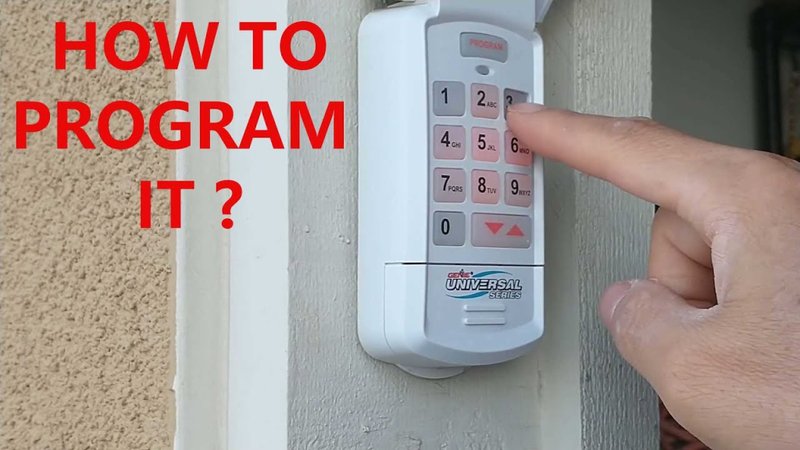
Most Genie keypads have a four-button layout that allows for easy programming. You might find a button labeled for programming or “P,” among others. These buttons are your friends, guiding you through the process step-by-step. Familiarize yourself with the keypad’s layout, and you’ll be better prepared when it comes to programming.
In the programming process, you’re essentially teaching your keypad and garage door opener to talk to one another. It’s a straightforward process, and once you’ve nailed it, you won’t have to do it again—unless you change your code or replace the battery.
Step-by-Step Guide to Program Your Genie Keypad
Let’s get to the good stuff: programming your Genie keypad! Follow these steps carefully to ensure your keypad syncs perfectly with your garage door opener.
Step 1: Locate the Learn Button
The first step involves finding the Learn button on your garage door opener. This button is typically found on the back or side of the unit and is often colored yellow, red, or orange.
Once you’ve located it, take a moment to jot down the color so you can remember it while programming. Press the Learn button, and you should see an LED light turn on. This light indicates that the opener is in programming mode.
Step 2: Inputting Your Code
Now, head over to your keypad! Press the *key* and enter your desired 4-digit code, followed by the
Here’s a little tip: pick a code that’s easy for you to remember but isn’t something obvious like your birthday. You want to keep your garage secure!
Step 3: Testing Your Keypad
After programming, you want to make sure everything worked out. Head back to the garage door and put your code to the test. Enter your code on the keypad and press the Enter button. If the door opens, congrats! You’ve successfully programmed your Genie keypad.
If it doesn’t open, don’t worry. You may have a minor hiccup to troubleshoot, like a dead battery or a missed step. Take a deep breath; we’re here to figure it out together.
Troubleshooting Common Issues
Sometimes things don’t go as planned, and that’s perfectly normal. Here’s a quick rundown of common issues and what you can do about them:
- Keypad Not Responding: Check the battery; it might be time for a fresh one.
- Code Not Accepted: Make sure you entered the code correctly. It’s easy to mix up numbers under pressure!
- Garage Door Won’t Open: Verify that the door is not obstructed and that the motor unit is powered on.
Here’s the thing—patience is key. If at first you don’t succeed, double-check each step and give it another go. There’s always a solution!
Maintaining Your Genie Keypad
Congratulations on programming your Genie keypad! To ensure it serves you well over time, some maintenance can go a long way.
First, regularly check the battery. A dead battery can prevent your keypad from functioning, leading to frustration. It’s a good habit to swap the battery every six months, especially if you notice the keypad’s light dim or flicker.
Next, keep the keypad clean. Dust and grime can interfere with the buttons. A simple wipe down with a soft cloth is usually enough to keep it in good shape.
Also, remember to update your code if you ever feel that security might be compromised—like if you loaned out your code to someone you might not fully trust anymore. It’s a quick and preventive approach to keeping your garage safe.
Alternative Programming Methods
If you want extra layers of convenience or options, consider looking at other garage door remotes or keypads. Some people prefer universal remotes because they can control multiple devices, whereas specific Genie remotes provide tailored functionalities.
Universal remotes may offer connectivity with various brands and models, making them versatile. However, if you love how your Genie keypad works, sticking with it can save you the hassle of learning the new setup.
Ultimately, the best choice depends on your lifestyle and preferences. Stick with what feels right for you!
Final Thoughts
Programming your Genie keypad can seem daunting at first, but with a bit of understanding and a simple step-by-step process, it becomes an easy task. With your keypad set up, you’ll enjoy the convenience of entering your garage without fumbling around for keys or remotes.
Remember to maintain the keypad, troubleshoot any hiccups you might encounter, and consider your options if you’re in the market for a new remote system. Now you’re ready to tackle your garage door with confidence—grab that coffee and enjoy the newfound ease!